Your face, like any other part of your body, is full of muscles that can benefit from a soothing massage. That’s the basic idea behind gua sha, an East Asian practice that some say helps them get firmer, more lifted skin. If you’re unsure what to do with the fan- or heart-shaped tool, we’ve got your gua sha how-to broken down step-by-step.
What is gua sha?
Gua sha is a form of traditional Chinese medicine that uses a variety of tools (e.g., special gua sha tools, coins, and spoons) to massage the skin. The technique is intended to scrape the skin hard enough to cause a rash that looks like red pinpricks called petechiae. It can also cause light bruising.
Chinese medicine is based on a belief in the connection between mind, body, and chi or qi, which is like energy or life force. You can think of gua sha as a way to distribute qi in beneficial ways in the body. The idea is that gua sha treatments can help firm skin, promote lymphatic drainage, reduce muscle aches and swelling, and keep energy moving smoothly throughout your body.
A gua sha facial is something of a different matter. The skin on your face is more delicate than the majority of the skin on the rest of your body. The massage technique for a gua sha facial doesn’t apply enough pressure to create the petechiae, so some acupuncturists and facial aestheticians say it’s a misrepresentation to call it gua sha.
Whether it’s strictly accurate or not, a “gua sha facial” is a popular term for this style of using a stone tool to massage your face, so we use that term here to help you spot which tool to look for (and to understand that scientific evidence on traditional gua sha benefits may not apply to the gentler facial practice).
Benefits of a gua sha facial
Traditional gua sha massage can offer some science-backed benefits, like increased microcirculation, which may help relieve muscle aches. Overall, considering how long-established the practice gua sha is, there’s relatively little scientific study of it from Western practice.
Western medicine tends to follow different underlying beliefs and doesn’t invest as much serious attention to Eastern and indigenous medicine practices. That doesn’t mean methods like gua sha are “disproven” or not beneficial, only that it’s difficult to promise specific benefits from a Western science perspective.
One case study found that a gua sha facial improved the appearance of facial expression lines and wrinkles. Another small study found that facial self-massage had lifting and tightening effects, which could be the result of boosting blood and lymphatic flow.
Facial gua sha isn’t associated with any particular risks. Gentler facial techniques mean you can even avoid the temporary discomfort or pinprick bruising from traditional gua sha practice (which is also generally considered safe). You can give gua sha facial massage a try for a few weeks and see if it offers benefits for you.
How to use a gua sha face tool
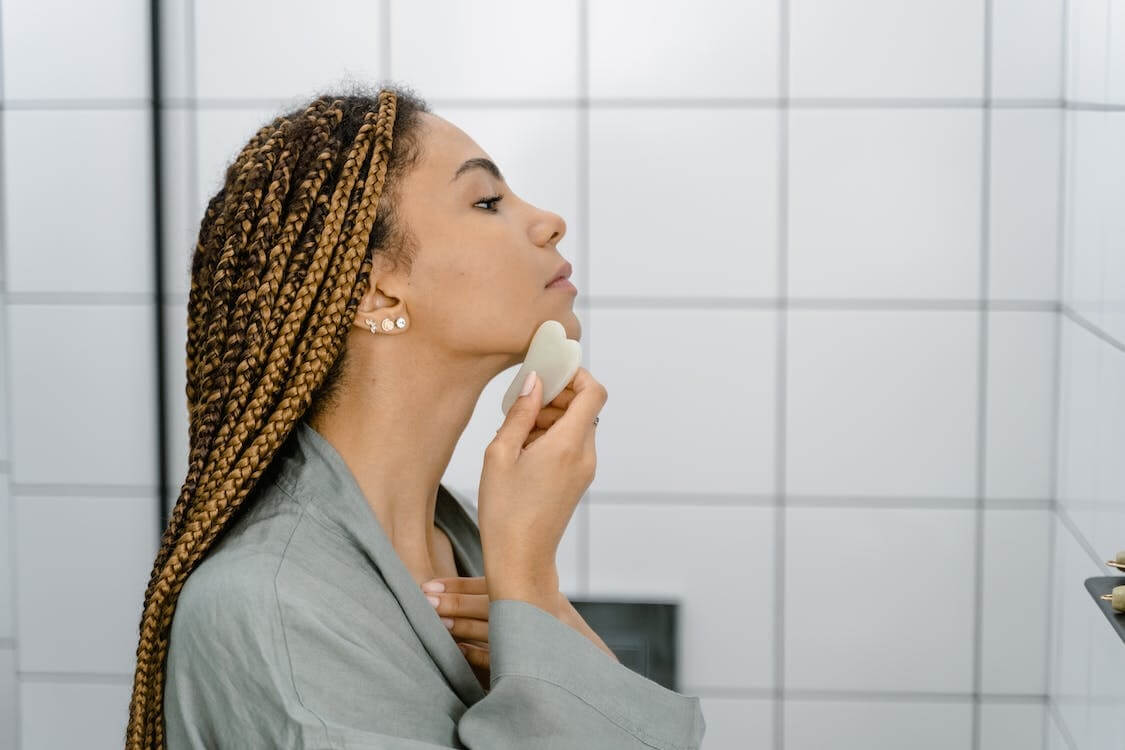
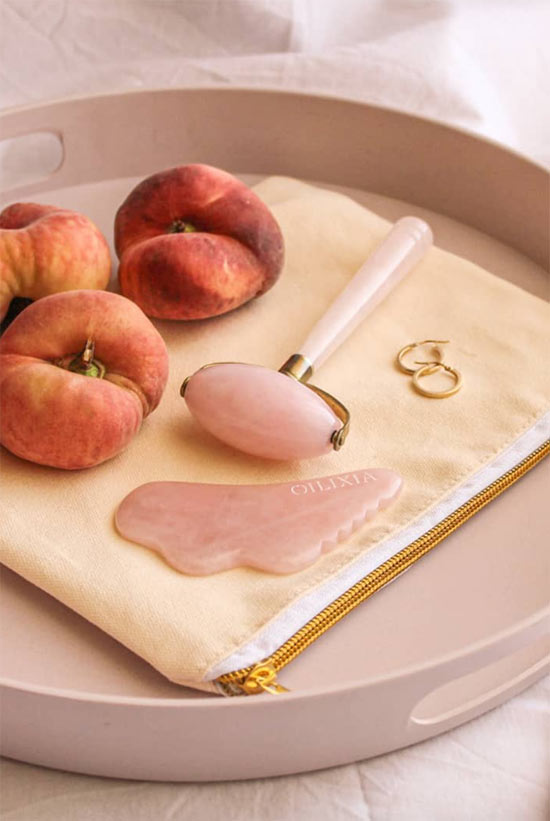
A gua sha face tool looks a little like a curved heart, often made out of jade or rose quartz. It makes a beautiful addition to your wellness regimen, but what exactly are you supposed to do with it?
First, look for a tool made with natural materials. A gua sha face tool made from real stone will weigh a little more in your hand and probably make you reach a little deeper into your pocket. But you get what you pay for, and stone has some benefits over synthetic materials, like its natural longevity and tendency to stay cool, even if you don’t keep it in the fridge all the time.
Here’s how to use a gua sha to give yourself a soothing massage that may leave your skin firmer, sleeker, and brighter.
- Prep. Start by prepping both the tool and your face. Clean the tool with water and gentle soap, and pop it in the fridge or an ice water bath if you want it extra cool. Wash your face with your favorite cleanser.
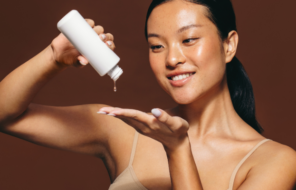
- Oil up. Apply a quarter-sized dollop of facial oil or moisturizer. This might be a little more than usual, but the idea is to have a little extra lubrication. A slippery texture is best to help the tool glide smoothly over the contours of your face.
- Get a grip. Hold the tool firmly at an angle that fits comfortably against the natural lines and planes of your neck and face. You may find that you naturally use different parts of the tool throughout your routine.
- Perform gua sha. Use firm but comfortable pressure. Apply short sweeping strokes in one direction (not back and forth). About three to five strokes per section is a good rule of thumb. Think of pressure moving across rather than deep (e.g., sweeping a fingerful of stiff frosting off a cake in lieu of pushing down into a tense spot). At the end of each stroke, you can add a little wiggle of the tool.
- Move against gravity. Stroke from the base of your neck up to your jawline in front or just to the base of your skull curve in back. For jawline gua sha, start at your chin, keep the tool as flat as possible to your skin, and follow the line up to your ear (if your tool has a heart-like shape, your jawbone should sit in the dip of the heart so one side of the tool is on your cheek and the other hugs under toward your neck). The straight side of the tool is good for short strokes over your cheek where your smile lines appear.
- Use a light touch on delicate skin. You want a gua sha face routine to feel soothing and relaxing, so don’t go too hard on delicate areas. The skin around your eyes is sensitive and more prone to wrinkles than most areas of your body, so use light pressure and avoid tugging the skin. Similarly, when you massage your brow area, one part of the tool may glide under your brow (like the jawline massage) and pass over your eyelid, so be mindful of how you angle the tool to be gentle.
- Know when to have a skip day. Forgo gua sha if you’re feeling sick or if you’ve had neuromodulators like Botox or fillers in the past few weeks.
Start by making time for a relaxing gua sha massage once a week, then increase to two to three times weekly if that feels best for your skin. You may find that this ancient practice makes you feel more lifted and restored.

