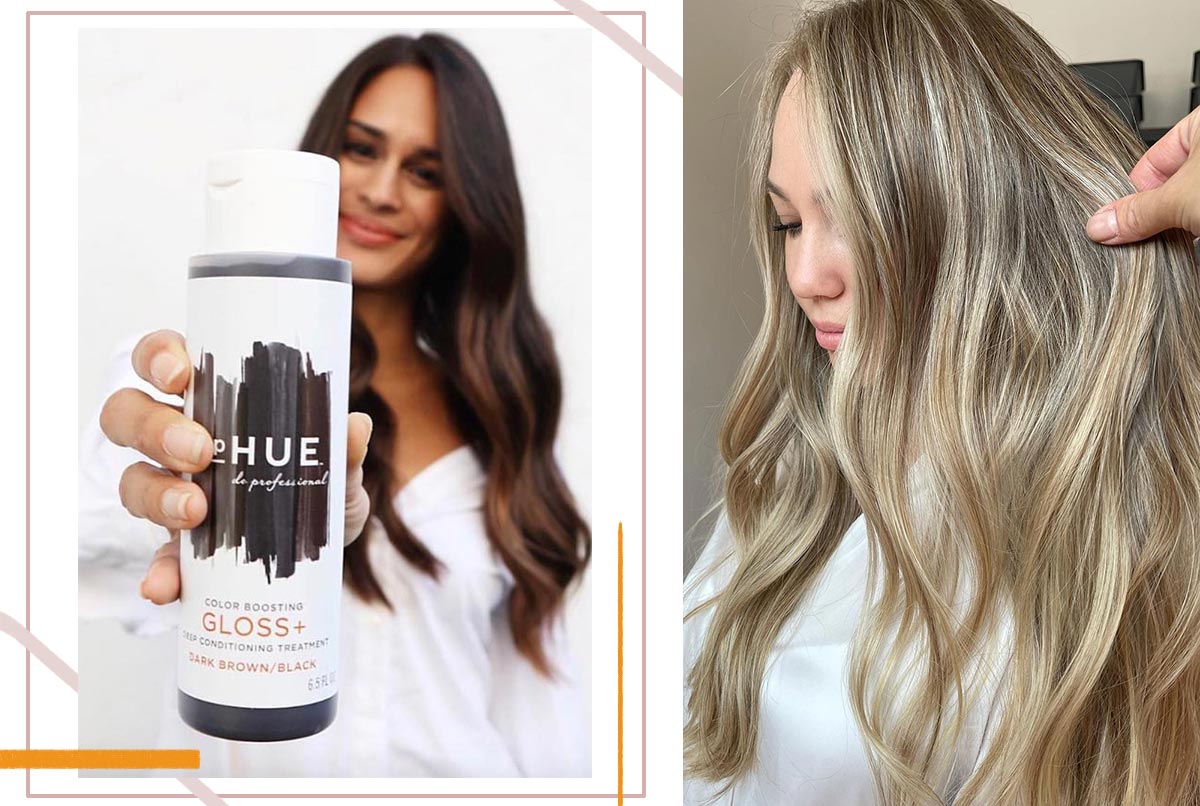
Your hair is starting to look a bit dull, and if you colored it, that’s starting to fade too! You could try to see if your favorite stylist can squeeze you in for a wash and deep condition or color touch-up. But depending on your schedule (and theirs), there’s a good chance that you might have to wait at least a week or more before you can get an appointment.
While you could just make do with hair that’s seen better days, there is another solution — at-home hair gloss. Hair gloss treatments are fairly goof-proof solutions that can breathe fresh life into fading color as well as simply provide much-needed shine to make limp, dull hair look better. If you’ve never heard of hair glossing, then consider this a crash course with everything you need to know so that you can achieve salon-quality hair from the comfort of your home.
In this article:
- What Is Hair Gloss?
- Hair Gloss vs. Hair Glaze
- Hair Gloss Treatment Benefits
- How to Use Hair Gloss Treatment at Home
- How Often Should You Gloss Hair?
- Are There Any Cons to Hair Gloss Treatment?
What Is Hair Gloss?
Hair gloss treatment is a semi-permanent chemical treatment that adds shine and deep luster to hair, restores hair color, helps tone, and keeps frizz at bay.
Hair gloss treatments were once only available in salons but are now also great at-home treatment options. It’s often categorized as a semi-permanent hair color treatment that helps to refresh dyed hair colors. An added benefit is that it can infuse shine into your hair, making it look healthier. But it can also be applied as a clear solution that simply adds shine.
Glosses that add color can work to correct fading, as well as tones that have shifted slightly. For example, they can remove brassiness from dyed blonde hair that’s begun to fade. And in some cases, they can also work to soften your hair by smoothing the cuticle or adding volume to limp, thin strands.
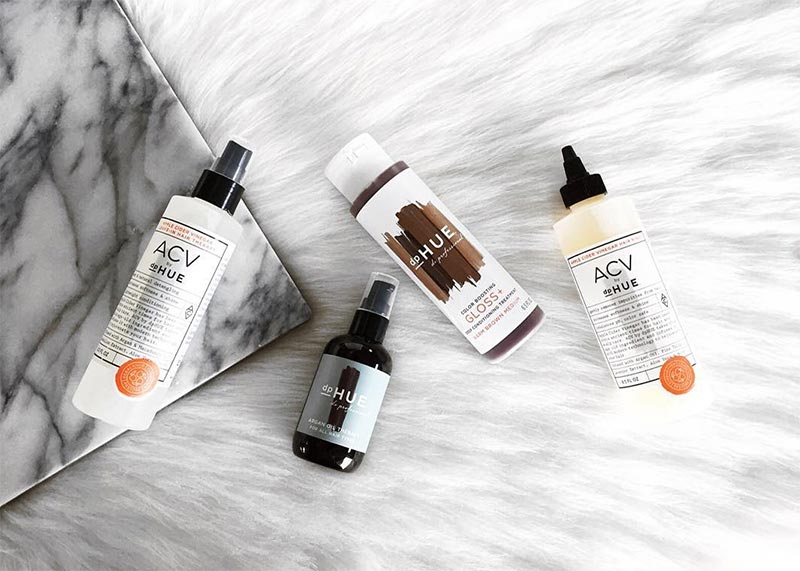
Hair Gloss vs. Hair Glaze
While often used interchangeably, hair gloss and hair glaze are not the same. Of the two, glosses last longer. This is because hair glosses contain pigments (for color glosses) or molecules that can penetrate the hair’s cuticle. This means you’ll get results that can last around a month.
Glazes don’t penetrate the shaft but instead sit on top of it. So, even though you might still get a boost of color or shine, the results won’t last as long. Typically, hair glazes are designed to last between one to two weeks. However, if you’re more concerned about the risk of hair damage than longevity, a glaze is the best route for you to choose.
Hair Gloss Treatment Benefits
There are several benefits to at-home hair gloss treatments. The first is that you’ll get a boost in color or added shine, which can make your locks look healthier. Additionally, depending on the gloss you select, you can also find options that provide hydration support, thanks to deep conditioning treatments or frizz prevention.
The Convenience & Budget Factors
But there are also the cost and convenience benefits to doing a gloss treatment at home as opposed to in a salon. Even if you prefer going to the salon for some much-needed “me time,” those visits can add up, as a salon gloss treatment can be significantly more expensive than even some of the priciest at-home alternatives. Especially if you’re trying to stretch more time between color appointments, an at-home hair gloss can help you reach those goals.
Likewise, scheduling time to go to a salon — and putting the rest of your life on hold during that time block — can be inconvenient. This is especially true if your stylist is someone who’s in demand and is booked out weeks in advance.
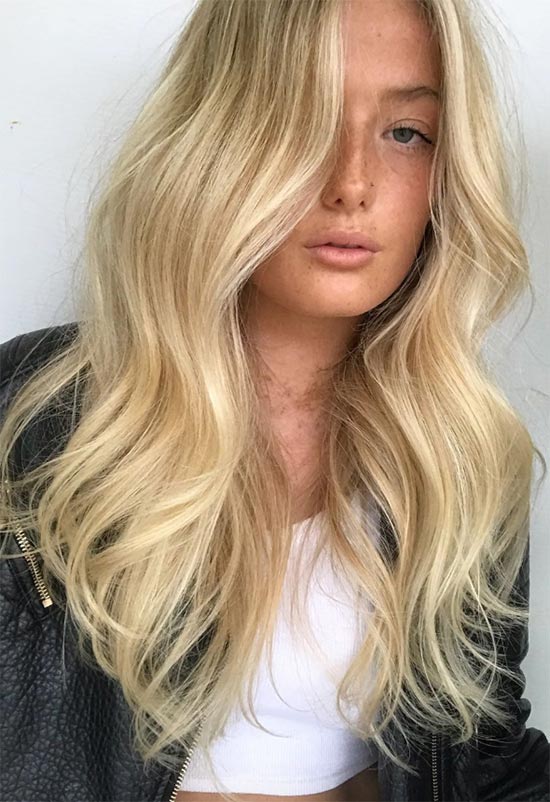
How to Use Hair Gloss Treatment at Home?
Hair gloss comes in a variety of formulations, so your best bet is to always follow the directions on the product packaging. That being said, you’ll usually find a few common methods outlined in the instructions.
Things to Consider When Shopping for At-Home Hair Gloss
Not all hair glosses are made the same. Here are a few things to keep in mind when looking for the best hair gloss for you.
Formula
Typically, your application method for an at-home gloss treatment is going to start by determining the formula. Most hair glosses tend to be liquid with a slightly runny texture, but you can also find foams, serums, and even gel textures. In most cases, foams and liquid glosses are designed for applications that mimic applying a box dye. Meanwhile, serums and gels are usually meant to be used on dry hair.
Color vs. Clear
Your next step is going to be deciding whether you want to boost your current salon color so that you can go longer between appointments or if you simply want a clear gloss that provides shine without changing your hair’s color. Either option is fine. Just remember that a clear gloss can’t correct a color that’s faded.
If you have color-treated hair, choosing an at-home gloss means you have to find the right shade to properly match your hair. A common complaint you’ll find with customer reviews from at-home color hair glosses is that unless you pick a perfect match (especially if you pick a gloss from a brand different than the one used for your initial color), you could end up with hair that’s the wrong tone.
Dry Hair Applications
Dry hair applications can vary slightly depending on the product. It’s possible to find liquid and foam hair glosses that are intended to be used on dry hair before washing them out. For these formulas, you’ll begin by fully saturating your strands, waiting the recommended time, and then thoroughly rinsing the product out of your hair. Depending on the product, you might be instructed to then follow with a shampoo and conditioning step as if you were normally washing your hair.
However, there are some glosses that are very temporary and are meant to only last for a few washes or be a quick fix for dry or frizzy hair. These are usually your serums, sprays, and gels. In most cases, you’ll still want to apply it to clean, dry hair. But, you may find that to activate the product, you need to then apply heat (usually either via blow-drying or with a flat iron) to create shinier-looking hair.
Wet/Damp Hair Gloss Applications
One of the most common formulas you’ll find with an at-home hair gloss treatment is one that must be applied to wet or damp hair. Again, you’ll want to ensure that you’re following the included instructions, but be sure to keep in mind that wet and damp are different states.
Wet means that your hair is fully saturated and could be dripping — think of hair that’s just been shampooed and rinsed without the excess water being squeezed from the strands. Meanwhile, damp means that the hair might be wet to the touch but isn’t dripping.
Likewise, you’ll want to pay attention to the order of operations. Some glosses are designed for application on clean hair. This means that you’ve shampooed your strands and can apply the product. Others simply need the hair to be wet or damp.
Similar to dry application glosses, you’ll follow the steps as outlined in the instructions to apply the gloss. You’ll either rinse out immediately or wait a predetermined period before doing so. And typically, you’ll continue with a conditioning step unless you’ve picked a gloss that doubles as a deep condition.
Tips for Better Applications
If you’re not used to at-home hair treatments, it’s easy to make mistakes that can lead to less than desirable results. Consider the following tips to avoid them.
- Color Matching Matters: Again, we can’t stress enough that if you’re picking a color gloss, you need to pay attention to the shade match. Along with ensuring that the packaging claims the color is a match, be sure that the results advertised are going to appear the same on your hair. Keep in mind that dyeing hair requires an understanding of color theory, so your results are going to depend on not just the original dye color that was used but the level your hair was lifted to before applying that dye (especially if you’re blonde or rocking a fantasy hair color).
- Opt for a Tinting Brush: Depending on the gloss product you select, you may or may not have a tinting or dye brush included. Especially if you pick a liquid gloss that tends to be runny in texture, a tinting brush can ensure that you’re going to achieve an even application with all of your hair properly saturated.
- Get Enough Gloss for Your Hair Length: Many brands promise that you can get a full-head or multiple applications out of a single container of product. But this is going to depend on the length of your hair. Short to medium lengths might be able to get a full head of results from a single container. Meanwhile, people with longer or thicker hair may need to buy two or more containers to achieve full head results. Remember, if you don’t use enough product, you won’t get the desired results.
- Don’t Cut Corners: Once again, following instructions is important. Not all glosses rely on the same application method. Failing to apply product to your hair when it’s in the right state, not fully saturating your hair, or not leaving it on long enough to fully penetrate your hair shaft can lead to splotchy, lackluster results.
- Using a Color Gloss? Use Gloves: Nothing screams “I did an at-home color job” than hands that are stained. Avoid this by using gloves when applying color — especially if you’re applying product directly with your hands.
- Switch to Color-Safe Hair Products: To get the most out of your two to four-week lifespan that the box promises, swap out your regular shampoo and conditioner for versions that are safe for color-treated hair. This ensures that the color isn’t being prematurely stripped from your hair every time you wash it.

How Often Should You Gloss Hair?
Glossing frequency is going to depend on the product you select as well as your hair color. While some brands will list a finite timeline for how long the gloss effect will last — such as two to four weeks — not every gloss will do this. Instead, some brands will rank longevity by how many washes you can perform before the color starts to fade. So, this can range anywhere from as few as two or three washes to six or more.
Because of this, many people feel that for color gloss, an in-salon treatment can be a better option. While more expensive, the results — thanks to professional strength ingredients — usually last four to six weeks versus the two to four weeks that at-home treatments can promise.
Even with the recommended timelines listed on many at-home hair glosses, there’s always a caveat. People trying to gloss hair that’s dyed a darker hue can often stretch applications longer than the recommended timeline or number of washes listed on the packaging. Conversely, people rocking red or strawberry blonde hues may find that they need to apply gloss more often to maintain their preferred bolder hue.
Are There Any Cons to Hair Gloss Treatment?
While glosses tend to be a hero solution for lackluster colored strands or hair that looks dry, there are a few drawbacks that you should be aware of before you head down this path.
Glossing Isn’t for Grays
If you’re trying to cover gray hair, a gloss shouldn’t be your go-to solution. Remember, these aren’t full-strength dyes. So, while they deposit just enough color to even out faded color-treated hair, they’re usually not pigmented enough to effectively add color to hair that’s lost most or all of its pigment.
It’s Possible to Overtone Your Hair
Just like with full-strength dyes, paying attention to the processing time is key. Leaving a color gloss on your hair for too long can lead to hair that’s over-toned. Then you’ll need a trip to the salon to correct it.
While Less Harsh, Hair Damage Is Possible
Glosses are generally believed to be less harsh than traditional permanent dyes, making them a popular option for at-home hair care treatments. But if you pick a gloss with harsh ingredients like ammonia or peroxide, then it’s very possible you can damage your hair — especially if you fail to follow the directions. Common unexpected damage can include chemical dryness and chemical reactions.
Photos via @lavendascloset, Instagram

