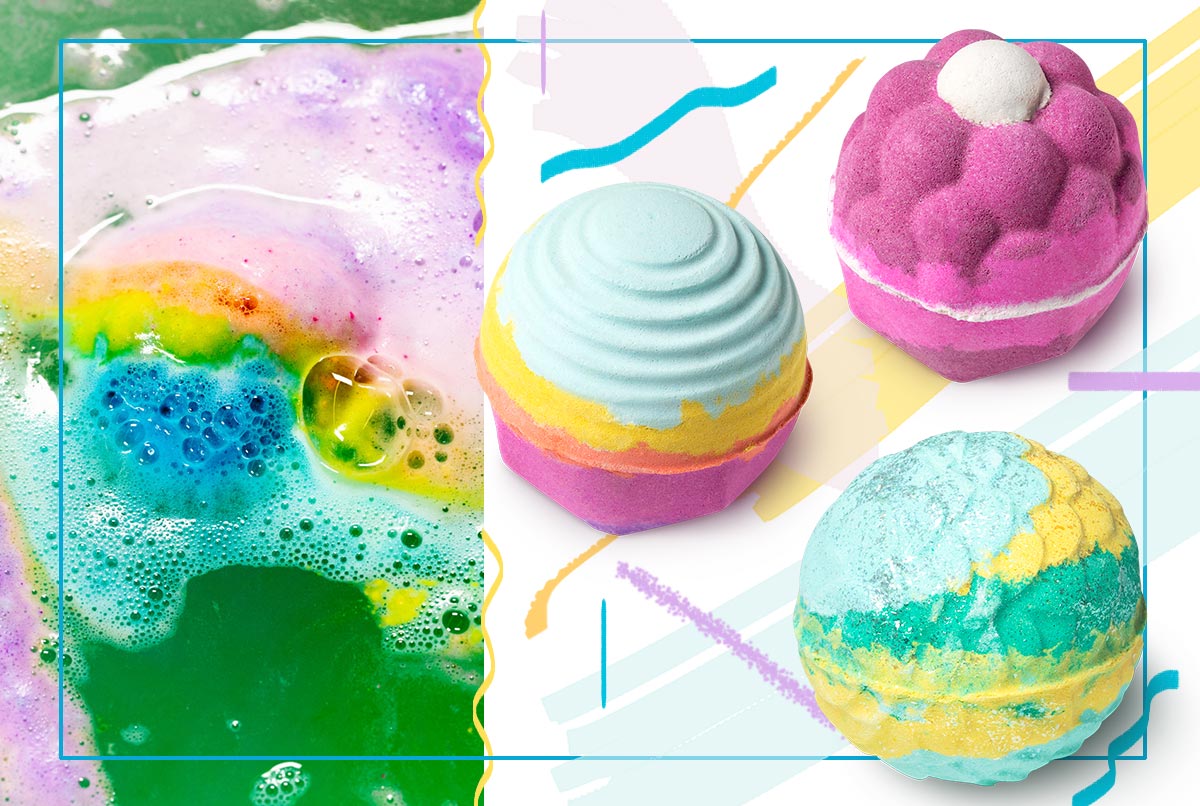
If you’ve developed a serious bath habit, it’s time you learn how to make bath bombs by yourself! Bath bombs are these fun, silly luxuries that just make life so much better. They make bath time a lot more interesting by adding a bit of fizz, a gorgeous scent, and skin-nourishing ingredients.
However, buying bath bombs in the store isn’t very budget-friendly, especially considering they’re a one-use type of product. However, when you make your own bath bomb, you get all of the benefits at a fraction of the cost.
You can design your bath bomb based on your personal preferences for scent or for your skin’s needs, so your DIY bath bomb can end up being better for you than what you buy at the store. It can also be a really fun project that you can do with friends or with children.
In this article:
What You Need to Make DIY Bath Bombs
Before you can get started on your next DIY project, you will need at least some of the following ingredients and tools on hand. Some of these ingredients, like plant oils and colorants, are entirely options, while others are essential for a properly fizzy bath bomb. We’ll discuss that in more detail in the recipes that follow.
- Pure baking soda is one of the core ingredients responsible for the fizzing reaction.
- Corn starch or kaolin clay will give the bath bomb its bulk, help hold things together, and add a silky texture.
- Citric acid reacts with the alkaline baking soda to create the fun fizzy effect.
- Cream of tartar is optional.
- Essential oils of your choice will add a beautiful scent to your DIY bath bomb.
- Food coloring or mineral pigments can give a nice color to your creation, and depending on the amount you use, they may also color the bath itself.
- Water, alcohol, or witch hazel combine the dry ingredients. Note that water will initialize the reaction between the baking soda and the acid, so alcohol or witch hazel are far better choices.
- Plant oils of your choice will add a moisturizing touch (although keep in mind they’re a little harder to work with).
- Epsom salt adds a nice, soothing touch to bathwater, although keep in mind that it will also absorb water from the air and may cause your bath bomb to fall apart. We only recommend adding it once you have a bit of experience.
- If you plan to use oils, you’ll also need an emulsifier like polysorbate 80, or else they’ll coat your bathtub and become a slipping risk.
- A large bowl and whisk are necessary for mixing the ingredients.
- A sieve can help you mix the ingredients together even better.
- Bath bomb molds are a must to create a big, round bath bomb.
DIY Basic Bath Bomb Recipe
To start you off on a homemade bath bomb journey, here’s a basic recipe. It leaves out all of the ingredients that are more likely to fail or complicate things, like Epsom salt and oils. We highly recommend using alcohol instead of water to really keep things moving smoothly. That said, you can adapt this recipe with the scents or additional ingredients you like.
For this recipe, you’ll need:
- 1 cup of baking soda
- ½ cup citric acid
- ½ cup corn starch or kaolin clay
- 1-1.5 tablespoon of your liquid of choice (alcohol or witch hazel, water in a pinch)
- Colorants and essential oils
These are the easy steps to follow to make a basic bath bomb at home:
- Combine the Dry Ingredients
To start, combine all of the dry ingredients in a bowl, and mix them thoroughly. If you have a sieve, sift the ingredients together first to get rid of clumps and to get a smooth mix.
- Combine the Liquid Ingredients
Then, combine your colorants (whether liquid or mineral-based) and a few drops of essential oil in a small cup, along with about a tablespoon of liquid. In total, the liquid should only be about 2%-5% of the recipe, so you can actually spray it in or add it drop by drop. Whisk your mixture after each drop of liquid.
- Mix Everything
Once everything is mixed, you can even get it better incorporated by using your hands to knead and mix everything even better. It should become a slightly crumble mixture, almost like a shortcrust or damp sand.
- Add to the Mold
Next, fill up your mold with the mixture. If you’re using a proper bath bomb mold, pack in each of the mold’s globes tightly, and then add a small layer of looser bath bomb mixture at the top. Don’t be conservative here since if the bath bomb isn’t tightly packed enough, it may break or fall apart. Finally, press both sides of the mold together, and then rotate and squeeze to make sure it’s tightly closed.
- Take It out of the Mold
Leave the bath bomb in the mold for just 10-20 minutes. Then take the bath bomb out of the mold (you may have to tap on the mold with a spoon to loosen it out), and place it somewhere safe to dry for 24 hours.
- Let It Dry
After the first 24 hours, you can use the bomb, although it will probably sink in the water instead of floating. Let it dry further for a few more weeks, and then it’ll float beautifully!
Homemade Bath Bomb for Dry Skin
This bath bomb recipe is great for dry skin, thanks to the addition of moisturizing oils. The oils do make the mixture a little more fragile, but the added nourishing touch might be worth the effort. The recipe also relies on corn starch, which is a nicer filler for dry skin.
- 1 cup of baking soda
- ½ cup citric acid
- ½ cup corn starch
- 1 tablespoon of polysorbate 80 or another liquid
- 1/2 tablespoon avocado or coconut oils
- Colorants
- Rose or lavender essential oils
Homemade Bath Bomb for Sensitive Skin
For those with sensitive skin, it’s often better to avoid scented products. This unscented DIY bath bomb may not make you smell great, but it still adds a fun touch to your bathtub! It includes coconut oil, which has a nice, soothing effect on the skin. Once you gain some skills, you can substitute some of the corn starch in this formula with Epsom salt for an even nicer experience.
- 1 cup of baking soda
- ½ cup citric acid
- ½ cup corn starch
- 1 tablespoon of your liquid of choice or an emulsifier like polysorbate 80
- ½ tablespoon of coconut oil
- Colorants
Homemade Bath Bomb for Oily or Acne-Prone Skin
This oily skin-friendly bath bomb includes kaolin clay to clarify the skin, and tea tree or lavender essential oils for their soothing effect on acne.
- 1 cup of baking soda
- ½ cup citric acid
- ½ cup kaolin clay
- 1.5 tablespoon of your liquid of choice
- Colorants
- Tea tree or lavender essential oils
Other Things to Keep in Mind
Bath bombs are a little finicky, and a lot can go wrong because of unpredictable circumstances. When you learn how to make a bath bomb, here are the issues you may run into and how you can fix them!
- Check the humidity in the room before you start working. It’s pretty much impossible to make a bath bomb in a humid environment, so check the humidity and make sure it’s 40% or below.
- If you live in a very humid area, turn on a dehumidifier before you start making your bath bomb. Another option is to leave the bath bombs to dry in the (turned-off) oven.
- If you used too much of the liquid, it’s possible for the bath bomb to activate when it’s supposed to be drying. If it expands or puffs up, chances are you’ve used too much liquid, so use less next time.
- If your bath bomb is too crumbly, you probably didn’t add enough liquid. Try to increase the amount of liquid, bit by bit.
- If your bath bomb has clumps, holes, or bumps in it, you didn’t mix it thoroughly enough.
- When your bath bomb is in the mold, you can stick it into the freezer for a bit. Some people find it helps the bath bomb come out of the mold more easily.
- Epsom salt can have a really nice effect on the skin, but it can make bath bombs misbehave because it pulls in water at the wrong time. Leave it out your first few times making a bath bomb.
- In general, keep experimenting and tweaking your recipe! Trial and error is the best way to create a bath bomb recipe uniquely suited to you.
How to Store a DIY Bath Bomb
The quickest way to destroy a bath bomb is by storing it too loosely in a humid environment. This activates the bath bomb, so it ends up falling apart. Instead, it’s important to store the bath bomb in a tightly sealed container and to leave it in a dry, clean space.
If you’ve made a few bath bombs, you can wrap them individually in cling wrap, or you can put them in a simple Tupperware container. Wrapping them further in gift wrap or adding a ribbon will immediately turn them into a beautiful gift!
Although both citric acid and baking soda have long shelf lives, it’s recommended to use your DIY bath bombs in around 6 months, as citric acid will lose its potency over time, making your bath bombs not fizz.
So, are you excited to let things get fizzy?
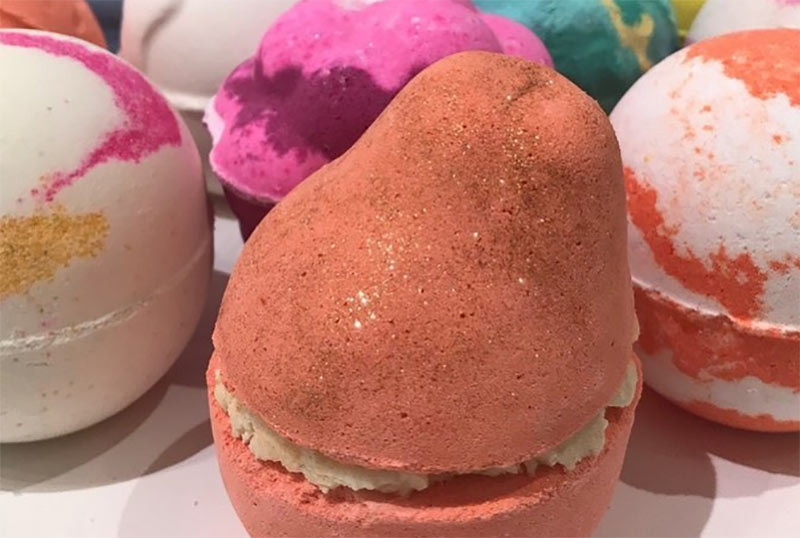
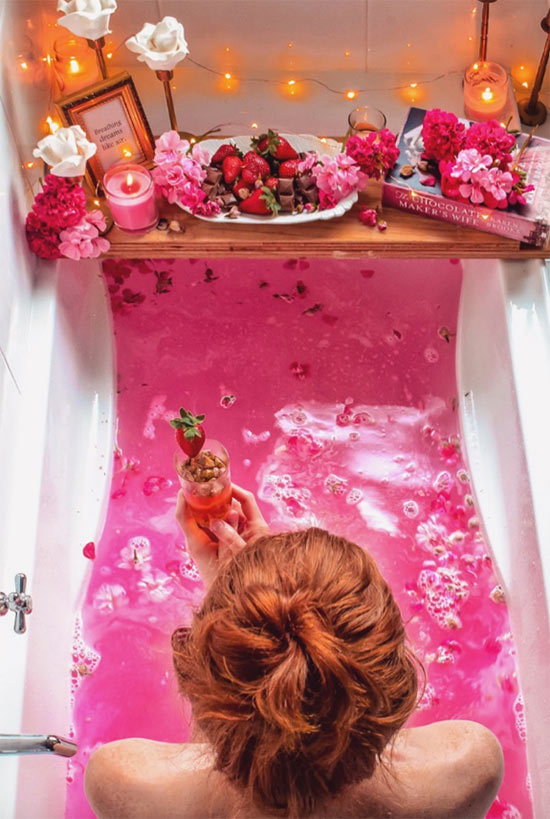
Photos via @lush, Instagram