No daily glam routine is complete without an eye-lectrifying eyeshadow set. Shadows come in practically every color and can make your eyes pop with minimal application.
Makeup artist Mandie Brice shared her secrets with us for applying eyeshadow like a pro. As a natural beauty and grooming specialist who regularly works with celebrities, her tips featured in this play-by-play guide can help you step up your shadow game. Ready to master bombshell looks? Read on!
The correct way to apply eyeshadow
We suggest taking this MUA-approved approach to applying eyeshadow no matter what theme you’re going for (e.g., smoky, neutral). With the right tools, you can make nearly any look happen. This process may intimidate beginners at first glance, but don’t worry — we’ve explained it in a way that’s easy to understand. You’ll be a pro in no time.
Step 1: Gather the right supplies
Before going to town on your eyelids, you need to make sure you have the right tools. A multiselection of quality eyeshadows will provide maximum coverage and enough variety for versatile looks.
“I recommend buying single shadows [as opposed to eyeshadow palettes because] you can replace them one by one … and cut down on buying colors you won’t use,” Brice said. The more shades you have to play around with, the more fun you can have. Depending on the look she’s trying to achieve, Brice typically works with one to four different shades.
Professional makeup brushes are another must-have for smooth application. According to Brice, Bdellium Tools offer some of the best makeup brushes. “They are high-quality, especially for the price point, and because [most of them] are vegan, they are also easy to clean.”
You’ll also benefit from a quality primer to seamlessly blend the shadow and prevent it from wearing off quickly. Brice recommended the Too Faced Shadow Insurance 24-Hour Eyeshadow Primer to apply underneath the eyeshadow. To top off your look, grab your eyeliner and mascara, and remember that false lashes also make for a fabulous finish.
Step 2: Prime your eyelids
This is the step where you prep your lids for lasting shadow coverage. Grab your primer, wash your hands, and apply it with your ring finger. Primer can keep your shadow’s pigment intact for long hours and make it less prone to sliding off when exposed to humidity or heat.
Step 3: Build your base
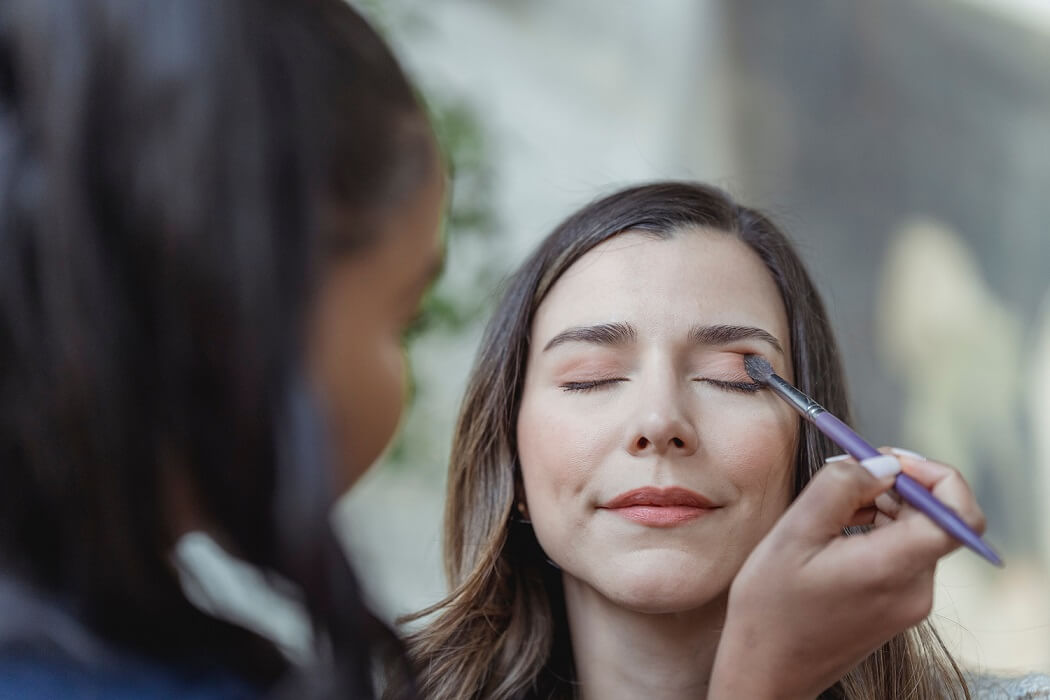
As the leading layer of your look, base shadows serve as a setting tool to ensure lasting shade intensity and brightness throughout the day — sort of like primer. “I usually use base shadow from lashline to brow in a color similar to my model or client’s skin tone,” Brice shared. “[The base is] important because it kind of acts as a way of turning the area into a blank canvas, and you can predict how all the extra colors will look on top of it with less variation.”
Choose a base that complements your skin tone. Nude shades are great for lighter skin, while darker variations are ideal for deeper tones. To ensure full coverage, sweep it across your entire eyelid with a fluffy blending brush. You could also go the liquid eyeshadow route if that’s your preference. Blending with your fingers should do the trick unless it comes with an applicator.
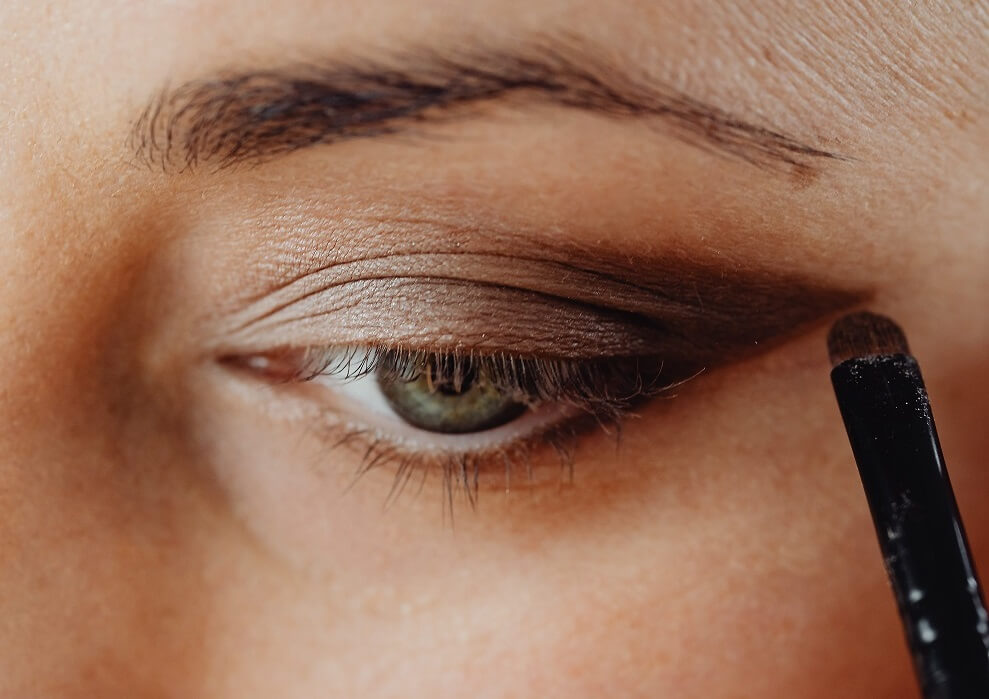
Step 4: Apply the darker shadow to define your crease
Next, apply the darker shadow to add depth and dimension to your eyes. If you want to make a bold statement and enhance the lighter base over your lids, dust a deep-colored shade in the crease of your eye.
“The darker shadow in the crease is important to give definition to the eye and make it appear larger and more open,” Brice said. “It goes either in the crease, or on a hooded eye, where the crease would be.
Using a rounded (preferably fluffy) blending brush, create a half-moon shape with your shadow and blend for a seamless contour. Add more shadow to intensify the hue. Apply a medium-toned transition shade above the darker hue on the top lid for further dramatic effect.
Step 5: Apply the brighter shade to lighten up your inner corners
Lighter eyeshadows can double as great highlighters. According to Brice, “Brighter shadow in the inner corners also helps open up the eyes, especially if they are small, hooded, or deeply set — it attracts the viewers’ eyes there.” People with deep-set eyes typically have a more pronounced brow bone that overpowers the eyes. A brighter eyeshadow can help shift the focus to where it needs to be.
A shimmery, bone-colored shadow is the perfect highlighter shade for your inner corners. Ivory shades are especially great for added drama and intensity. Apply with an angled brush.
Step 6: Define your lash lines
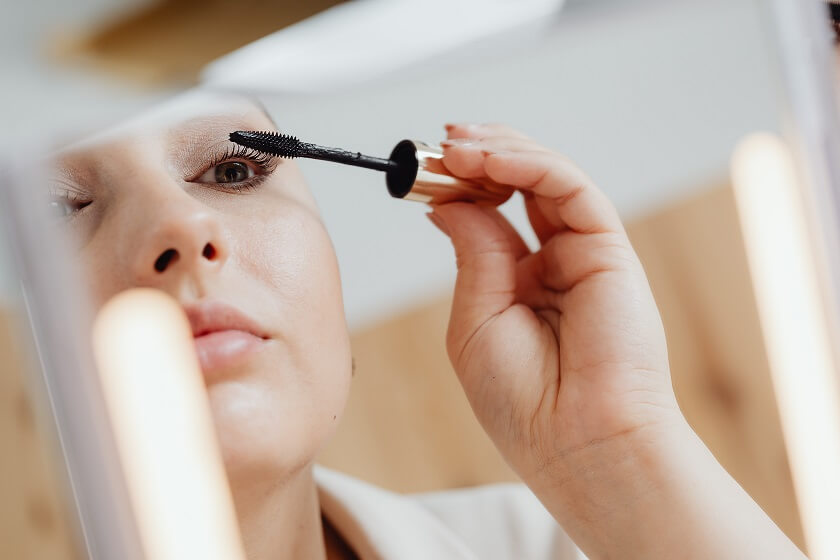
Last but not least, grab your favorite eyeliner and mascara. Alternatively, you could use Brice’s go-to if you’re not a fan of eyeliner or mascara — your “darker shadow with a small brush.” This crucial step accentuates the lashes, making them appear thicker and fuller. Using your product of choice, either create a winged look or make a hard stop at the end of your lashes.
Put your game face on
Applying eyeshadow like a pro might seem a little intimidating to some, but we hope that this step-by-step tutorial demystifies the process for you. Try this simple technique, and you’ll be creating stunning looks in no time. Whether you’re going for a dramatic or natural vibe, this universal approach to eyeshadow application is worth a try.