Summer is here, and I don’t know about you, but I am the very definition of pasty. Many of us dream of a golden tan that radiates health and well-being. Unfortunately, a true golden tan is anything but healthy since what it really represents is sun damage. To get that amazing tan, without the health risks of sun exposure (or tanning bed exposure, for that matter), sunless tanning with self-tanners might be the only option!
In this article, I’ll go through all the possible fake tanning tips, tricks and guidelines for an amazing tan achieved with self-tanners, and I’ll also demystify some of the secrets of self-tanners.
In this article:
- How Do Sunless Tanning Lotions Work?
- Is Using Self-Tanners Completely Safe?
- How to Apply Self-Tanner?
- How to Get a Natural-Looking Self-Tan on Your Face?
- How to Contour with Self-Tanner?
- Fake Tanning Tips for a Flawless Sunless Tan
- Common Self-Tanner FAQ
How Do Sunless Tanning Lotions Work?
Self-tanners contain an ingredient called dihydroxyacetone, or DHA. When DHA comes into contact with our stratum corneum (the very top layer of our skin, which is made entirely of dead skin cells), it reacts with the keratin in it (a protein component), and turns that top layer of skin into a natural golden brown tone.
Since this is a chemical process that depends on the body’s unique chemical composition, different people can end up with different tan shades, even if they have a similar initial skin tone.
Is Using Self-Tanners Completely Safe?
While dihydroxyacetone is safe for the most part (and it is certainly safer than the dose of UVA and UVB damage a tan normally requires), there are some safety concerns to keep in mind. DHA has been found to increase the skin’s susceptibility to sun damage, so if you intend to show off your gorgeous new tan on the beach, remember to apply sunscreen very carefully.
There are some additional concerns about some DHA potentially penetrating deeper than just the skin, and entering the body. There is no research showing specific harm that can result from this, but you still might want to be careful and not overuse self-tanning lotions. Any risks that self-tanners may pose are still incomparable to the damage the sun can cause.
As with any cosmetic product, some people may experience allergies. Before you cover yourself in self-tanner from head to toe for the first time, do a patch test on a small and sensitive part of your body, like your forearm or bicep. Leave the self-tanner on for a few hours, and if you don’t experience a negative reaction by the following day, you are safe to apply it all over your body.
Do this every time you buy a fake tanning product that you have not used before.
How to Apply Self-Tanner?
This is how to apply a self-tanner for that flawless fake tan:
- Exfoliate!
Whether you choose a DIY olive oil and sugar scrub, or a store-bought scrub like the lovely and sweet smelling Soap & Glory Breakfast Scrub (available at Ulta), what’s important is there isn’t any bit of excess dead skin left on your body. Pay close attention to extra dry areas like your knees and elbows.
- Cleanse
After rinsing away all of the exfoliant, wash your body with a body wash to remove any of the oil, and then dry yourself off completely. Don’t allow even a trace of moisture to remain on your skin, or else your self-tanner will not sink into your skin evenly, and may end up looking streaky.
- Moisturize
Since self-tanner reacts to dry, dead skin, the skin on extra dry areas like elbows and knees can turn out too dark. To mitigate this, apply moisturizer only to those areas, as well as your hands, backs of your heel, and any other areas that might be extra dark. It’s best to use an oil-free lotion, like the CeraVe Moisturizing Cream, which you can get at Ulta.
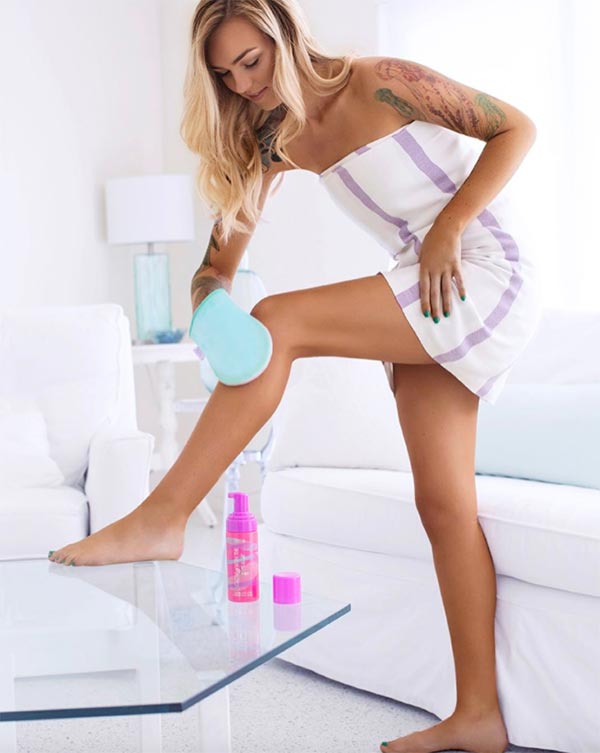
- Use Gloves
Put on a pair of latex gloves, or a self-tanner application mitt. Applying self-tanning lotion with your bare hands will stain your palms.
- Apply the Fake Tan
Begin to apply the self-tanner from the bottom up, using a generous amount of product. Start by applying it to your feet, and work your way up towards your legs. Use small circular motions, and always work upwards.
- Blend Well!
Once you’ve finished applying self-tanner to all large body parts, remove your gloves, and blend a smaller amount of self-tanning lotion into your hands.
- Correct the Mistakes
Before the self-tanner has enough time to totally dry, give yourself a once over to catch mistakes. Apply more self-tanner to areas that seem streaky, and remove unwanted spots of self-tanner with a bit of lemon juice on a Q-tip.
- Let It Dry
Now it’s simply time to wait. 10 minutes seems to be the perfect amount of time for your sunless self-tanner to really dry. Another few hours (depending on the brand, it might take as little as 2 or as long as 8 hours), and your tan will be fully developed and gorgeously bronze.
- Moisturize Your Skin Every Day
To keep your tan lasting long and looking gorgeous, moisturize your skin every day. This will help to extend the life of your self-tan.
- Refresh
Once it is time to refresh your self-tan, simply begin this same routine all over again, starting with exfoliation. Exfoliation will help to even out your skin, and get rid of the old self-tanner.
How to Get a Natural-Looking Self-Tan on Your Face?
Fake tanning the body is pretty simple, but any mistakes when self-tanning the face can be critical. While there are many similarities in the process, there are also some differences.
- Begin by exfoliating your skin with a gentle, oil free scrub. The Fresh Umbrian Clay Mattifying Face Exfoliant from Sephora is an excellent choice if you have oily skin since it’ll also soak up any excess oil that might get in the way of the self-tanning lotion taking hold. If you have dry skin, Origins Modern Friction Nature’s Gentle Dermabrasion, also from Sephora, should do the trick.
- If your skin is on the dry side, apply a light, oil-free moisturizer like the Clinique Dramatically Different Moisturizing Gel from Ulta all over your face. If your skin is combination, apply it only to the dry parts like around the nose, above the lip, and under the eyes. You may skip this step altogether if you have very oily skin and no patches of dead skin.
- You can now apply your self-tanner. For a natural look, start applying from the apples of the cheeks, where the sun would naturally hit your face. Gently work your way outwards towards the temples, and down into the cheeks.
- Repeat this step starting at the center of the forehead, and working your way down towards the nose, and again at the chin, and into the jaw line. Be careful applying self-tanner to the upper lip area and the nose, because they tend to pick up more color than other areas of the face.
- Make sure to blend the self-tanner well, both down towards your neck and up into your hairline.
- Give yourself a final look once over. If you’ve made any mistakes, clean them up quickly with a bit of baby oil. While lemon juice is more effective, it is too acidic for the face.
- Allow 10 minutes for the self-tanner to completely dry, and you are ready to go.
How to Contour with Self-Tanner?
Another cool thing about self-tanner is that if you apply it correctly, you can end up with a contour that will last a few days and won’t require any makeup. Of course, if you apply makeup on top of the contour, you’ll lose all of your hard work, so this is for times when you are not wearing makeup, and still want that extra definition.
- Begin like with any self-tanning lotion application, by exfoliating your face and moisturizing dry areas with an oil-free moisturizer.
- Since you need more control, use a makeup sponge or a synthetic makeup brush to apply your fake tan.
- Much like you would apply a contour powder, dip your brush or sponge into a tiny bit of self-tanning lotion, and blend it into your skin.
- Start by contouring the hollows of your cheekbones, beginning near the ear and working down towards just below the apple of the cheek. Blend well, and correct any mistakes with a cotton bud dipped in baby oil, before the self-tanning lotion has too much time to set.
- Next contour the forehead, using similar motions, blending well, and fixing any mistakes. Concentrate on the temples and close to the hairline, leaving the center of the forehead bare.
- You may also contour your nose, by using a small, synthetic eyeshadow brush. Simply apply a thin line of tanning lotion along the sides of your nose. The closer you draw the lines, the slimmer your nose will appear.
- You may also apply self-tanner right below the jaw, to create a sharper jawline and to create a stark separation between the neck and the face.
- Allow 10 minutes for the self-tanner to dry.
Fake Tanning Tips for a Flawless Sunless Tan
- Apply tape to the bottom of your feet, which have a thicker layer of dead skin than the rest of the body, to prevent them from becoming stained.
- Shape your hand like a claw when applying self-tanner to your hands. This way it will get into the creases of your fingers and knuckles, and look extra even and real.
- Wear a latex glove when applying self-tanner, to avoid having the product stain your palm too dark.
- You can also try one of those special tan applicator mitts from Sephora.
- Speaking of those mitts, you can fit the mitt over a back brush, secure it with a rubber band, and use it to apply the self-tanner over your back – sure beats having to ask a friend to help.
- While you definitely want to let the self-tanning lotion sit for as long as possible, to make sure it fully dries, a handy blow dryer can help speed up the process.
- Always wear a sunscreen when going outdoors, because self-tanner will make your skin much more sensitive!
- You can also use a self-tanner to contour the body. To create a slimming effect, you can either use two shades of self-tanner – a lighter tan as a base, and then a darker self-tanning lotion to contour. Keep the center of your body (belly, center of the thighs) lighter, and apply a darker self-tanning lotion along the outside, emphasizing curves and giving your body an overall slimmer look.
- To contour the chest, darken your cleavage and slightly above the breasts, leaving the rest of the skin a lighter shade.
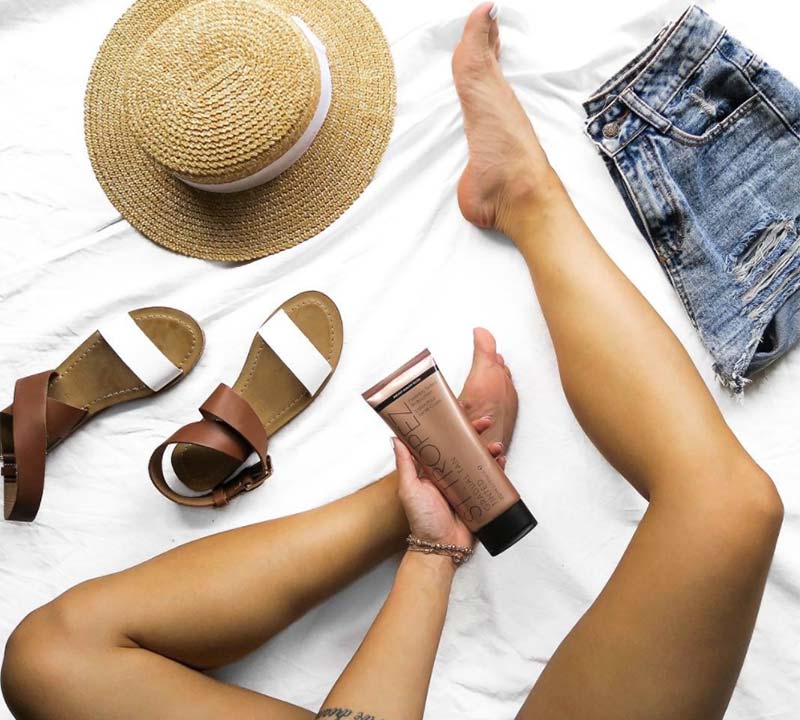
- If you are nervous about applying self-tanner the first time around, it’s perfectly okay to experiment with a wash-off formula like the St. Tropez One Night Only Finishing Body Gloss from Sephora.
- Remember that both shaving and waxing exfoliate the skin, so always shave or wax before applying the self-tanner. Any hair removal after self-tanning will ruin your hard work.
- If you find self-tanner tends to set into your pores (this is especially common on the legs), apply an astringent, like alcohol-free witch hazel, and allow it to dry. It will tighten your pores and prevent the self-tanner from settling in there.
Common Self-Tanner FAQ
Are you a fan of self-tanners? Do you still have any questions about sunless tanning? We answer them below!
They certainly do! While you do have to be careful, and use them exactly according to the guidelines (I’ll go through them, don’t worry), once applied self-tanning lotions give a beautiful, natural looking tan.
Of course, you have to choose an excellent self-tanner, but have no fear, I have a lot of amazing suggestions for some of the best self-tanning lotions, sprays, and towelettes in our product review guide.
The phrase “healthy tan” is a myth. Our skin produces melanin as a defense mechanism; any darkening of our skin is a sign of damage.
The kind of sun exposure necessary to trigger darkening of the skin can also seriously damage the skin in the long term. Your skin may not burn, but the free radical damage caused to the skin will contribute to premature aging and hyperpigmentation (that’s right, wrinkles and sunspots), not to mention it can seriously increase your chances of all kinds of skin cancer.
It’s true, sunless tanners don’t smell great. It’s simply the natural scent of the DHA. However, some companies have done an excellent job masking the awful smell. Read my reviews of the best self-tanners, and you’ll see that most of these options will leave you smelling lovely.
This depends on the brand, but usually once your self-tanner has been applied, it will take around 3 hours until your sunless tan has completely developed.
A sunless tan usually lasts between 3 to 4 days. To keep your tan going strong, simply re-apply the tanning lotion on the 4th day. I do have suggestions for self-tanning lotions that give you a longer lasting tan.
That orange fake tan look was a big problem in the early days of sunless tanning. Nowadays, most self-tanners (including all of the ones on my list of the best self-tanners) have been color corrected with a bit of green, to avoid that embarrassing mistake.
However, if you are very fair and use a much darker self-tanner, or if your skin is very dry to improper prep (not exfoliating or not moisturizing regularly), you might still end up looking a little orange. Choose an appropriately colored self-tanner, and always exfoliate and moisturize first.
While most self-tanners will develop within a few hours, some self-tanners take a few days to show up, and require multiple applications to become really noteworthy.
Gradual self-tans are an excellent choice for anyone who is really nervous about their self-tan showing up too dark, and would rather slowly and carefully work their way up towards their tan. Gradual self-tanners should be applied the same way as any other self-tanning product.
Self-tanning towels are single-use towelettes that save you the need to use a glove or mitt when applying self-tanner. Imagine a larger than normal face wipe, but instead of being saturated with a cleansing liquid, it is saturated with a self-tanning liquid instead.
The self-tanning towelettes are made to perfectly distribute the self-tanner without any streaking or blotchiness, so they are a perfect choice for beginners. Using one of these towelettes can be ultra convenient, because it reduces the mess, and allows you to quickly apply a self-tanner.
Like with any other self-tanner, tanning towelettes will give a lovely tan for up to 4 or 5 days. The self-tanning towels themselves are single use, so you will have to throw them away after each use.
Each towelette should cover your whole body, so in the greater scheme of things, while it is not a completely eco-friendly product, it is not terrible either.
While the tan should set after around 8 hours, the longer you wait to shower, the better. Giving it 12 to 24 hours before showering is ideal.
Some self-tanners are made to be showered off sooner (or even right before a shower, like some gradual self-tanners), so follow the directions on the product packaging.
Of course, you can swim! Isn’t the whole point of a self-tan to show off your lovely, newly bronzed skin? Much like with showering, you should avoid water for about 12 hours, but afterwards, go and have fun!
If you’re swimming outdoors, make sure to pile on the sunscreen, and moisturize well since a long soak in water can dehydrate the skin.
The best time to shave is before self-tanning. Since shaving exfoliates the skin, doing so after fake tanning might remove some of your hard work. Time things carefully, so that you don’t have to shave until right before your next self-tanner application.
Photos via @tartecosmetics, Instagram