Balayage is an easy-to-maintain hair color option that looks youthful, chic, and effortless. Balayage hair colors have a magical way of adding intense dimension and depth to a hairstyle, and look incredible when paired with soft curls. The gorgeous effect and ease of maintenance are the main reasons why balayage highlights are an excellent choice.
In this article, we’ll take you through everything you need to know if you’re thinking of switching over the balayage hair color, including what a balayage is (and what it isn’t), how to get perfect balayage highlights at home, and how to make sure it looks incredible for a long time, no matter what kind of hair situation you’re starting with.
What is balayage hair?
Standing for sweeping or painting in French, balayage hair refers to the hand painting technique used to achieve that natural, graduated hair color effect that is quite possibly the perfect hair color trend for any season, but especially for spring and summer.
Balayage hairstyles are achieved through clever hair dye application. In balayage hair colors, hair dye is applied to the hair by hand in a natural, sun-kissed style to create the effect that the hair has been naturally tinted by the sun.
The hair dye is applied (in the best salons, through a hand painting technique) to the ends of the hair in streaks, with the longest streaks framing the face and creating the effect that more of the hair has been dyed than is actually true. Since the hair dye is only applied to the outer layers of the hair, balayage hairstyles are high impact aesthetically, but take almost no toll on the health of the hair.
What is the difference between ombre, sombre, and balayage hairstyles?
The ombre was all the rage a few years back, as the go-to low maintenance hair color choice. In an ombre, the roots are kept their natural color, while the ends are dyed a different, normally lighter color. The separation between the darker roots and light ends is stark – so stark that it wouldn’t be a misnomer to call an ombre a color blocking hairstyle.
A sombre is a portmanteau of “subtle” and “ombre”. While it still follows the same rule of darker roots and lighter ends, the separation between the two is much less stark or jarring.
The light color starts gradually, a little higher up, so dark hair becomes streaked with a lighter color, until it is solidly dyed the lighter color at the ends. The effect is a subtle, well-blended hair color.
A balayage, as previously explained, is all about using a small amount of hair dye but achieving a striking effect. Only the outer layers of the hair are dyed, and the dye is kept mostly to the tips of the hair, along with a few stray streaks, and highlights sitting higher along the layers of the hair that frame the face.
Like with a sombre and ombre, the roots are kept their natural shade, so when the hair grows out there is no need for an immediate dye job.
Balayaging at the Salon
Balayage hairstyles do require some expertise, so balayaging your hair at the salon might be the easiest choice if you’re not an avid hair DIYer. However, not all colorists can achieve a perfect balayage, and sometimes other extenuating circumstances might impact how well your hair will turn out. As always, I have some advice!
Do Your Research
Whatever you do, don’t walk into the first hair salon you see! Go online, and read reviews of different hair colorists in your area. You can start with an easy Google search like “best balayage in [your town’s name],” and then simply read reviews.
If you already have a salon or colorist in mind, read reviews online, and look up their online gallery or Instagram profile. Pictures of their work are a great help, because they’ll show you what their unique style is (after all, no color technician balayages the same way).
Get That Consult
You do not have to commit to a hair coloring session the second you sit in the stylist’s chair. In fact, you shouldn’t! Booking a consultation is critical, because it gives you the chance to speak with the stylist, tell them what you want, and get their input.
During the consult, you might discover excellent ideas, or you might realize that this specific color technician doesn’t understand your vision or doesn’t jive with your particular style.
Feel free to bring a few examples of the kind of balayage hairstyles you like, to give the hairstylist a clearer idea of your vision. Make sure to tell your stylist your hair color history, and your usual hair styling choices. These will both impact how the stylist will balayage your hair.
Be Ready for the Time Commitment
A hair coloring appointment is usually not a short thing – be ready to spend at least an hour at the salon (and longer if you’re starting with dyed hair, or if you’re looking for complex balayage hair colors). Your colorist might also suggest a few appointments to slowly take your hair towards a healthy but outstanding balayage.
How to DIY Balayage Highlights at Home
Balayage hairstyles are not easy to achieve, because the balayage technique requires a blend of expertise and instinct. After all, it has to look natural and a little random, but still classy and well put together.
If you want to take the plunge, and try and give yourself a balayage at home, just follow these tips:
1. Prep – Pick Your Poison
Come up with a course of action. Decide how light you want your balayage to be, and where you want the balayage highlights to start. Select a lightening hair dye in the appropriate shade (remember that results are not always predictable, especially if you are dyeing hair that has already been treated).
Clairol Frost & Tip Nice N’ Easy Maximum Blonde Highlights, from Ulta, is a safe choice from at home balayage hair colors, because it bleaches the hair well and rarely leaves behind an orange tint. It’s also a good first stage lift that can be followed with a darker blonde dye or a toner.
2. Prep – Don’t Wash!
It’s fairly well known that unwashed hair dyes much better. In addition to unwashed hair holding hair dye and bleach better, it is also a healthier choice. The natural oils that the scalp produces are evenly distributed, creating a protective layer over each strand of hair, and preventing it from being damaged by the bleach.
3. Prep – Mix It Up
It is always best to follow the directions on the box. In the case of the Clairol Frost & Tip hair dye, this means mixing a powder and developer in an already included mixing tray. Give the color time to develop.
4. Prep – Getting Ready to Dye!
Put on a shirt that you don’t mind getting a little bit stained. Button-up shirts are a good choice, since you won’t have to pull them over your head.
Find a comfortable place to sit, preferably in front of a mirror, and have a towel (once again, that you don’t mind getting stained) sitting nearby so you can use it for wiping your hands.
Lay out the mixing tray, and a small hair brush in case one is not included in your hair dye kit. Most importantly, get your latex gloves on.
5. Part Your Hair
Make sure your hair is thoroughly brushed, and has no tangles. It is always best to start from the inner part of the hair, so part your hair at the crown and pull it into a semi updo. Pull half of the loose part of your hair forward over one shoulder.
6. Get to Work!
You can choose to use your gloved hands, or a brush to apply the dye. Choose a strand of hair, and apply the dye starting right below the tip, and pulling it downwards so it fully covers the tip.
Then, while holding the strand in a pinching motion, pull the dye upwards a bit, in a way that is a bit like teasing (but gentler). This will create that soft, natural balayage effect.
7. Keep It Going, But Messily
Continue applying the dye to more and more hair strands. It’s your choice whether you want to cover almost all of your hair tips, or just a few.
It’s important that you vary the thickness of each strand of hair your apply dye to, and that you pull the dye up occasionally higher and other times lower. This will look much more natural and messy, like true balayage hairstyles.
Brush the other half of your hair over your shoulder, and repeat the same steps.
8. Face Framing Strands
Release from the semi up the strands of hair that would normally frame your face, and separate them into a few sections. Personally, I like the strands closest to the face to have a highlight that starts higher up, and then progressively gets lower as those strands blend into the rest of the hair (but you do you).
Apply a generous amount of hair dye as close to your roots as you desire, and work it all the way down to the tips, making sure the full strand is adequately covered and that there won’t be any patchy areas. Repeat this with the rest of the face framing hair strands.
9. Finishing the Crown
You may choose to pull the part of your hair you have already dyed into a low ponytail, if you’re worried about getting confused. Alternatively, you can just go ahead and let all of your hair loose.
Much in the same way that you dyed the inner part of your hair, begin dyeing the outer part of your hair. This time, however, pull the dye up a little bit higher then you would have on the inner part of the hair.
Play around, and only dye as much as you want. You could create a sombre effect, or only dye a few pieces of hair here and there for a super subtle balayage.
10. Let it Rest
Now it’s time to wait for the dye to take hold. You may choose to twist it all up into an updo, or to cover it with a shower cap.
Follow the directions on the box, but make sure not to let the dye sit for longer than 45 minutes, or you risk damaging your hair. Sit back, relax, maybe put on some Netflix.
11. Wash It Out
It is usually best to use the conditioner included in your hair dye kit, when washing out the dye. Avoid using shampoo. Once you’re done washing, style your hair as usual, and admire your gorgeous new balayage hair!
Tips To Keep In Mind
- Anytime when you are dealing with bleach, you run the risk of your hair not coming out the perfect color. Brass and green hair are unfortunately all too common results of bleaching hair, even when done by talented professionals.
- Balayage hair colors can sometimes come out too random and awkward: look for a hair colorist with a lot of experience balayaging hair, so that the results turn out perfect.
- Allergic reactions to hair dye are all too common. Perform a patch test by applying a small amount of mixed dye to a small area of your skin, where a tint or rash won’t be too big an issue. If no allergic reaction occurs, you can go ahead and use that hair color.
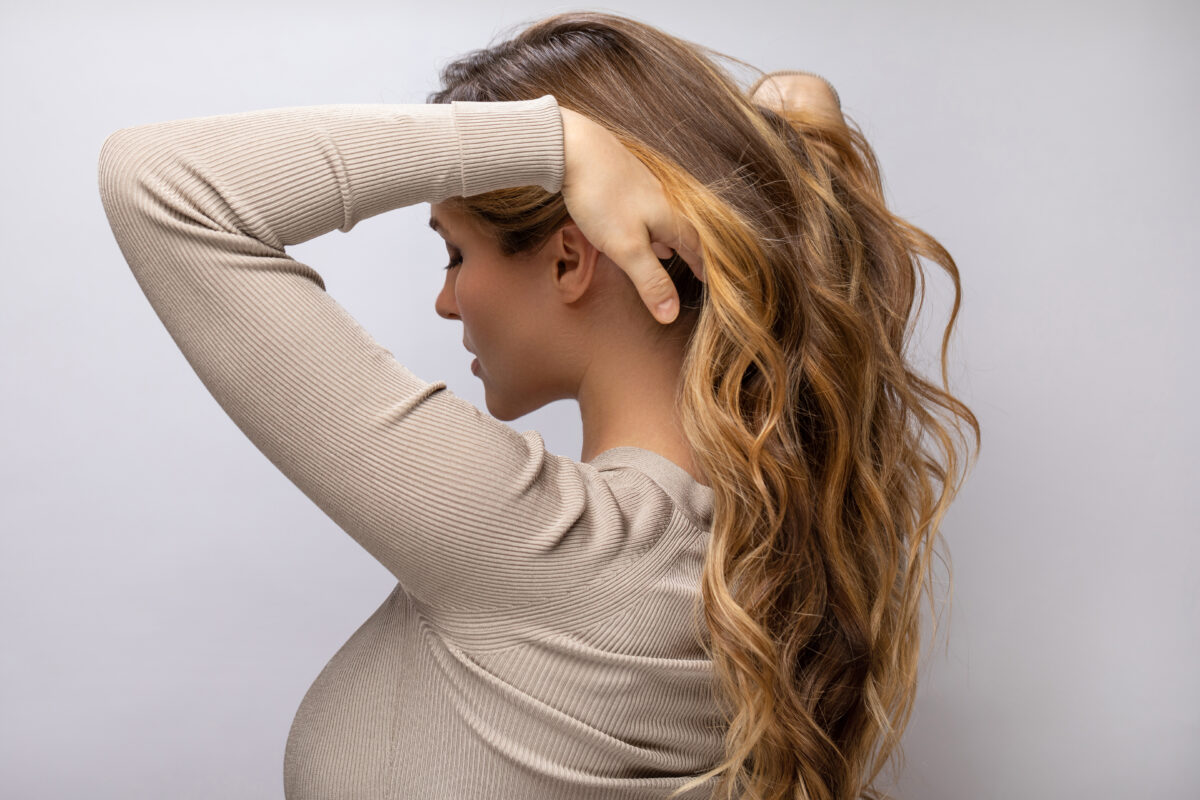
- Balayage is a hair coloring choice that can look amazing or awful depending on the styling. Curls and waves are normally best paired with balayage highlights, while pin straight hair only looks good with an amazing and thoughtful balayage.
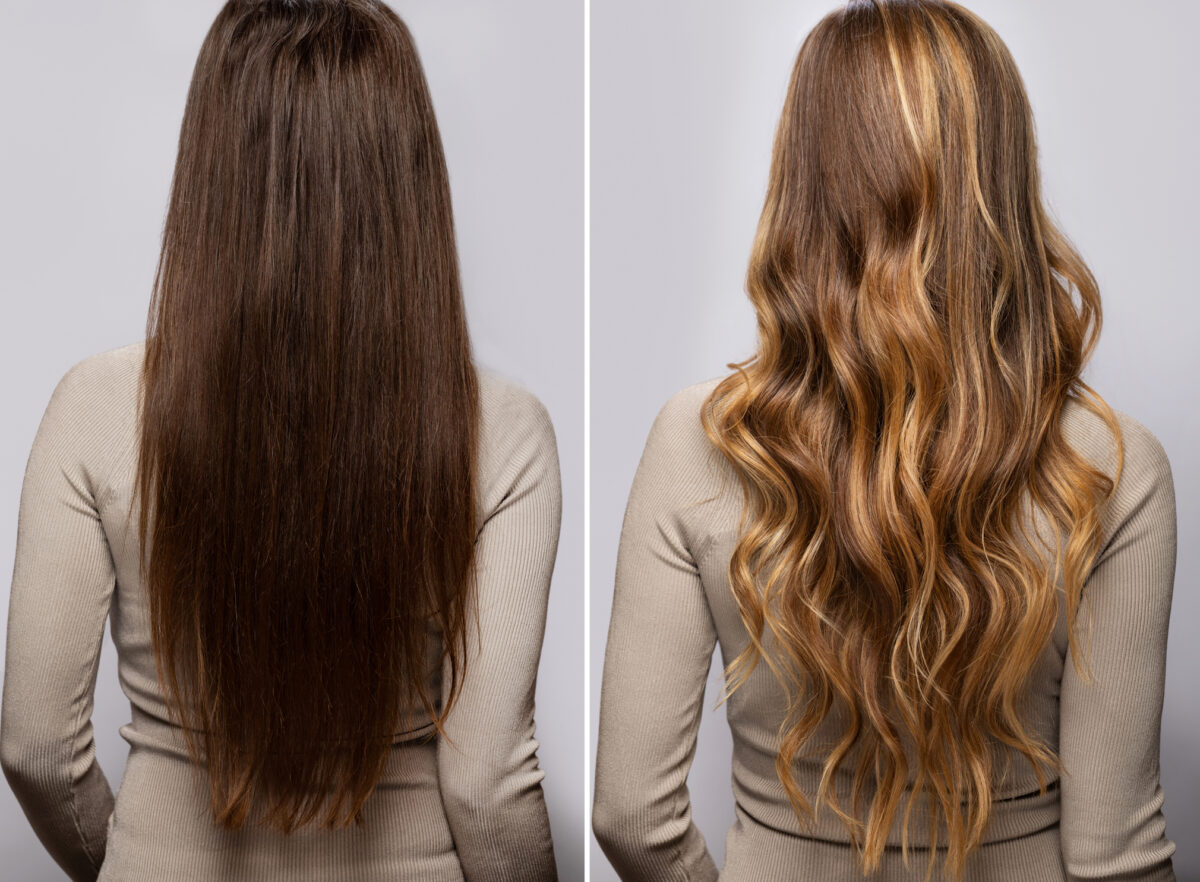
How to Balayage Dark Hair
Balayage hairstyles work really well for those with dark hair, since they soften and brighten it without forcing you to use massive amounts of bleach. If you want to balayage your dark hair, make sure to take it slowly, and start with a blonde dye that is not too strong.
Opt for a lighter brown or a darker blonde the first time you add balayage highlights – you can always lighten it further later on. Since you’re starting off with dark hair, a bit of bleach will be inevitable, but you can always punch it up with other colors, like reds, pastels, greys, and even wild mermaid colors.
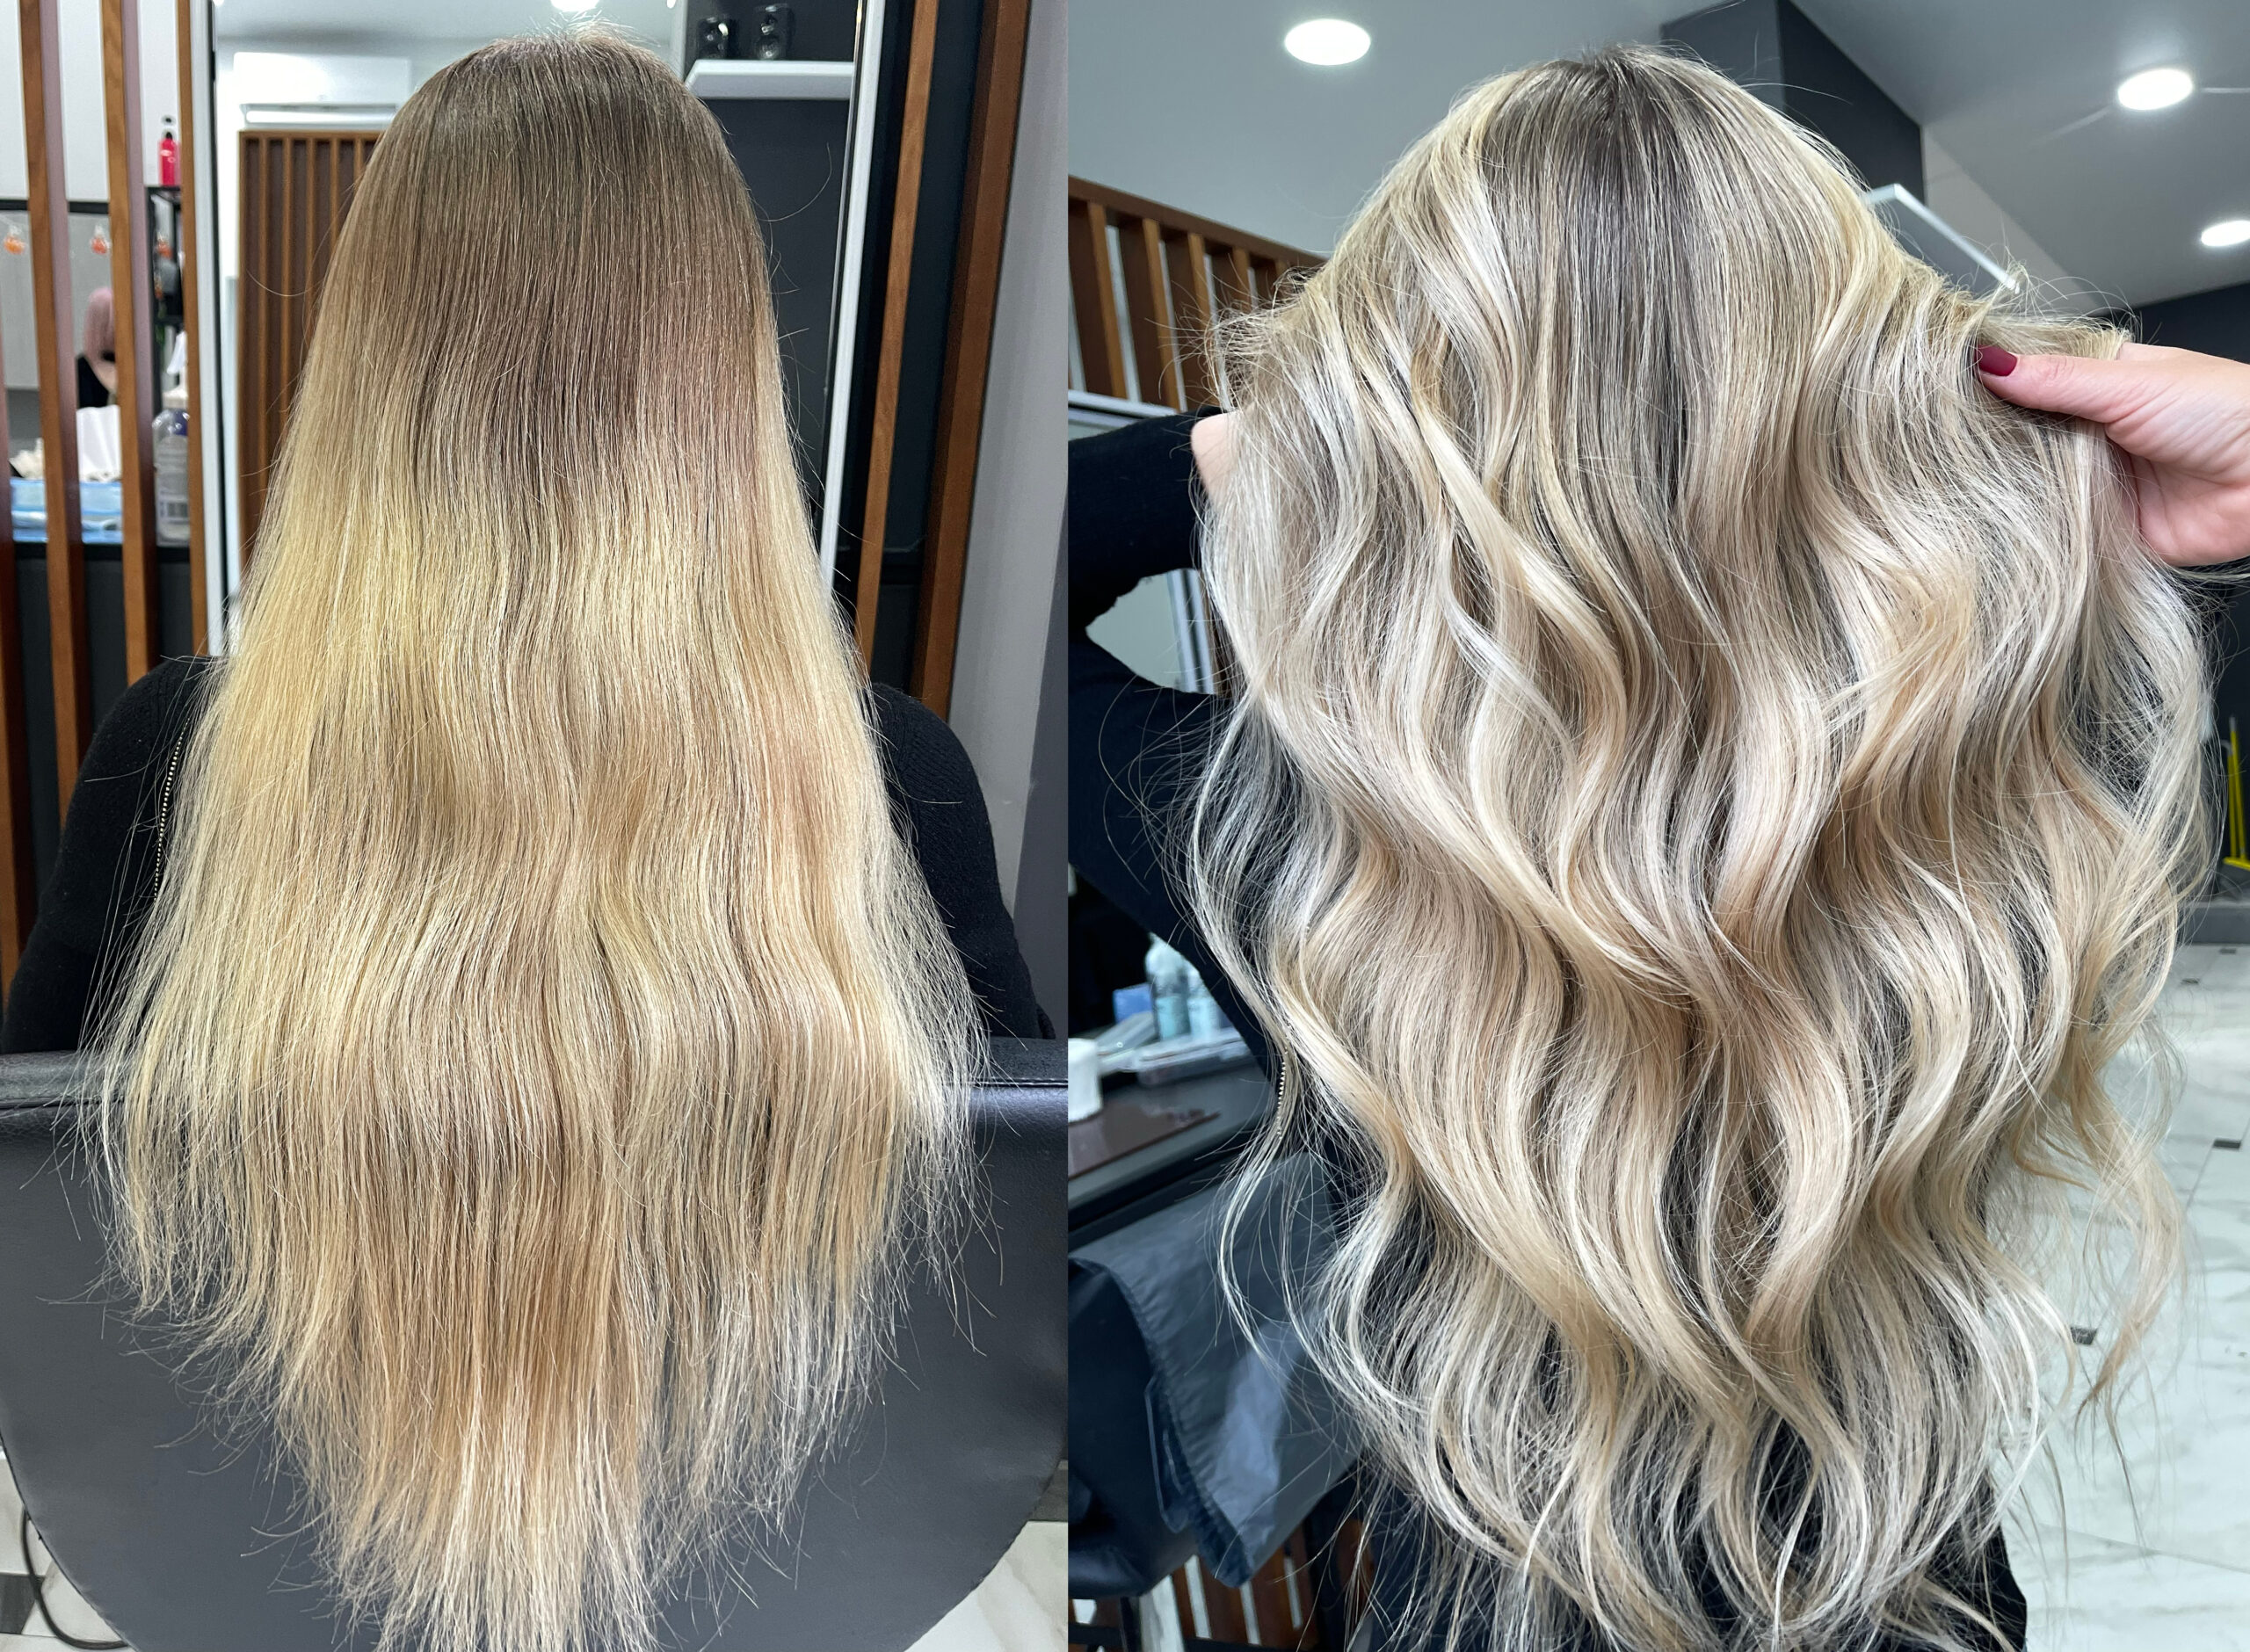
How to Balayage Blonde Hair
Those with blonde hair have a few options as to how they can rock balayage hair colors.
The easiest one is by brightening their blonde hair. Simply add balayage streaks of a lighter shade of blonde or platinum, for an ultra shiny and high dimension blonde bombshell look.
If you are hoping for a more traditional balayage look, with darker roots and lighter streaks and tips, you can actually achieve the balayage effect by dyeing your roots a darker color. While this defeats functional purpose for balayage hairstyles (i.e. low maintenance and virgin roots), the effect is so cool that we understand why you might want it.
Additionally, those with blonde hair can also try a reverse balayage – in other words, using the traditional balayage hair coloring techniques, but with darker colors. Since the hair is naturally light, darkening the tips would hardly cause any damage, and the effect is quite unique, adding a touch of mystique to the blonde.
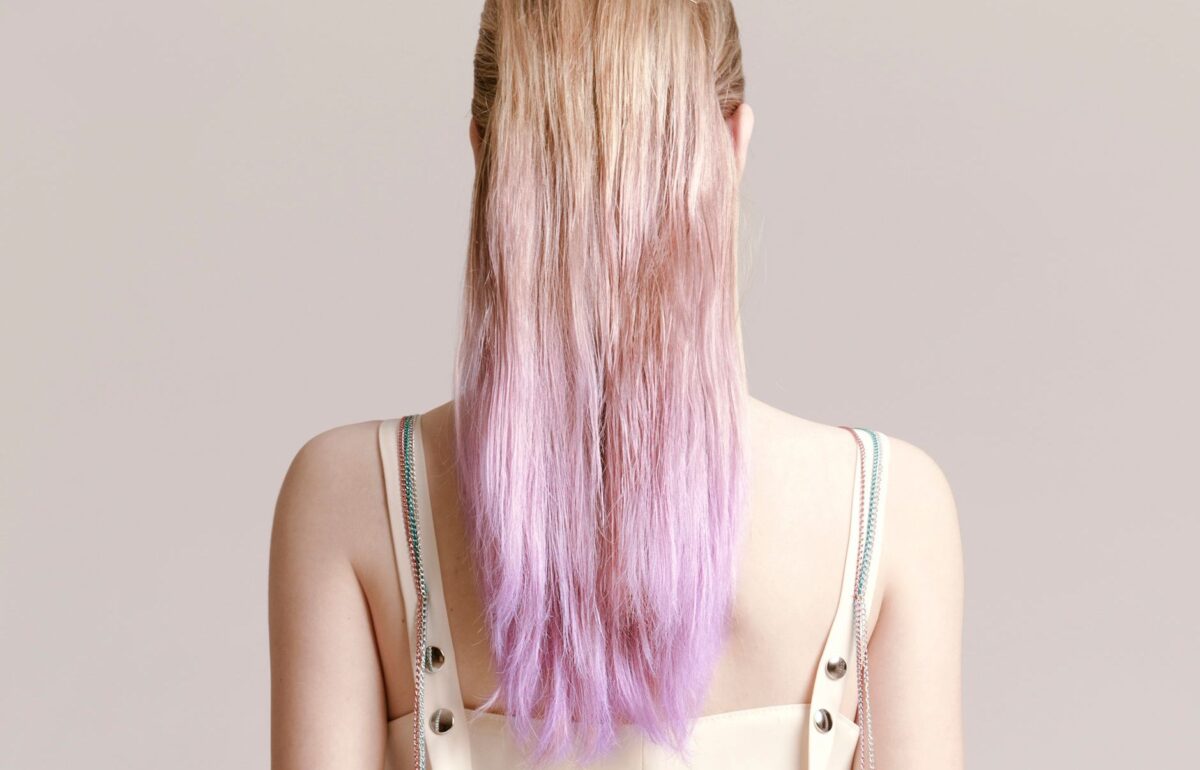
Lastly, a way to make the best of naturally blonde hair is by playing with ultra trendy unnatural hair colors. Both permanent and semi-permanent hair dye options exist, so if you’ve always wanted to try something out of the box, balayage hairstyles can be a great way to experiment. Both pastel and metallic hair dyes work really well as balayage hair colors, especially with blonde hair.
Caring For and Maintaining Balayage Hair Colors
Isn’t the whole point of balayage that it doesn’t require too much maintenance? Well, while bi-monthly salon visits are not necessary, there are still a few steps you can take to keep your balayage hair colors looking bright and fresh, and the rest of your hair gleaming with health.
- Try to limit how often you wash your hair. Over washing will either fade or dull your beautiful balayage highlights. After dyeing your hair, try to wait at least a full day (waiting 3 days is best) before washing your hair.
- If you haven’t done so yet, make the switch to a sulfate-free shampoo. The Perfect Blonde Shampoo by Pravana (available at Ulta) will do the perfect job of keeping your blonde tips bright and beautiful.
- Get in the habit of deep conditioning and masking your hair, at least once a week – especially the dyed ends. Some masks, like the Christophe Robin Shade Variation Nutritive Mask, from Sephora, can multi task by both nourishing and hydrating the hair, and by amping up the color a bit.
- If your hair gets greasy, instead of washing it mop up the grease with a dry shampoo powder, like Living Proof Perfect Hair Day (PhD) Dry Shampoo, from Ulta, which smells beautiful, and takes away excess oils without leaving a residue.
- Before styling your balayage hair, make sure to use a heat protectant spray, especially on the dyed parts of your hair, which are now much more susceptible to damage. You can try Redken Pillow Proof Primer Spray, available at Ulta, for that protective layer.
How much does a salon balayage cost?
Prices vary very widely from salon to salon, but you can expect to spend a minimum of $100 on a balayaging session. You might be able to work out some sort of maintenance schedule with your hair stylist that will reduce costs.
How long do balayage hair colors last?
It’s difficult to predict how hair will respond to balayage hair colors over time, and this also depends on what kind of color you started with.
Once the hair has been bleached, it will not get darker, so this mostly depends on how quickly your hair grows out, and whether you were wanting your balayage highlights to stay at a specific shade. On average, 3 months is long enough between touch-ups.