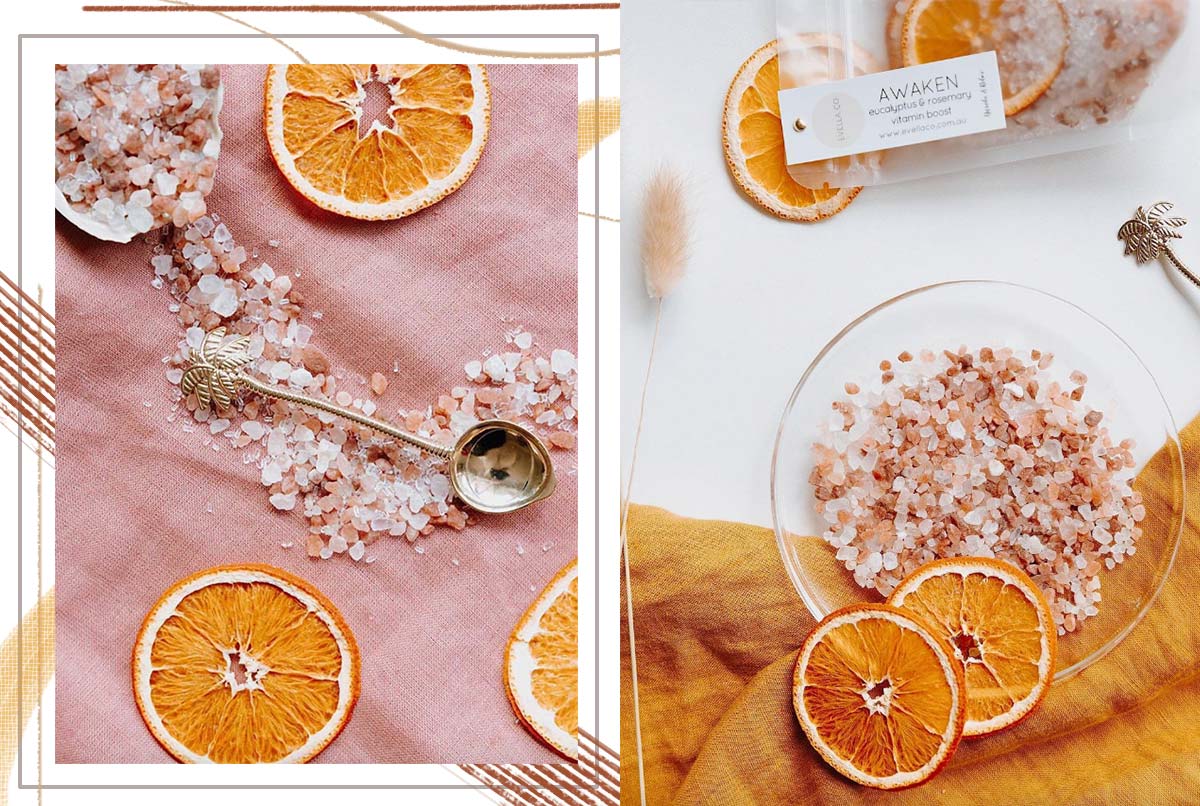
With all the benefits of using bath salts, it’s not surprising that so many people want to incorporate them into a self-care routine. But this helpful natural product can be expensive – especially if you prefer versions infused with essential oils or salts sourced from premium locations. Learning how to make bath salts will not only help you save money but can also allow you to make an endless supply of restorative indulgence to boost your mood, improve blood flow, and more.
In this article:
- Why You Should Make Your Bath Salts
- How to Safely Store Bath Salts
- How Long Do DIY Bath Salts Last?
- Essential Ingredients for Bath Salts
- Homemade Bath Salts Recipes to Try
- Bath Salt FAQs
Why You Should Make Your Bath Salts
Anyone who’s a fan of DIY projects knows that sometimes opting to make something at home can be easier than heading to the store and paying an upcharge for the same item. While simple bath salts like Epsom salt are fairly affordable, it’s easy to find yourself spending a lot of money to get your hands on a special blend featuring nurturing essential oils and specially sourced salts from around the world.
But beyond the cost factor, learning how to make bath salts can also give you the freedom to make customized blends to meet your needs. Whether you’re concerned about aromatherapy or want to tackle other health concerns, when you’re the producer, you can be sure that all your needs are met.
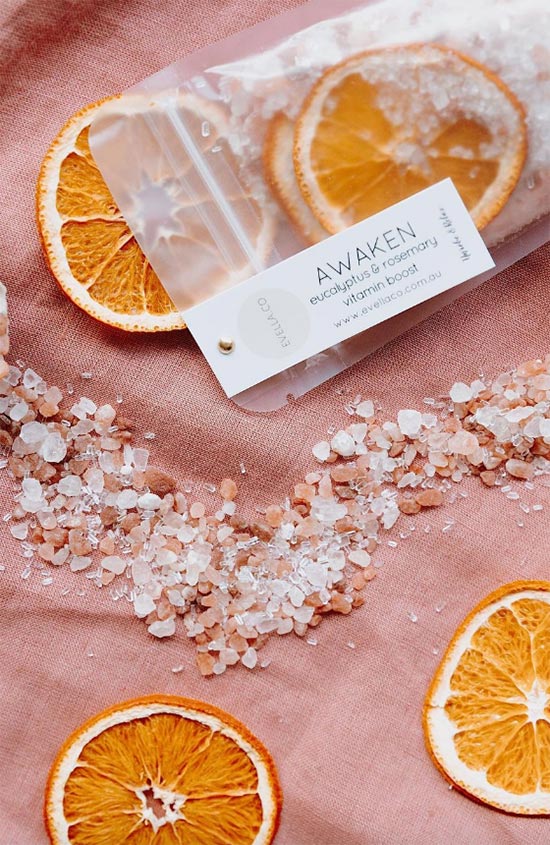
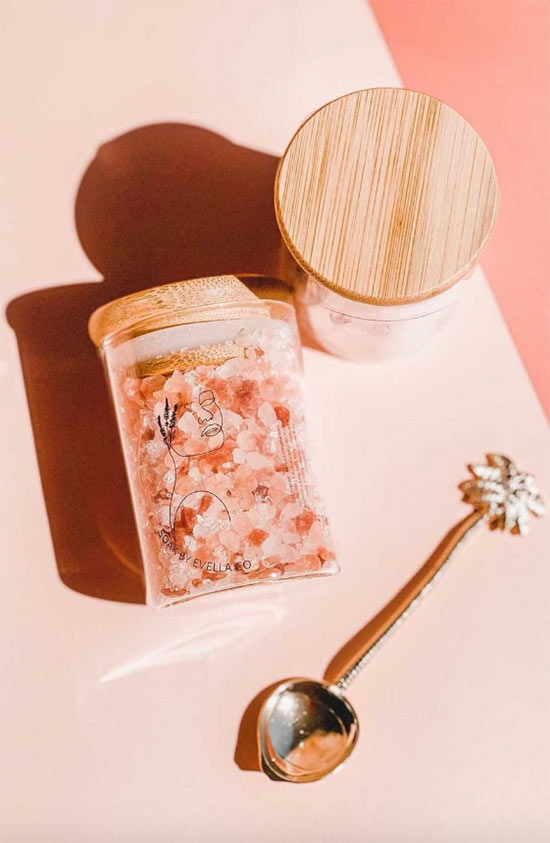
Best of all, DIY bath salt recipes can serve as the perfect thoughtful gift, whether for birthdays, housewarmings, or even seasonal holiday gifts. And they can even serve as accent decor if you place them in a stylish glass or acrylic container.
How to Safely Store Bath Salts
The biggest concern you’ll have with making bath salts is trying to protect them from moisture. When moisture is introduced into the equation, you can – at best – deal with bath salts that clump and harden. But in extreme cases (especially if you don’t use them frequently), moisture can encourage mold growth.
For best results, you’ll want to store your homemade bath salts in an airtight container. This can be a glass mason jar or a modern jar with an air valve. But the goal is to ensure that every time you close the container, moisture doesn’t have a chance to seep inside, which can harden the salts. Avoid exposing them to water, which will encourage mold. If you’re concerned about mold growth, you can use preservatives – even natural ones like vitamin E – which will inhibit mold growth.
According to some bath salt experts, you should also allow your salts to off-gas immediately after making them before you close the container. Off-gassing is the process of chemical compounds being released into the air. All products undergo off-gassing. But depending on the chemicals being released, the compounds can be quite volatile – and are literally known as volatile organic compounds. Giving your DIY bath salts time to air out allows them to release any compounds, which might otherwise encourage clumping, mold growth, or worse.
How Long Do DIY Bath Salts Last?
If you’re making homemade bath salts, you can expect to get anywhere from three to six months of use out of them before you need to toss the contents and make a new batch. If you use oils in your recipe, replace your concoction after three months. DIYers that don’t add oils can get six months of use from their bath salts. However, if you’re an avid bather, you may find that you never reach the six-month mark as you finish a batch in no time.
Note, though, if you add oils to your recipes – either essential or carrier oils – and opt not to bake the bath salts first, you might experience faster expiration. Both carrier oils (i.e. almond oil, jojoba oil, olive oil, etc.) and essential oils have different shelf lives. In their original bottles, you should be able to get the recommended shelf life. But once added to bath salts and exposed to air, their lifespans shorten significantly. Over time, the oils can turn rancid. Usually, you’ll notice that your bath salts have an “off” aroma.
For best results, use pure carrier and essential oils that don’t contain additives, as these can also alter shelf lives. Just keep in mind that once added to a recipe, the clock is ticking, and you might need to periodically review your bathroom contents to toss anything that might have expired.
Essential Ingredients for Bath Salts
As luxurious as ready-made bath salts feel, they’re incredibly easy to make and don’t require a laundry list of ingredients to make. They’re also incredibly budget-friendly. In most cases, you’ll find that you can easily make multiple batches of bath salts for less than you’d spend on a to-go meal from your favorite quick-service restaurant.
Because of the inherent DIY nature of making bath salts, you can create an endless list of recipes. And in most cases, you won’t need to go out and buy specialty ingredients or tools since most people will have the essentials around their house already.
Note: Before making large batches of any bath salt recipe, always patch test the raw ingredients first to ensure that you aren’t allergic to anything. Likewise, if you’re making bath salts for others, be sure you know if they’re allergic to anything in advance.
Core essentials you’ll need for a basic bath salt recipe include:
- Epsom salts/real salt (i.e. coarse sea salt/Himalayan salt/etc.)
- Baking soda
- Mixing bowl
- Spatula or spoon
- Mason jar or airtight plastic container
- Baking sheet
- Aluminum foil
- Plastic cling wrap
For more variety, consider adding the following optional ingredients:
- Essential oils
- Carrier oils (i.e. jojoba oil, coconut oil, or sweet almond oil)
- Freshly squeezed citrus juice (i.e. orange or lemon)
- Food coloring
- Dried herbs or flowers
- Preservative
Tips for a Hygienic DIY Project
Creating DIY recipes is fun and can be a fantastic creative experience. But even if you’re just making bath salts for yourself, you need to be sanitary throughout the process.
- Always work in a clean environment.
- Always use clean hands when handling ingredients.
- Also, be sure to sterilize your tools, workspace, and containers before you begin. While something might look visibly clean, it’s most likely not. And if you’re planning on making bath salts for gifting or as a side project, wear gloves during the process and have a dedicated set of bath salt tools that aren’t mingled in with your everyday kitchenware.
A Word on Preservatives
Vitamin E oil is a natural preservative, but other options might be more effective – especially if you’re making bath salts to give or sell to others. It’s important to do your research before you begin adding other preservatives to your bath salt mixes. Understand how long they can maintain your product’s integrity and if they work well when paired with essential or carrier oils.
What You Need to Know About Essential Oils
Likewise, many popular essential oils such as orange oil, eucalyptus, and peppermint usually can’t be applied directly to the skin without a carrier oil (i.e. coconut, jojoba, almond, etc.). While you can add them directly in a bath salt recipe – even without adding oils – be careful with the amounts. Keep in mind that you (and others) will be soaking in this recipe. As a general guide, avoid exceeding the 15- to 20-drop ratio, as exposure to large doses of essential oils can create toxic side effects.
Homemade Bath Salts Recipes to Try
Bath salts are surprisingly simple to make – often taking less than an hour to complete from start to finish. Whether you’re dabbling for yourself or want to whip up a batch of adorable bath salts for friends and family, try these fun recipes or use them as a stepping stone to create something unique.
The Basic Recipe
Whether this is your first time or you just prefer to keep it simple, this basic recipe is quick and easy and yields a classic salt soak you’ll love. You’ll need:
- 2 cups of salt (Epsom, sea salt, Himalayan, whichever you prefer – you can also add multiple salts – just be sure that they equal two cups)
- ¼ cup of baking soda
- 15 to 20 drops of essential oils
In a glass bowl, add your salt. Next, add in the baking soda and mix thoroughly with a spoon. Then add the essential oil drops and mix again.
Optional
If you prefer, at this point, you can add in additional ingredients such as oils, coloring, or fresh juice, herbs, and flowers. If you add herbs and flowers, pulse them in a food processor or blender first. While this isn’t an essential step for the recipe, you’ll thank us later when you’re cleaning out your bathtub after a soak. Whole flowers and herbs can be a nightmare to clean and may potentially clog drains.
Optional
Baking bath salts can help improve their shelf stability by helping to dry them and remove excess oil or moisture, which might otherwise encourage clumping and a shorter shelf life. This isn’t a necessary step but only takes 15 minutes.
Preheat your oven to 200 degrees Fahrenheit. Once you’re done combining the bath salt mixture, line a baking sheet with aluminum foil. Spread your bath salts evenly over the aluminum foil. Bake your bath salts for 15 minutes, stopping to stir them every five minutes. Once done, remove them from the oven and let them cool.
Once finished mixing and/or baking your bath salts, store them in an airtight jar. Some experts recommend letting them off-gas at this stage – usually overnight. Rather than sealing the jar, you’ll want to cover the opening with plastic cling wrap, poking a few holes through the wrap.
Soothing Bedtime Bath Salt Recipe
Research has proven that engaging in a routine nighttime ritual that helps to relax can improve your ability to fall and stay asleep. This calming bath salt recipe will help you unwind and prepare for bed. You’ll need:
- 4 cups of Epsom salt
- 1 cup of coarse sea salt or pink Himalayan salt
- 20 drops of lavender oil
- 20 drops of chamomile
- 2 tbsp each of dried lavender or chamomile (optional)
Follow the same ingredients steps as the basic recipe, starting with combining the salt and then adding in essential oils and dried herbs. Bake the bath salts if you prefer, and then store them in an airtight container.
Mood-Boosting Bath Salt Recipe
Smelling a yummy fragrance can help to boost your mood, which is exactly what this zingy citrus bath salt recipe provides. You’ll need:
- 4 cups of Epsom salt
- 1 cup of sea salt or pink Himalayan salt
- 10 drops of eucalyptus oil
- 10 drops of grapefruit essential oil
- 10 drops of clove essential oil
- 1 tbsp of dried rosemary (optional)
Adjust the essential oil ratio as needed to suit your scent preferences.
Moisturizing Bath Salt Recipe for Dry Skin
A good soak in a tub – especially when infused with a skin-loving carrier oil – can help to boost moisture retention for your dry skin. To make this recipe, you’ll need:
- 1 cup of Epsom salt
- ½ cup of dead sea salt (or your preferred salt)
- 15 to 20 drops of your preferred essential oil
- 1 tsp of carrier oil (jojoba, avocado, coconut, etc.)
Note that coconut oil is solid at room temperature. So, you may need to first melt it in a microwave-safe dish or bowl before adding it to your bath salt mix.
Bath Salt FAQs
Bath salts can be pretty goof-proof DIY projects. But every once in a while, you might experience a hiccup along the way. These FAQs can help get you back on the right path.
No, you don’t have to bake them. But if you find that they’re clumpy immediately after making a recipe, baking can help to evaporate any excess liquid left from the essential and carrier oils or any other liquids used (fresh juices, food coloring, etc.).
More than likely, they’re being exposed to moisture – especially if you leave them in your bathroom. The most common culprit is not using an airtight container to store your bath salts. Switch to an airtight container like a mason jar, and excessive clumping should be a thing of the past.
Baking soda can aid in softening your skin. So, it can create a nice side effect for soaking in a tub with your bath salts.
Photos via Instagram

