Have you heard about DIY lash extensions? After some TikTok virality, this new take on false eyelashes has exploded in popularity.
At-home lash extension kits sit in a sweet spot between falsies and professional extensions, giving you fuller, longer lashes for multiple days in a row. You can apply them yourself, and they don’t cost nearly as much as professional extensions.
Read on to learn everything you need to know about DIY lash extensions, from how they work to whether or not they’re safe to the brands you should consider.
What are DIY lash extensions?
DIY extensions are a hybrid of falsies and professional extensions. They come in clusters or segments, like individual flare false lashes, but instead of adhering to the top of your lash line, they attach to the bottom of your lashes. This means there’s no visible lash band that needs hiding.
These extensions go on with an acrylate-based bonding adhesive similar to surgical glue. This glue keeps them connected to your natural lashes much more securely than your typical false eyelash glue. However, it’s not as strong as the adhesive used for professional lash extensions.
How long do DIY lashes last?
Most brands claim their lashes will stay put between three and 10 days. And yes, that includes wearing them overnight and even in the shower.
In practice, a few factors are involved in extending the wear time. Some brands offer adhesives and bonders at different strength levels. For example, Kiss Falscara’s primary Bond & Seal duo is designed for one-day wear and easy removal, while the brand’s Overnighter bonder offers up to 10 days of wear.
Next, there’s aftercare. If you like to sleep with your head smushed into the pillow, you can’t expect the same level of retention. Much like with professional lash extensions, keeping DIY lashes clean and avoiding oil-based eye products is a must.
Finally, there’s the application process. Getting a good bond takes practice, and the best way to discover the most effective method is through trial and error.
The application process
Before we dive in, we asked Carmencita Cruz, the head of innovation at Lilac St., for her best tip on applying DIY lash extensions. “Patience!” she said. “There’s a learning curve, but soon you’ll find the method that works best for you.”
Each brand of DIY lash extensions comes with slightly different materials, but the basic premise is generally the same. Here’s how to apply them.
Prep
You’ll first want to thoroughly clean your hands, eyes, and equipment to avoid any irritation. Next, prep your materials by carefully removing the lash segments from the package and detaching any glue from the bottom. Then, line up the segments in the order you want to use them, especially if you’re using multiple lengths.
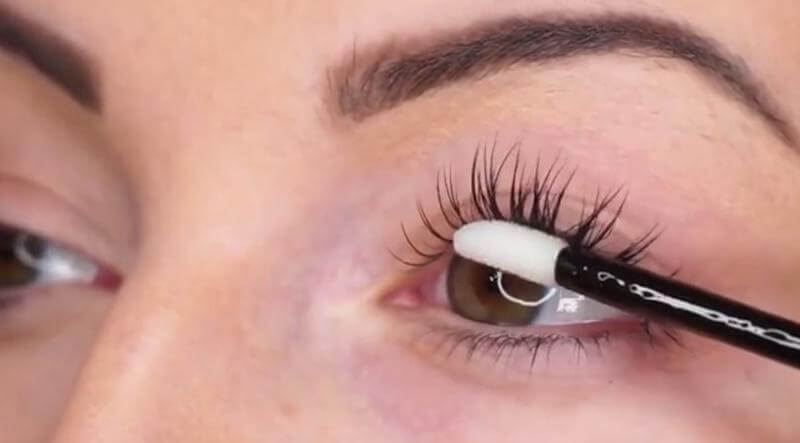
Attach
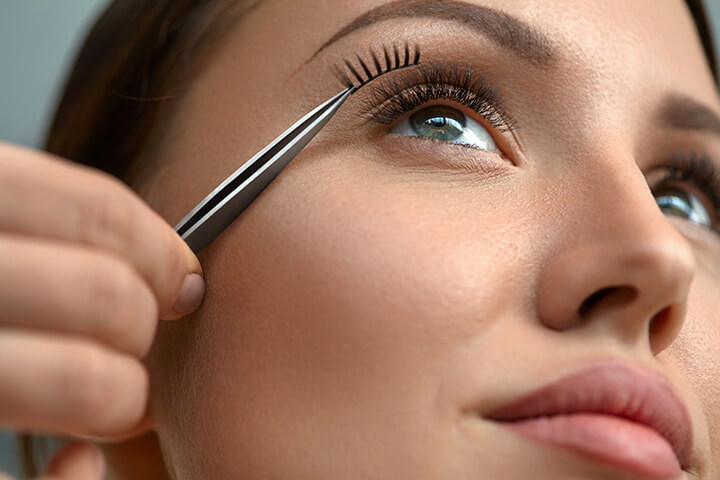
Apply glue either to your lashes, the extensions, or both. To attach the first clutter, pick it up with a pair of tweezers. Looking downwards, bring it just below your lash line, and attach it to the lashes from below, about 1 mm away from the base of the lashes.
We spoke with Dr. Jovi Boparai, an ophthalmologist at CorneaCare, who gave us recommendations for those who find themselves struggling with precision. He suggested practicing on the inner and outer corners before applying along the center of the lash line to avoid the risk of scratching your cornea.
Once you feel ready, apply the rest of the clusters along the lash line. “Slightly overlap each segment, so they not only adhere to your natural lashes but to the segments as well,” Cruz recommended for better longevity.
Can DIY lash extensions damage lashes?
There has yet to be robust, independent safety testing on DIY extensions. The materials used in them aren’t of any concern, but the experts still suggest practicing with caution.
“It’s important to apply and wear them safely,” Boparai said. He recommended practicing good hygiene when applying them and watching out for long-term complications like eyelid inflammation.
While the glue is typically well tolerated, Boparai also suggested conducting a patch test. “Consider applying a small amount to the back of your hand to make sure you don’t develop an allergic reaction,” he said. “If you develop redness, [a] rash, or other symptoms, see your eye doctor immediately.
How and when to remove DIY extensions
We also spoke to Asako Ito, a professional lash extension stylist and educator, who told us it’s best to avoid wearing DIY lashes for too long.
“Because they’re not applied 1-to-1 (they adhere to several natural lashes at once), they’ll affect the growth cycle of your natural lashes,” she explained. “They should be removed after a maximum of three days to prevent [intereference with the lash growth cycle] and to allow for proper cleansing of the eyelashes.”
When it comes to eye health, however, Boparai wasn’t as concerned. He suggested that up to seven days is probably safe as long as you don’t notice any adverse reactions.
No matter how many days you decide to spend wearing your extensions, Cruz stressed that proper removal is a must for lash health. “Lash remover should be left on long enough to break down the adhesive, so the segments easily slide off without any damage to your natural lashes,” she said.
Our recommended DIY eyelash extension brands
Lashify
Lashify was one of the first brands to develop a DIY lash extension system. The luxury extensions are soft and lightweight, made from Korean PBT Silk. Lashify has one of the widest ranges of designs for different styles and levels of intensity. The selection also includes quite a few color options.
Lilac St.
Lilac St. has a stunning selection of lash clusters with over 10 lash styles to choose from. The brand’s extensions are slightly more affordable than Lashify and Lilac St. also carries a stronger adhesive that can stay put for up to 10 days, with some reviewers noting they managed to maintain their extensions for as long as two weeks.
Kiss Falscara
Falscara went viral on TikTok last year. It was the first well-known attempt by a false eyelash brand to offer DIY extensions. The unique part about Falscara is that you can buy packs with multiple lengths, which gives you even more power to customize your lash map. It’s also the most affordable option of the bunch.
Glam lashes right at home
If you’ve ever found yourself wishing for the drama of falsies but with a little more longevity, DIY extensions are well worth a try. While they don’t pose a significant risk, it’s important to keep things hygienic and take your time when applying them to guarantee a beautiful style that’ll keep your eyes and lashes healthy.