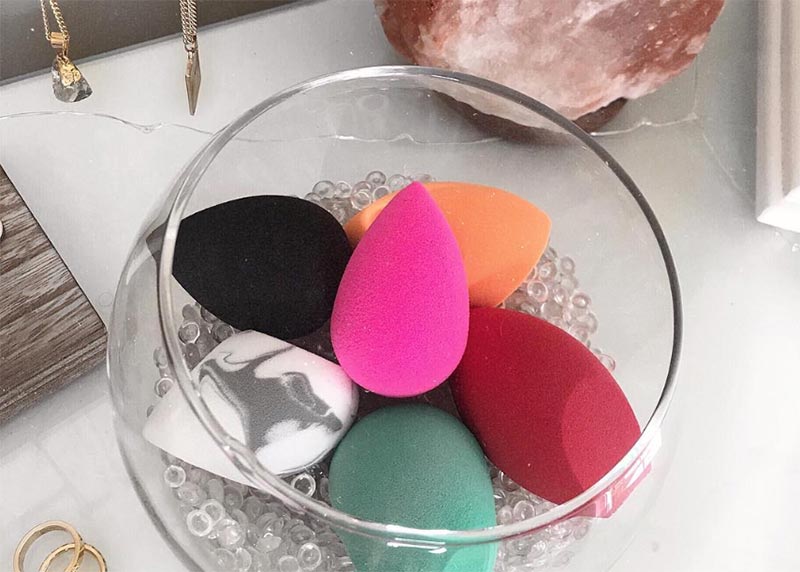
We can’t think of a makeup tool that’s more useful and versatile than a makeup sponge. Round, reusable makeup sponges are incredible, thanks to their ability to create the most seamless, flawless blend of cream and liquid products.
But to achieve that glowing complexion, you need to know how to use a makeup sponge. A few key tricks of the trade can ensure you get the most out of your sponge, whether you use it for foundation, concealer, or other steps in your makeup routine.
How to use a makeup sponge for foundation
To start, here’s how to use a makeup sponge to apply and blend foundation. This technique is the most popular method of using a sponge, but it can also guide you in using the sponge to apply other cream or liquid products.
1. Soak and squeeze
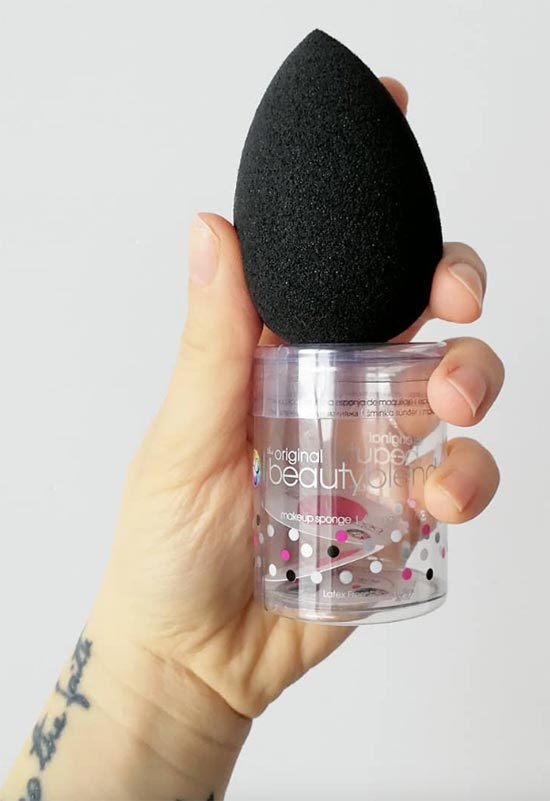
If you have an egg-shaped makeup sponge like the iconic Beauty Blender, the first step is to saturate it with water. Place it under the running tap and squeeze it a few times to make sure it absorbs a good amount of liquid. Pretty soon, it’ll expand to about double its original size.
Once it’s completely saturated, turn off the tap and squeeze the sponge to remove the excess water. It should feel damp and pliant. This method guarantees that your sponge won’t absorb too much foundation, and it also adds moisture to your makeup, which results in a more natural finish.
2. Apply foundation
Now you can apply your foundation to your skin. For best results, dot the foundation over your face using a brush, your fingers, or the small end of your sponge. If you prefer a heavier makeup look, you can even dispense a few drops directly on your skin.
With liquid foundations (as opposed to thick cream formulas), avoid dipping the large side of the sponge directly into the foundation. This method almost always results in the sponge absorbing a lot of the foundation, which wastes a lot of product and significantly cuts down your level of coverage. Even if you’re aiming for a lighter look, you’re better off using less product.
3. Tap to diffuse and blend
Now is the time for your makeup sponge to shine. This part is fun and effortless, and it’s the main reason why makeup sponges have become such staples in our makeup routine. All you need to do is bounce the sponge over your face to disperse and blend your foundation over your face. With repeated, overlapping taps, your foundation will soon be everywhere it needs to be.
If you feel like any areas still have too much foundation, flip your sponge to a clean side to pick up the excess foundation and blend it out further.
4. Finish your look
Once your foundation is beautifully and evenly distributed, you can now move on to the rest of your makeup, whatever that might be. Play around with all your favorite products, from eyeliner and eyeshadow to blush and lipstick.
5. Clean and store
When you’re done, remember to clean your makeup sponge with some soap and water — basic hand soap will do the trick. Try to squeeze out as much water as you can, and leave it somewhere clean and safe to air dry.
Bonus ways to use a makeup sponge
You can use your makeup sponge for more than just foundation. Here are other ways it can excel in your makeup routine.
Concealer
This might be a given, but your makeup sponge can also blend out concealer to perfection. Use the smaller, pointy end, and blend using the same tapping motions you’d use for foundation. If you use a thicker concealer that comes in a jar, you can also use the sponge to apply it in the first place since it won’t absorb much of the thicker formula.
Powder
Using a makeup sponge to apply setting powder is useful in a pinch, especially if you’d like your makeup to be bulletproof.
You might be familiar with the baking method, where you use a sponge to apply a thick layer of powder. This sets the foundation or concealer completely for a waterproof finish. If the setting powder is a touch lighter than your skin tone, it’ll also brighten the area. That said, this can look very cakey and heavy in real life.
Fortunately, you can also use your sponge for a lighter application of powder. Be careful when you dip it into the loose powder container, and make sure to tap as much of the powder off the sponge as you can. Then, tap it on your skin. The final look should be flawless and not too heavy, although it might still have more coverage than using a brush.
Contour
Makeup sponges are perfect for applying cream contour. The side of the sponge near the pointed end has the perfect shape for cutting the cheekbones, while the very tip can even work for adding contour along the sides of the nose.
Stamp or dot the contour cream over your skin, and then use a clean, larger side of the sponge to blend and diffuse it. You can also use your sponge to apply or blend out the cream and liquid highlight — just make sure you’re using a clean side.
Dry blending
Makeup sponges usually work best when used damp, but with some oil or silicone-based formulas, the water in the sponge might not always combine well, leading to patchiness. If you have trouble blending your concealer with a damp sponge, try using it dry to see what happens.
Bounce away
A makeup sponge is more than just a tool for applying foundation; it’s a miracle worker for blending just about any complexion product — especially creams. To get the best results, learn which effects you get with each type of movement. Stippling (dotting) is perfect for diffusing and blending, but with some textures, you can also wipe products directly on your skin.
We only touched on the most common makeup sponge uses, but some folks rely on their sponge for everything, from applying eye makeup to skincare to self-tanner. The key is to get to know your skin and products, so you can use your sponge in the ways that work best for you.