Apart from using nail files, learning how to buff nails is the next step to giving yourself a professional manicure at home, all on your own. But what is nail buffing, and is it good for your nails? What types of buffing blocks to use and how? We discuss it all below to help you figure out whether buffing is for you or not.
In this article:
What Is Nail Buffing?
While most of us are familiar with what it means to file our nails, some may not be familiar with the act of buffing nails. Buffing your nails means to polish or rub the surface of your nails with a buffing board. Doing so leaves your nails with a shiny, even finish.
Read Next: Best Nail Buffers for a Shiny Manicure
Buffing is beneficial to your at-home manicure, as the natural oils on your nails can build up and cause the manicure not to take as well. Buffing nails will also help remove ridges from your nails. This is extra important if you’re trying something like press-on nails. Press-on nails will adhere better to a buffed nail surface.
Overall, buffing is a great way to do the least work possible to make sure you have a clean, sophisticated looking manicure, even if you skip the polish!
Types of Nail Buffers
Everyone’s nails are different, so remember to pick a buffing product that suits your needs. Be sure to check grit numbers and be aware of how they may affect cracking or peeling nails.
When choosing a nail buffer, there are usually a few different options regarding size and shape.

- Nail Buffing Blocks: A popular shape for nail buffers is the block, a rectangular block with four different grits/ finishes to buff out the natural oils in your nails.
- Nail Buffing Board: Buffing files are essentially the same as blocks, but they look like a typical nail file. Since they’re flat, they are easier to pack in a purse, luggage, toiletry bag, etc.
- Emery Board: Some people may use the name “emery board” and “nail file” interchangeably, but they are not the same. An emery board is usually less abrasive than a nail file and can only somewhat change your nail shape. They are also best used for single person use, such as in a nail salon.
- Nail Buffing Strips: If your nail buffer block is looking a little worse for wear, don’t throw it away! You can often purchase replacement pads for the block, such as these from Amazon. You can also use them for travel if you don’t want to carry the entire block with you.
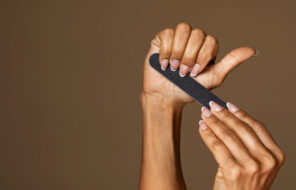
How to Buff Nails Correctly
Buffing your nails is not as simple as buff and go. Follow these instructions to ensure that you get the most out of the process.
- Clean
Remove any old polish, and make sure your nails are clean and dry before beginning.
- Trim and File
Before buffing your nails, you will want to trim and file them. Trim your nails to the desired length, and then shape them with a nail file, according to the look you’re going for. Any shape will work, but the most popular ones for natural nails are oval, square, and round.
- Buff
After choosing your buffing implement (check out some of the great choices we’ve found in this article!), you will use the side with the highest grit. It is typically numbered with a one or says “BUFF.” Hold the buffer parallel to your finger, and gently buff in an X formation for no more than 6-8 strokes. Repeat the process on each nail.
Remember to choose your grit wisely. With nail buffers, think of them like sandpaper. The higher the number on your buffer, the gentler the grit is. The lower the number, the higher the coarseness. - Polish
Next, you will use the more delicate grit side, sometimes numbered with a two or “POLISH,” to polish your nails. Repeat the same steps for polishing as you did for buffing, remembering to use a gentle hand so you don’t overdo it. 4-6 strokes for each nail should do the trick.
- Shine
Now, you’ll see the fruits of your labor. Using the smoothest surface of your nail buffer (you know the drill, numbered with a three or “SHINE”), move in small, circular motions over each nail to achieve a glossy appearance. This will add shine to them without having to apply nail polish. Repeat the process for each of your nails.
- Moisturize
For added shine and moisture, break out your favorite cuticle oil or moisturizer. I personally love this inexpensive one from Sally Hansen – a simple vitamin-E oil with a brush. Apply a few drops to each nail and then massage into the cuticles.
- Applying Polish after Buffing
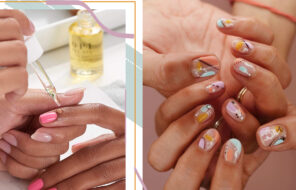
If you want to apply polish over your buffed nails, you can skip the shine step. Using a clean cotton swab dipped in a bit of acetone, remove any excess oil from your newly buffed nails. Then, proceed with your regular manicure (base, polish, top coat!). Buffing the nails will often result in longer staying power for your base coat and polish.
Is Buffing Your Nails Harmful?
As with anything, moderation is key. Buffing your nails can bring blood to the surface, creating a shiny, healthy glow.
As far as how often you should buff your nails, stick to no more than once a week, and be sure to use a buffing board or block, and not a regular nail file. If you use a too abrasive file (too high of a grit), you could risk buffing away your nail layers and causing damage.
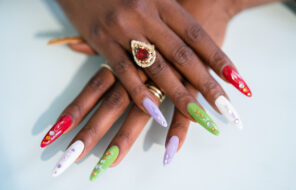
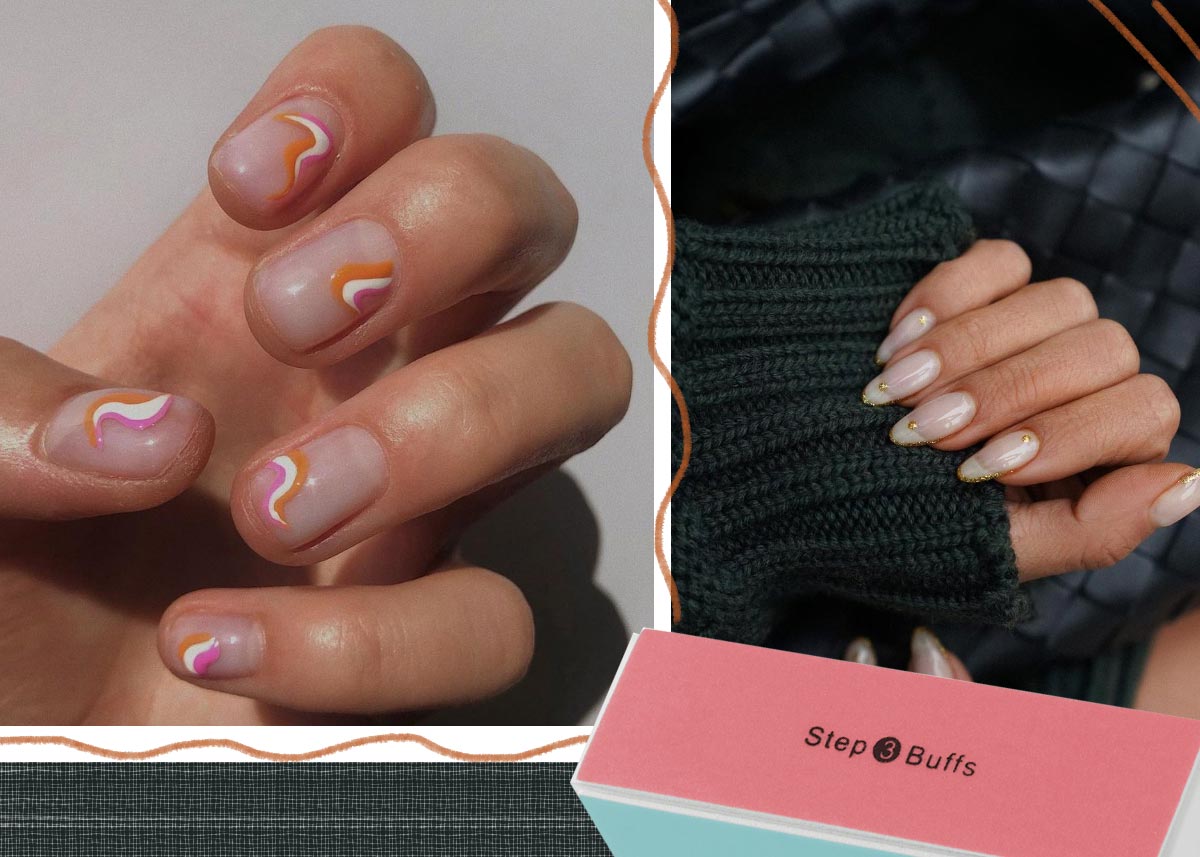
Photos via @solovey_nail_art, @annabellefleur, Instagram