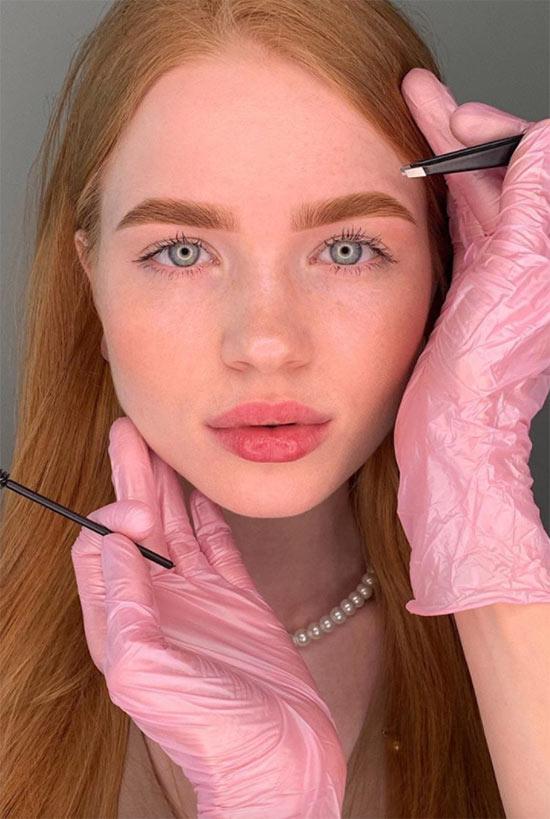
Nowadays, it’s important to know how to shape eyebrows in a way that is either classically flattering or (if totally trendy) non-permanent. We’ve put together this comprehensive guide to help you not just figure out how to shape eyebrows in a way that will flatter you, but will also cover the differences between the classy and the trendy and give suggestions for how you can groom your brows in ways that will keep them stylish for the rest of your life.
Below, we give a step-by-step guide for how to actually apply changes to your brows both with hair removal and with makeup. If you’ve hopefully figured out what eyebrow shape you would like to attempt, let’s talk about how to actually shape eyebrows. We’ve put together a comprehensive guide for mapping, hair removal, and filling in your brows.
Step 1: Map out Your Brows
Start out by coming up with a plan for what kind of eyebrow shape you are hoping to achieve with the help of the Golden Ratio and some measuring.
- Use a makeup brush, eyebrow pencil, or any thin, straight object to start mapping out your brows.
- First, measure where your brows should start by lining up your stick with the end of your nostril and the inner corner of your eye. Where the stick ends up landing on your brows is where they should start, although if you’d rather keep the front extra bushy, more power to you. Draw a little mark where the stick landed to make sure you don’t tweeze after that point, lest your brows end up too far apart.
- Next, move the stick over a bit, so it goes from your nostril to the outer corner of your eye. Where it falls this time will be where your eyebrows should end. Make a mark at that point as well.
- When it comes to figuring out your arch, it’s generally best to let it stay where it naturally wants to be. Measure your brows with the stick starting at the of the nostril and passing over the center of your eye – if you land on the highest point of your brow with this method, you have a more classic eyebrow shape.
- If the arch is a little behind the stick and closer to the tail, you have more of a back-arched brow, and you can measure again in the same way but starting at the tip of the nose.
- If you wish for your brows to appear more arched when you fill them in, draw a mark slightly above where your arch naturally peaks. Otherwise, just draw a little dot right where your arch peaks. We don’t recommend ever removing hair from the top arch.
- Then, do the same with your other brow and compare the little points from a distance to try and judge symmetry. You can use your stick to check that the dots of the arch are on the same level, although it’s more important that they be the same distance from each eye.
- If you tend to over-tweeze your brows, use the little marks you drew to draw an outline around your brows or even just fill them in completely. Make sure to fill them in based on how thick you hope they will become. This way, you will only remove hair from outside the outline and allow your brows to grow thicker eventually.
- If your plan is to thin out your brows, err on the side of caution with your markings and keep the outline a touch thicker than what you think you may like.
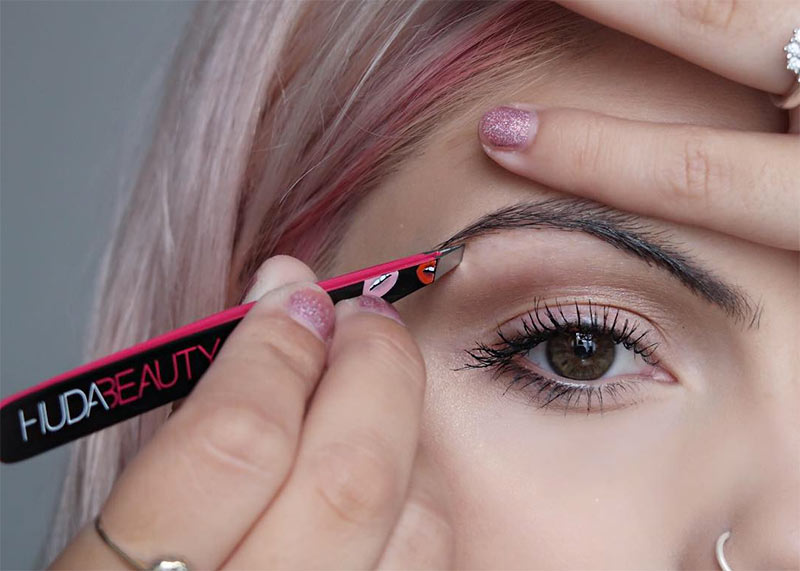
Step 2: Hair Removal
With your brows mapped out and an action plan in place, it’s time to get rid of those stray hairs. If your eyebrows are too thin (and especially if it’s by your own doing), then skip hair removal altogether and give your brows a few months to recuperate.
- Before starting out, make sure that your skin is clean, especially if you’ll be removing hair. Freshly tweezed skin is more prone to breakouts as well as worse infections. If you’ve filled in your brows, use a cotton bud or pad dipped in micellar water to gently clean around the brows without taking off your markings or just make sure to clean your skin before mapping things out.
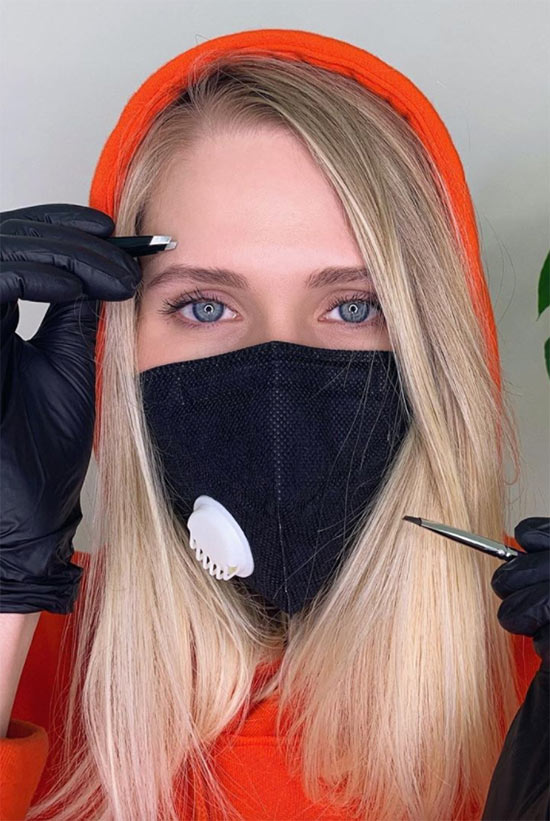
- If you’re going to try a riskier eyebrow shape, still follow these instructions and work according to your markings, but use an eyebrow razor instead of tweezers to guarantee that the hair will grow back.
- To ease your way in, start by tweezing between the brows where the process is less painful. Make sure to grab each hair as close to the base as you can and pull with the direction of its growth in order to get it from the root. Be very careful to only remove hair that’s outside your dots.
- Next, start tweezing below the brows. Get rid of all of the obvious strays that are far outside your markings and slowly work your way closer. If you’re uncertain at any point, pull out your measurement tool and re-check your dots.
- As you get closer to the brow, you’ll notice that hairs tend to grow in rows. As you start working on thinning out the brows, remove just one row of hairs at a time and check consistently in the mirror. If you’re nervous about throwing off the symmetry of your brows, go from one brow to the next while checking symmetry from afar.
- You might be surprised to discover that you like the look of your brows before thinning them out as much as you initially planned! If that’s the case, stop here.
- To clean up the tail, remove any of the hairs that start growing after your marks. If there are hairs that start growing before the mark but are so long that they grow past it, trim them shorter with scissors or an eyebrow razor instead of tweezing them out.
- For the top of the brow, be very careful to only clean up the obvious strays and avoid reshaping from above.
- If your skin is a little red and irritated after hair removal, use a facecloth soaked in cold water to help bring down some of the irritation and finish off with a layer of aloe gel or a gentle moisturizer.
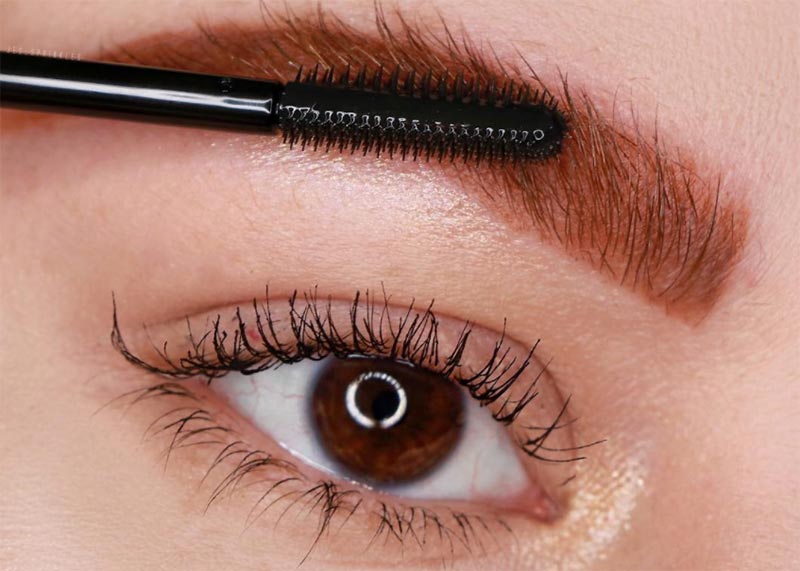
- Finally, use a clean mascara wand to brush up the hairs, and if necessary, trim the overly long ones. You can leave the hairs long if you’re a fan of the “boy brow” look.
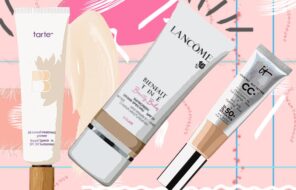
Step 3: Filling in
Whether you’re doing it after tweezing, before tweezing, or instead of it, here’s our guide to shaping your brows with makeup. This section focuses on the process of creating a shape.
- After mapping out your brows, use your markings as your guide for how you will fill in your brows.
- Start by creating an outline for the tail. Using your makeup product of choice, fill in a line or micro strokes going from the highest point of your arch down to the tip, and then another line going from the bottom of your arch to the same tip, making sure it looks sharp.
- After outlining, you can fill in the outer third of your brow or leave the filling for the end.
- Next, work on the outline of the curve or angle of your arch. Start with the bottom part. If you’re aiming for slightly thicker brows with a softer, friendlier arch, fill that area in so it is thicker and less curved than the top. If you’re aiming for a sharper arch, create more of a triangular shape with downward strokes connecting the highest part of the arch to the tail and upward strokes connecting the front of the brow to the high point of the arch.
- Next, fill in the top of the arch. For more angled brows, create the same triangular shape as you did on the bottom, while for rounded brows, keep the shape curved. It might be a given, but the higher up you draw your arch, the higher it’ll be.
- You can also adjust things and give yourself more of a back-arched look by going from the natural peak of your arch and pulling the line further back so that your peak ends up a little higher and a little further back. You’ll then want to connect that new peak to your tail, which will now seem a little shorter.
- Fill in the front of your brow if necessary. Keep the front looking softer and slowly thicken up the color towards the end of that front third, where it connects to the arch.
- Finally, fill in within the brow, making sure to focus on any sparse areas. Then use a spoolie or an eyebrow brush to soften your strokes and brush the hairs into place either upwards or on a diagonal.
Photos via @sophiehannah, Instagram