One of the biggest complaints about matte manicures is that they don’t last as long as their shiny counterparts. While it is true for the most part that a matte nail polish will chip sooner, there are steps you can take to increase its longevity. Below, we discuss how to get your matte manicure to last as long as possible.
Prep Is Key
It’s important that you prep your nails the right way to avoid having your matte nail polish chip too easily.
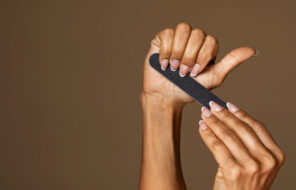
- Naturally, you’ll want to file your nails into a shape that you like.
- You should also take a moment to wash your hands to ensure that there are no oils on them, whether from hand creams or just natural sebum.
- Once your hands are clean and dry you can apply a base coat. The job of a base coat is to fill in any gaps and ridges in your nails, and to act as a glue that grabs on to your matte nail polish and keeps it in place.
- Apply the base coat by starting at the center of the nail as close to the nail bed as possible without touching it or the cuticles, and pull it up to the tip of the nail.
- Apply two more thin swipes on the left and right side of the nail.
- To prevent the matte nail polish chipping or pulling back from the tip of the nail, also apply a touch of the base coat over the tip in a vertical stripe.
- Allow your base coat to dry completely before applying your matte nail polish.
When Using Matte Nail Polish
- If you’re using a matte nail polish to achieve your look, that base coat is especially important because chances are you won’t be using a top coat. As with any nail polish, multiple thin coats are going to last much longer and look way better than few thicker coats.
- Like your base coat, you want to apply your matte nail colors in three swipes, starting from the center of the base of the nail, and once again you will want to wrap the nail polish around by applying it over the edge of the nail in a vertical stripe. Two coats are usually enough, as matte nail polishes tend to be quite opaque.
- Make sure to wait for one coat of your matte nail polish to dry completely before applying the next coat. This will take longer than with a regular nail polish, so be ready to wait and take your time with the whole process!
- As an optional step, you can actually apply a matte top coat over your matte nail polish in order to get the extra seal. You cannot use a regular top coat, since it’ll give your nails the shiny finish you were trying to avoid in the first place.
- Once you’re totally done, wait at least 45 minutes before letting anything come into contact with your matte nails.
When Using Matte Top Coats
- Once you’ve applied your nail polish base, apply the nail polish you would like to mattify, following the same technique I describe for applying matte nail colors: follow the three swipes method, and wrap the color around the end of the nail.
- Once your nail polish has dried completely, seal it into place – not with the matte top coat, but with a regular clear top coat! The Seche Vite fast drying top coat from Amazon or Ulta Beauty is our fave for that. Clear top coats are better sealants than matte top coats, so they will seriously reinforce your manicure.
- Once your clear top coat has totally dried, you can apply a thin layer of your matte top coat of choice. Make sure to allow your matte top coat adequate time to dry before you allow anything to touch your nails. It can take up to half an hour for matte top coat to completely dry, so don’t let its velvety appearance fool you.
- While you may notice that your matte top coat begins to fade after a couple of days, your actual nail polish will be reinforced from chipping. You can reapply your matte top coat if it begins to fade, and consider it a fairly easy manicure update.
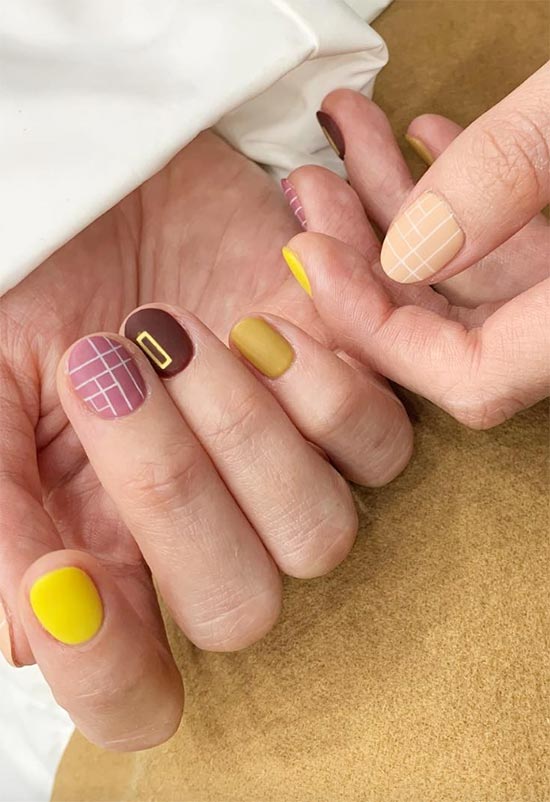
Photo via @unistella_kr