Nail foils come in thousands of colors and designs and take a manicure from ordinary to extraordinary in just a few easy steps. Take a break from Zoom calls, homeschooling, and other chores, put some music on and give yourself a nail art foil manicure. We’ve got all the instructions and tips on applying and removing nail foils you need to get started.
In this article:
What Is Nail Art Foil?
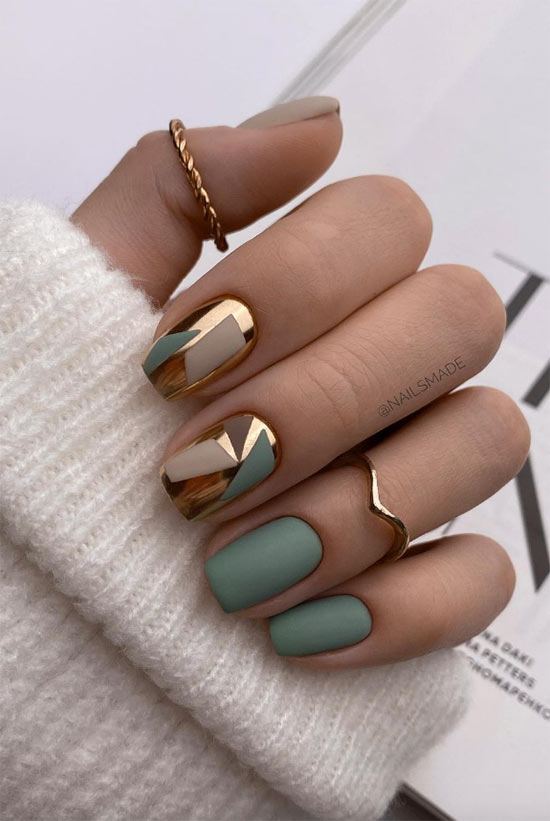
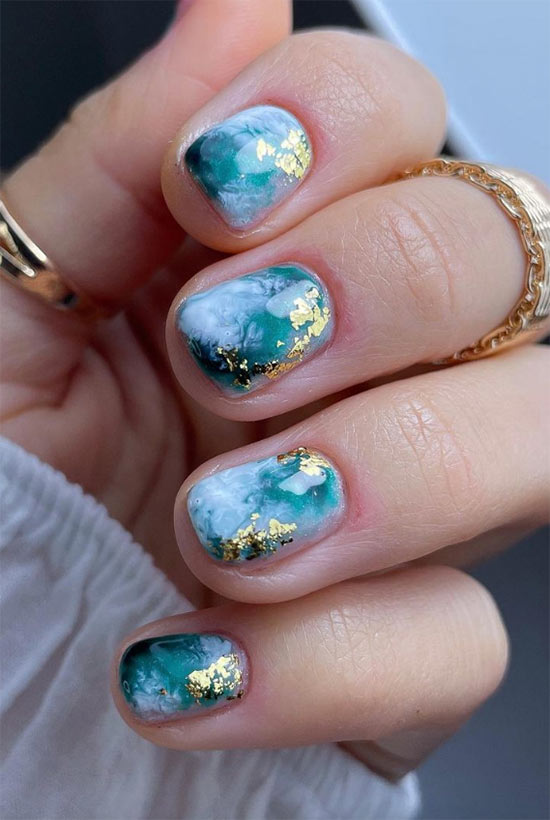
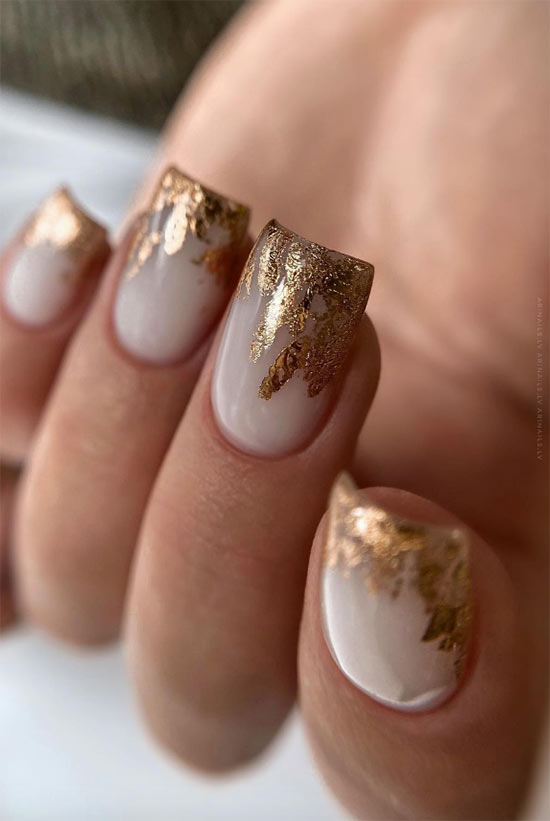
Nail foil is a metallic-effect nail wrap or sticker used to create intricate nail designs. Chunky nail art foils first turned up in the New Wave ‘80s, but these are not your mother’s foils! Today’s nail foils are tissue-paper thin and come in tiny blotting paper-sized sheets or little pots of foil chips. Both types come in more colors than you can possibly imagine.
Nail art foils are applied over a coat of nail polish and a topcoat. You can use nail art foils to cover the entire nail, just the tips, or splashed randomly over the nail for a sparkly effect. You can also try combining different foil colors or cut them into strips to create a stripe effect. If you can imagine it, you can do it with any set of foil stickers.
How to Apply Nail Foil?
While there are some nail foil stickers you can apply with only your finger, most require a few necessary and easy-to-source tools of the trade. Your nail art foil kit should include:
Nail Polish
Before you apply foils to your nails, you’ll need at least one coat of polish. Some pros suggest a silver or dark undertone, but choose any color you think will look nice with your foils. Experts also suggest using gel polish because it has the tackiness needed for the foils to really adhere. You can use regular polish as long as you make sure to let everything dry completely before moving on to the next step.
Nail Foil Adhesive Glue
This is a particular glue that helps the nail foils stick to your nail. Make sure the glue is designed for nail foils. Look for it to be included in many nail art foil kits or pick up a few bottles from Amazon (see above).
Heat Lamp
Everyone who loves at-home manicures should invest in a nail lamp, but if you want to do nail foils, they really are a necessity. Most nail foil glues must be cured under a lamp to be effective. For less than $35, you can get a heat lamp to complete your nail look and dry your manicure in no time.
Extras
Cotton swab, rubbing alcohol, tweezers… Have a pair of tweezers nearby for applying nail art foils and cotton swabs for pressing and smoothing them into place.
Nail Foil Application Steps
Assemble your nail foils and tools and give yourself plenty of time. Precision and curing time are very important. Put on some music or a favorite Netflix series, relax, take your time, and have fun.
- Apply the Polish
Clean your nails and apply base coat and gel nail polish. We prefer gel polish because it’s better suited to the nail foils and the glue. In a pinch, you can use a regular polish but make sure your nails are completely dry before starting the next step.
- Cure
Cure your nails under a nail lamp until they are completely dry. Now you’ll need to gently remove the tacky layer on top of your nails with some rubbing alcohol and a cotton pad. Make sure any tacky residue is completely gone before moving on, or your foils won’t adhere.
- Glue It up!
Paint a coat of the nail foil glue over each nail. Again, this is a very specific glue for applying nail art foils. Make sure the glue you’re using is for foil art applications. Let it dry until it’s completely clear.
- Choose Your Foils
Now the fun part – apply the nail foils! Choose the foil pattern or patterns you want to use. You can apply it to the entire nail or just part of a nail, do your entire manicure, or just an accent nail. Don’t be afraid to cut the foils or use multiple foils on a single nail. The choice is yours to be as creative as you’d like.
- Foiling Time!
Make sure the foil design is facing up and away from the nail. Apply the foil by pressing it down lightly where you’d like it. With the cotton swab, press the foil down to make sure there are no bubbles or creases on the nail. Keep smoothing until the foil starts to separate from the nail. It’s okay to give it a very gentle pull to lift it off completely.
- Apply a Topcoat
Apply a topcoat and admire your work. Stop for a minute, and admire your beautiful nail art design. Now to make sure your beautiful nail art foil doesn’t peel off, apply at least one layer of clear topcoat to seal everything down.
How to Remove Nail Foil Stickers?
Don’t worry, nail foil removal is easy. It does take time and a bit of patience to apply nail art foils, but if you make a mistake or just feel like changing things up, removing your foils is quick and easy.
Foil stickers can be removed with acetone nail polish remover. Dab a bit into a cotton pad and apply to the nails. In a pinch rubbing alcohol may also work. Use an orange stick to pick up stray foil bits from the cuticle and nail beds.
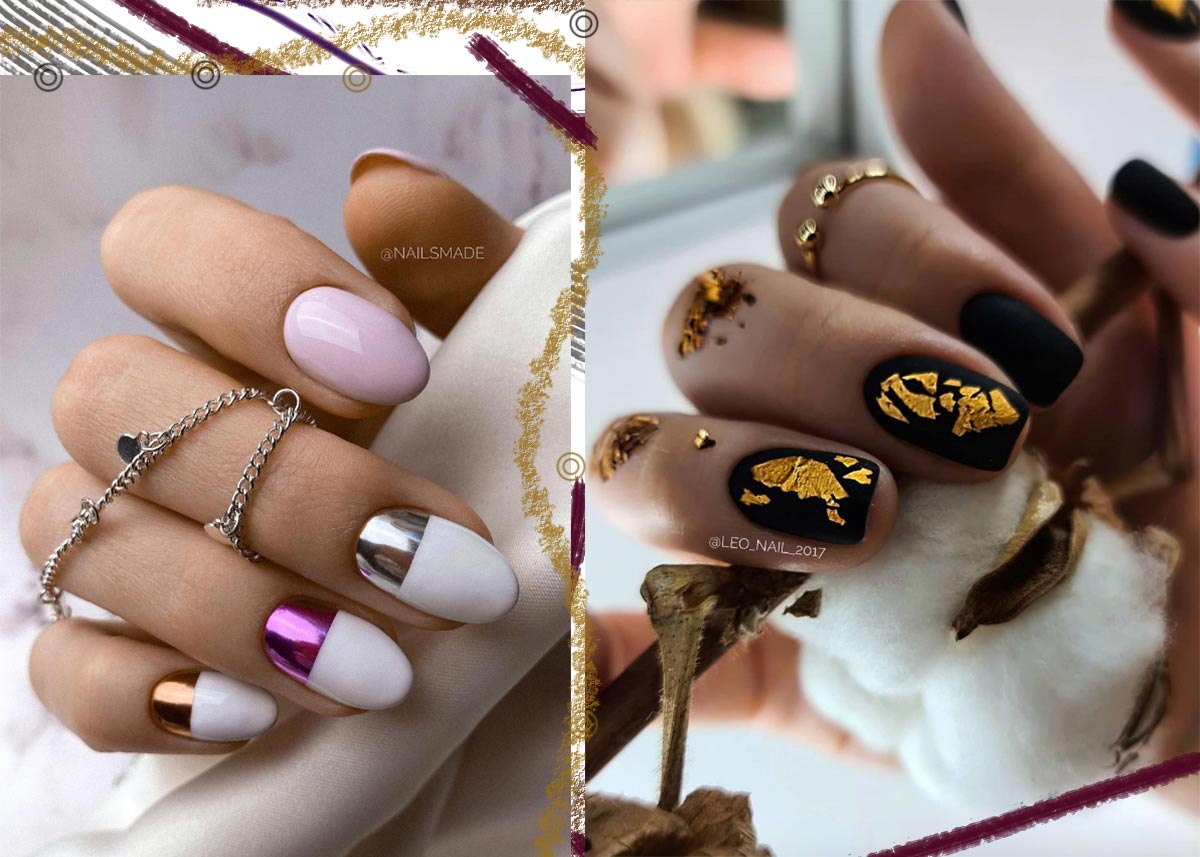
Photos via @nailsmade, @leo_nail_2017, Instagram