We don’t know what you have heard, but we understand what pore strips are, and have answers to the question: do pore strips work? And how?
In this article, we will talk about everything you want to know about pore strips, from the pros and cons to the right way of applying one. Towards the end, you will learn how to make your own DIY pore strip at home.
Do Pore Strips Work? How?
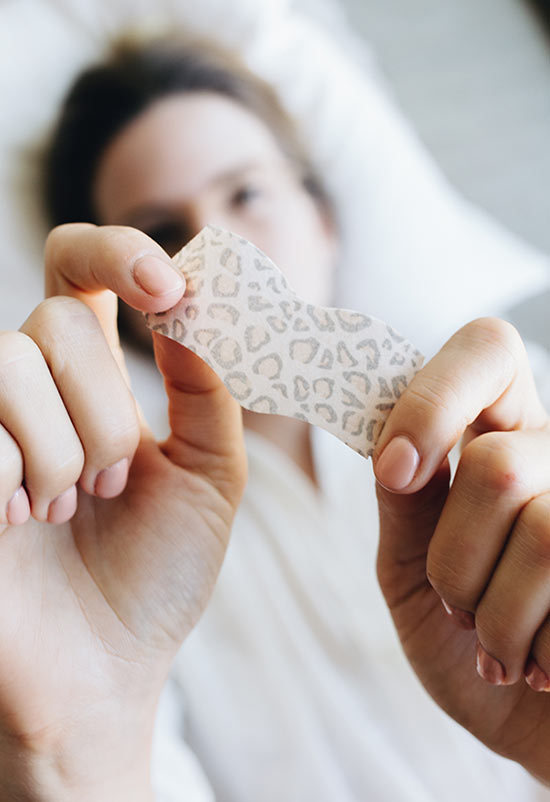
Pore strips are pieces of woven felt materials that have adhesives or polymer at a side. The glueing side should be in contact with the nose when it is applied. Call it a band-aid, because that is how pore strips work.
However, the purpose is different. Like you will set a piece of soft flat cotton on a wound, you will set the pore strip on your nose and let it rest for 10-15 minutes. When you remove it, it would come off with some blackheads that have been extracted from your nose’s pores.
What are blackheads? If you don’t know, blackheads are keratin-filled substances, a form of skin blemish or comedo that clogged the pores of the nose. It is black, hard, cheesy, and usually, formed on the skin surface.
So when you remove the pore strip, what it has actually done is to remove anything that gets glued to the other side that was in contact with the nose. Things that get stuck to it include oxidized oils called blackheads, dirt, hairs, and dead skin cells.
Pore strips will bring relief. They work on the superficial layer, not as deep as it is expected for a much-improved cleaning. Your nose pores will be a little free of the dirt, oil and dead skin.
As an illustration in percentage, nose strips remove about 50 percent of blackheads at the top. The skin feels clean, but you have to rely on other means if you want a deeper cleaning experience.
You should understand that this magical working strip does nothing to prevent your nose from producing more blackheads in future. After about 24 hours or more, the skin would have produced and accumulated more dirt and you might need to work on it again. So the effect of nose strips is really temporary.
Pore strips remove blackheads, not that they stimulate the skin to not develop more. If you apply them again, they will do the same job – clean pores at the surface.
And they won’t reduce the pore size. Your pores being less noticeable after using pore strips does not mean their sizes reduced.
So You Want Super Clean Pores?
No, pore strips won’t work in this case.
Use chemical peels, retinol, and retinoids instead. They will really clean the pores and reduce the blackheads and breakouts in the long term.
Or you could do oil cleansing. Consult a dermatologist for recommendations for what is best for you: oil cleansing, chemical peel or another method.
Pore Strips Do Work
If you use them the right way, pore strips work. The right way involves wetting the skin before it is applied. Prior its application, apply some warm water on your nose, then use it to cloak all the creases in your nose. It will bring out the blackheads you haven’t thought exist.
We will talk about the detail process below so stay with us. If you obey all the instructions we are outlining, we promise you will see results.
Pros & Cons of Using Pore Strips
Like we always said, nothing in this world right now is completely righteous, at least, not pore strips. So, here are the pros and cons of nose strips all for you to know if they are really worth it. No one will interfere with your judgment.
Pros
We have mentioned the benefits of using pore strips, but for a recap, this is it:
- It removes dirt, blackheads.
- Helps to unclog the skin pores.
- It ensures cleaner and softer pores.
Cons
Removes Natural Oils
Oh, it did some damage as it gets off some blackheads. Natural oils are protective, prevent contracting effects, but as pore strips drag off some blackheads, they might remove such helpful natural oils. When removed, you will experience the development of pus and pimples. But if you seldom use pore strips, you won’t experience the severe development of pus and pimples.
Development of Bigger Pores
When you age, your pores get wider and more visible. You are missing reality if you think your pores are reduced after using pore strips. When you clean pores with nose strips, the pores get cleared, making room to gain build-up again faster and quicker. And open pores are prone to infections. This, of course, is associated with excessive use of pore strips.
Irritation and Broken Capillaries
The first layer of the skin on the nose will be removed when you use pore strips. If you look at the manner it adheres to the skin, you could guess it will cause skin irritation. The skin, which is sensitive, becomes even more sensitive after using pores strips. This could lead to getting broken capillaries and what is called spider veins.
Short-Term Effect
Blackheads won’t be removed totally with nose strips. And it won’t stop the skin from producing more blackheads. So it is a temporary solution to a continuous problem. Plus, at the moment it is applied, it does the half job, working just at the surface.
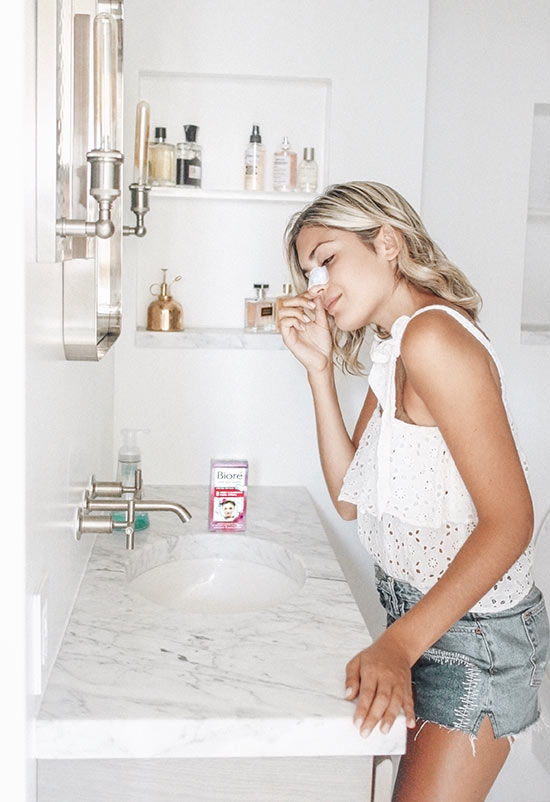
How to Use Nose Strips
This is where doubt could set – does it work? Or you could confirm what we are saying when you are obedient to instructions. Let us see how to do this effectively to see results.
- Cleanse
Wash your face. Use a face wash to remove the surface dirt and oil.
- Steam
Warm some water. Pour the warm water into a small bowl. Put your face over the steam of the warm water for 10 – 20 minutes. Some moisture will form. On your face. Don’t remove it. If the moisture isn’t enough, the strips won’t stick. So splash some of the warm water on your face.
- Apply
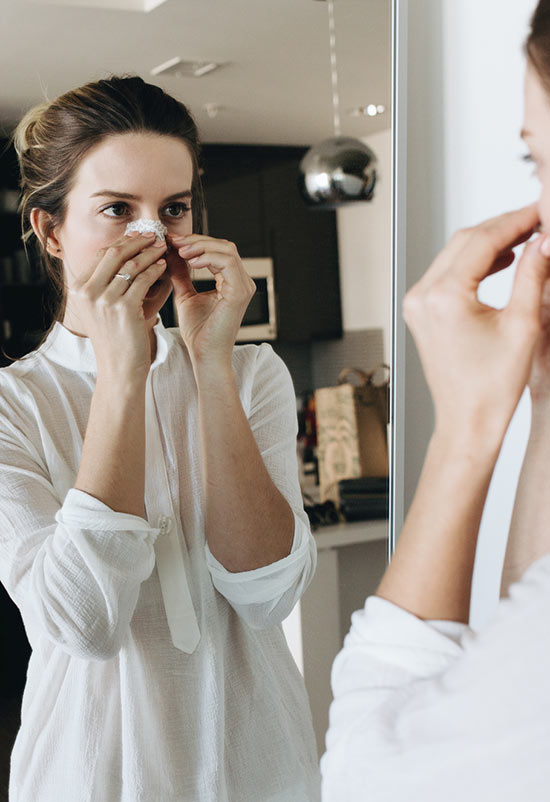
Use a clean hand to handle the strips and attached to your face. Let it rest for 10 to 20 minutes. This way, you are giving it time to extract dirt and blackheads. After 20 minutes, hold the strips at two sides and remove. You are done.
Another Way to Use Nose Strips
Instead of using just water, you can use something more beneficial such as baking soda. This is how you should do it.
- You can add baking soda to the strip. It is a good exfoliant. To do this, put one tablespoon of baking soda in a cup of warm water and mix.
- Put the pore strips on the solution and soak for some minutes.
- Dip a cotton ball in the solution and apply on your nose. Just to wet the nose like you did with water.
- Apply the soaked strips on your nose. Press it flat and tight in your nose.
- Wait for five minutes. Remove.
Tips
- If the strip does not fit your nose perfectly, trim it with scissors.
- At every point, work with clean hands and face.
- Know your skin type, and don’t use pore strips on sensitive skin.
Effective DIY Pore Strips to Try at Home
You have time, you can make your own pore strips at home. Or skip the process and choose from the list above. Either way, you will use it in the same process.
Milk and Gelatin Pore Strips
You will need:
- Milk of any form (whole milk, skim, almond, soy, or goat’s milk)
- Gelatin
Procedure:
- Wash your face with warm water.
- Put the same amount of milk and gelatin in a container. Less than a spoonful should be enough.
- Use a simple brush to mix. It will form a thick mixture.
- Warm the mixture for some minutes. Use a microwave for just 10 seconds.
- Let it cool for some time, about 20 seconds, depending. The mixture should still be a little warm before you use.
- Apply on the face with your hand or a makeup brush.
- Wait for some minutes. The mixture will harden on your face and form a mask. The duration should be between 20 minutes or less.
- Begin at the edge, and peel off the mask gradually till you finish. Take your time.
- Rinse off with cold water and moisturize your face.
Egg White Pore Strips
You will need:
- Egg white
- 2-ply toilet paper or paper towel. Some recommend using a cotton pad, we don’t advise it, since it involves a lot of layering, so stick with the two types of paper mentioned.
Procedure:
- Wash your face with warm water.
- Put the egg white in a bowl.
- Put the 2-ply toilet paper or paper towel in the egg white and soak for some minutes.
- Apply the soaked paper on your face. It could cover your entire face or focus on some areas.
- Also, you can apply the white directly on your face using your hand or a brush. Gently place the paper over it, and add some egg white at the back of the paper. The first option is convenient.
- Let it rest on your face for some minutes. The paper will harden and stick to your face.
- Remove the paper by starting from the edge.
- Rinse off your face with cold water.
Natural Clay Mask for Pore Treatment
You will need:
- 2 tablespoons of cosmetic grade loose calcium bentonite clay
- 2 tablespoons of water
Procedure:
- Mix clay and water in a non-metal bowl till they are combined to form a smooth paste.
- Wash your face with warm water.
- Use a small brush to apply the mask in a thin layer over your face.
- Wait for 10 minutes and let the clay dry and tighten.
- With a soft washcloth and warm water, gently remove the clay from your face.
And there you go with our guide to using pore strips. If you would take anything away from here, it is that pore strips work. And you can do it all by yourself.
Photos via @michelletakeaim, Instagram

