
French braids never seem to go out of style, and we have to guess that it’s probably because this classic do is where form meets function. While ponytails and messy buns are also ubiquitous styles for getting hair out of your face when you have to get things done, neither one can say that it’s as elegant as a French braid. And while this hairstyle checks many boxes, there are plenty of folks for whom French braids rank right up there with Rubik’s Cubes and quantum physics.
And yes, if you’re all thumbs, French braids can be tricky — but they’re absolutely possible. Like many things in life, you might just need a little practice. The following French braid guide will help you get started.
Essentials For Styling Your French Braid

The two most essential items you’ll need for a French braid are a brush and an elastic hairband. The other items are optional, but they may prove to be quite helpful in achieving your desired look.
- Brush
- Elastic hair band
- Curling iron
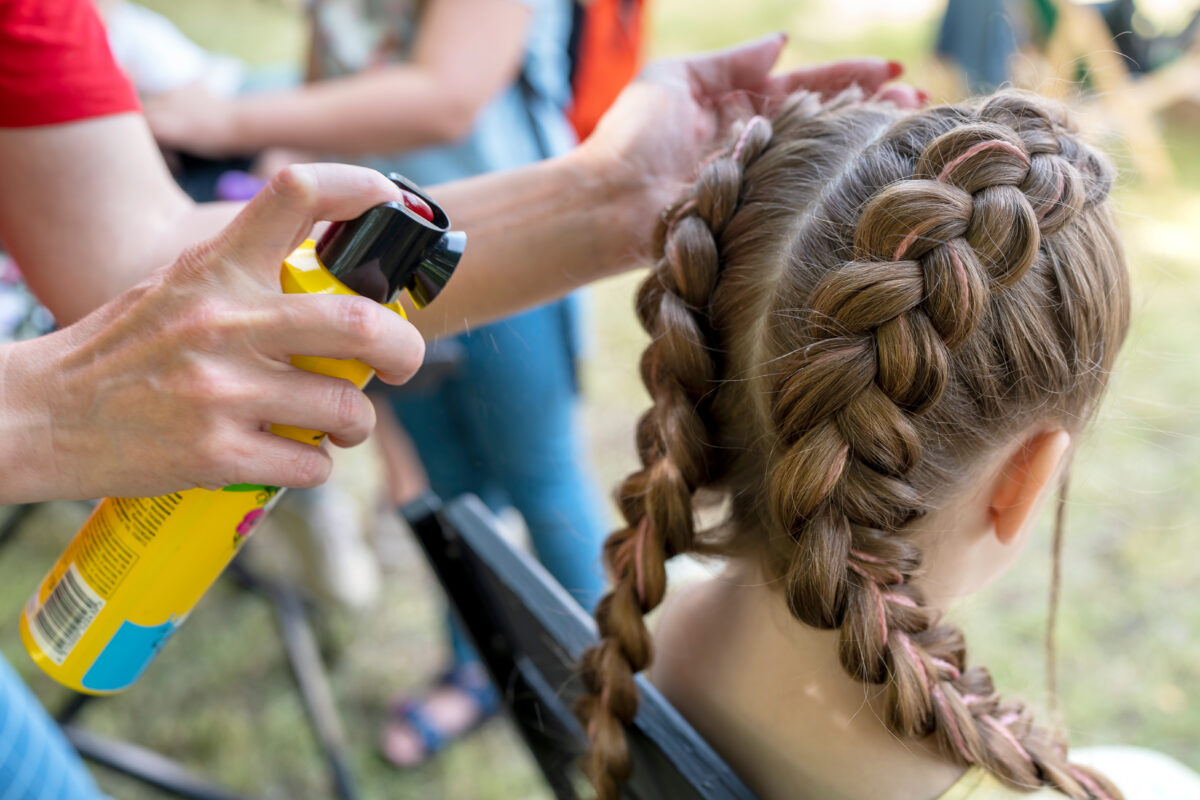
- Texturizing spray
- Bobby pins
- Hairspray
French Braid How-To Guide
Step 1: Brush your hair
Brushing your hair is a critical first step with any hairstyle, and in this case, it’s one of the keys to success. Tangled hair isn’t prime for braiding — French or otherwise. And jumping into the braid before brushing out knots and tangles could trip you up, ultimately preventing the braid from coming together smoothly.
Step 2: Prep your hair
If your hair is super straight, you may find it helpful to grab a curling iron to add a little texture to your hair. Alternatively, you can try a little texturizing spray or cream. Either way, the goal is to add some texture to your hair and give your braid a little more holding power.
Those with straight hair might notice that as they’re French braiding, the hairs are a little more reluctant to stay in the braid, making the task exponentially more difficult. Of course, if you’re starting out with curly or wavy hair, you can skip this step, as it doesn’t apply to you.
Step 3: Section your hair
Gather your hair into one triangular section at the top of your head where your hair meets your forehead. Take the triangular section you just gathered and separate it into three pieces.
Helpful hints:
- Make sure that all three pieces are the same size.
- Hold the right section in your right hand, the left section in your left hand, and use your thumb and middle finger of whichever hand you prefer to hold the middle part.
Step 4: Start braiding
Take the left section of your hair and bring it over the center section. As you do this overlap, pull the original center section to the left (essentially, the left and center pieces are switching places). Next, bring your right section over the center section and pull the center part to the right.
Helpful hint: A good rule of thumb here is that each time you pull a side piece over, it essentially becomes your new center section.
Step 5: Add hair to the left and right sections
Grab some hair from the left section and add more hair as you go. Ultimately, you’re trying to thicken the section by adding more hair before bringing it over to the center again. And just as you did in step four, take the left section with the additional hair and cross it over the top, moving it into the center.
Do the same for the right side. Collect some hair, add more as you go, and cross that section into the center over the top. Continue adding hair to the left and right sections before crossing them over to the center, and proceed with the braid down the back of your head.
Step 6: Finish the braid
As you make your way down your strands, you’ll eventually find that there’s no more hair to add to the left and right sections. When that happens, continue with a classic three-strand braid until you’ve reached a good stopping point.
Step 7: Secure your French braid
When you’ve reached the end of your French braid, secure it with an elastic hair band or even add a bow for something cute and different.
Step 8: Primp your braid
Once your French braid is complete, the hard part is over, but the following finishing touches can take it to the next level.
- Pull the braid from side to side to balance it out. This will ensure that one side of the braid isn’t tighter than the other.
- Gently pull at the braids to create a looser, more casual look to your French braid.
- If your hair is layered and some of those shorter pieces are sticking out, grab a bobby pin and tuck the ends into your braid.
- Once you have your French braid exactly how you want it, blitz it with some hairspray to keep everything in place.
Not A Hair Out of Place
A French braid may look and sound complicated, but with a little practice and improved dexterity, you can do it too. Just remember to always cross over the top, and don’t forget to tszuj your braid for a perfect coif when you’re done.