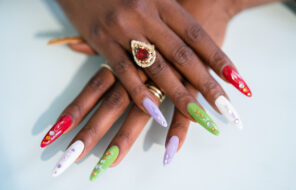
Glitter lovers have no fear! While glitter nail polish can certainly be more challenging to apply than an opaque, monochromatic shade, there are a wealth of creative and innovative ways to apply your glitter nail polish to achieve a flawless, evenly coated look, and we discuss them all below.
Why is glitter nail polish more difficult to apply? The glitter specks, whether small or large, can impact how the nail polish dries and can promote the formation of clumps and pools of denser polish. The glitter specks can drag the base polish, creating divots and bumps.
Another concern is that many products lack the density of glitter necessary for a truly dazzling look. This subtlety is perfect for daytime wear or the office but can fall short of expectations for a late night nail look.
Unfortunately, applying multiple coats of sparkly nail polish increases the likelihood that clumps and color warp will occur. We advise choosing a lighter glitter nail polish for a subtler, more girlish look, and a more dramatic one for an eye-catching appeal.
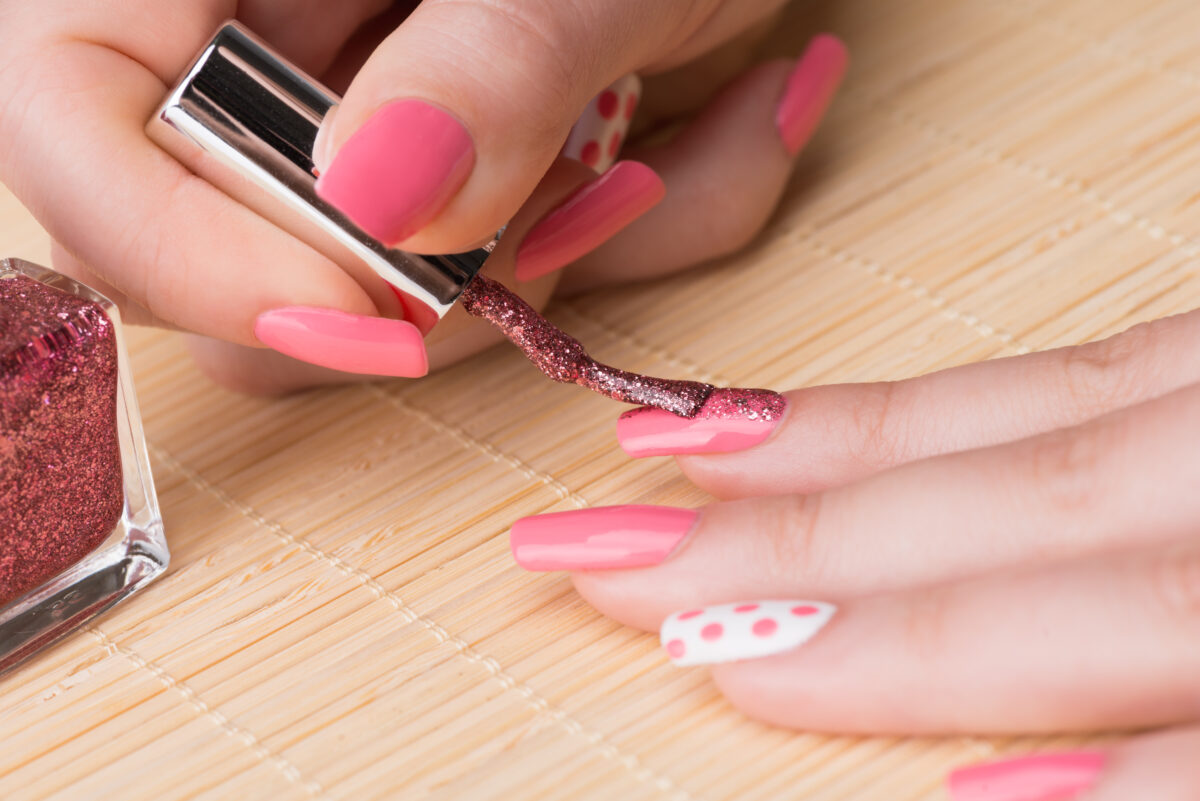
Traditional Brush Technique of Applying Sparkly Nail Polish
To best apply your glitter nail polish with a brush, ensure that you are being strategic and patient. This is the most traditional aplication method and is perfect for all those women who want to apply glitter nail polish without a sponge or any other additional tools.
- Apply a Base Coat: Your first step should always be applying a base coat to ensure your nails are protected and your glitter manicure lasts longer
- Be Conservative: Instead of lopping on a thick coat of polish, dab the brush along the inside of the bottle and brush the polish on conservatively.
- Give It a Minute: Let the brush sit for a moment so the excess polish can drip into the bottle. The brush will hold onto the thicker glitter pieces, leaving more to be distributed onto your fingers!
- Apply: Sweep the glitter brush over your nails, and if you don’t get the desired opacity, layer it with more glitter.
- Use a Paper Towel: Placing too much product on your nails will promote clumping and will create an unattractive and inconsistent appearance. Another method is skipping the above-mentioned step and using a paper towel to soak up some of the excess base, instead.
- Layer up: Swirl the nail polish brush delicately against the paper towel to soak up the thinner base and to ensure that more glitter remains for your nails. Dab it gently against your nail to transfer the glitter, and repeat this step again and again until you get the perfect dense glitter nails.
- Apply a Top Coat: Whichever of the above-mentioned two methods you choose, finish off with a top coat to get a smoother finish.
How to Apply Glitter Nail Polish Using the Q Tip Method
The Q-tip method of applying glitter nail polish is a sound choice for women with a more skilled hand. The Q-tip method is wonderful because it allows you to reach the cracks and beds of your nails without getting product all over your fingers. It ensures that you will have an even, perfect nail with no excess lining the sides of your nails.
The Q-tip method may leave strays of cotton string on your nail, which you can lightly remove with a pair of tweezers. The Q-tip method of applying sparkly nail polish does involve patience, but the damp cotton will soak up some of the base, allowing you to achieve a thicker glittery consistency on your nails.
- Apply a clear base coat, and a nail polish color of your choice (you can skip the latter step, if you want to achieve a kind of see-through glittery look).
- Wet the Q-tip so it is lightly damp and then dip it into the polish bottle.
- Dab the glitter-loaded Q-tip against your nail to precisely place the sparkly particles, and repeat this step until you achieve the desired density of glitter nails.
- Finish off with a top coat to ensure a longer-lasting wear.
Manicure Stick Technique to Apply Glitter Nail Polish
A manicure stick is time intensive but prevents the mis-application of sparkly nail polish. We don’t want glitter all over our fingers, after all!
A manicure stick ensures that the glitter nail polish remains on the nail and not on the bed or cuticles alongside the nail. This is the perfect technique for precision and for women looking to add designs and patterns to their glitter nail look.
If you want to add strategically placed glitter onto a monochromatic coat, the manicure stick would be our recommendation for creating an even and intentional design.
- As always, first apply a clear base coat, and then the manicure of your choice.
- Dot the glitter nail polish onto a piece of thick paper towel or wax baking paper.
- Dip the manicure stick into the sparkly nail polish liberally and apply to nail. Repeat this step until your nails are completely covered with glitter.
- Seal off your glitter nails with a top coat.
Applying Glitter Nail Polish Using the Makeup Sponge Technique
One of our favorite innovative ways of applying glitter nail polish? Use a makeup sponge!
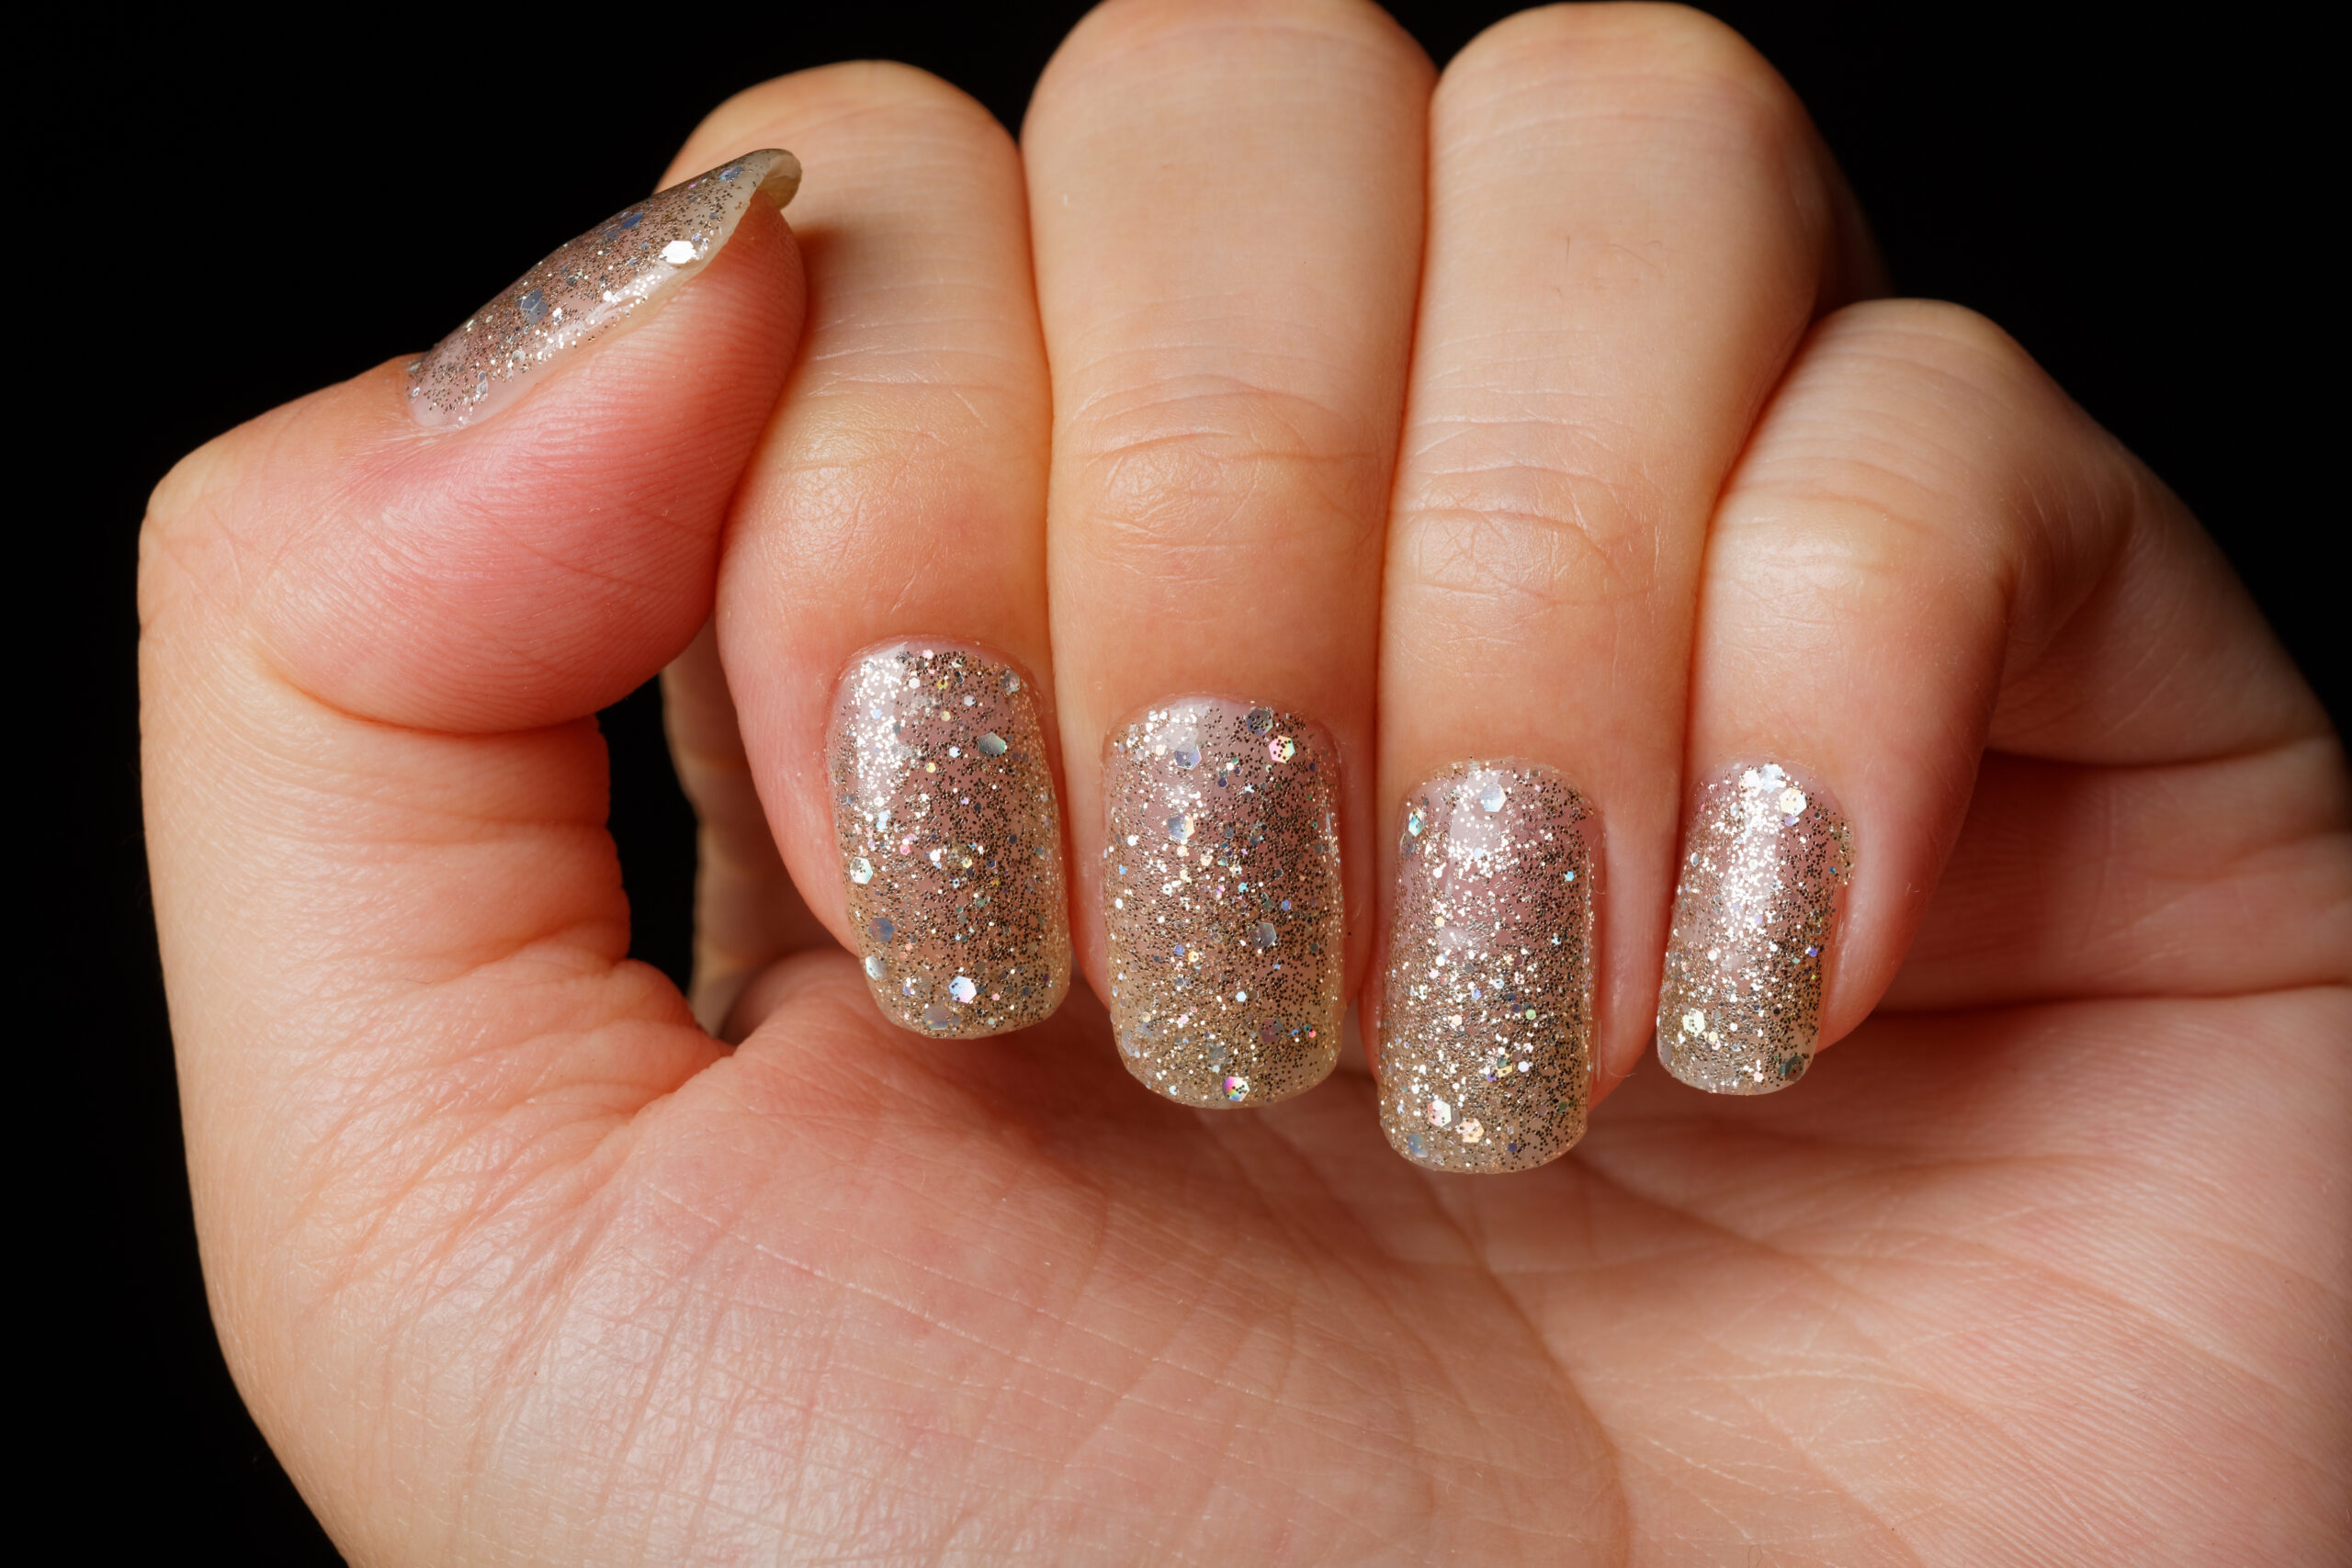
Using a makeup sponge to apply sparkly nail polish may take some getting used to but is one of the best ways to get a dense, luscious dose of deep glitter goodness perfect for holidays and special occasions.
We advise a drugstore beauty blender or wedge, which can be purchased in packs of 5 and 10.
- Use a clear coat of nail polish or a monochromatic shade as a base for your nail polish. If you want the glitter to take precedence use a clear coat. This will create a smoother base for your glitter nail polish and will provide a priming effect, holding onto the color for a longer-lasting wear.
- Apply some liquid latex around the edge of your nails so that you avoid a messy look at the end.
- Pat the polish from the nail polish brush onto the edge of the makeup brush. The sponge will absorb the excess base and leave a more concentrated glitter behind.
- Gently dab the glitter-loaded sponge on your nails, going from top to bottom until you completely cover your nails with glitter. You can apply a few layers to get the perfect glitter nails that are dense and fully opaque.
- Once you have removed the latex and cleared the cuticles off of the excess glitter, apply a top coat and you are done!
Loose Glitter Technique to Get Glitter Nails
For a high-octane look, try loose glitter in place of glitter nail polish! This method adds some texture to your nails, and the glitter will catch the light for a disco ball effect.
This application method has the added benefit of being easy to remove excess glitter from the cuticles and fingers. The loose glitter can be removed with a damp paper towel or a manicure stick.
Remember to place some paper underneath your hand in the event of excess glitter falling on your counter space. This technique need not be dramatic. You can also use a loose dusting of glitter to create a sparse and delicate effect.
- Apply a coat of clear nail polish and let it get slightly tacky. You can pair your glitter with either a base coat or a colorful polish of your choice.
- Then dip your nail into the pot of glitter, rolling it back and forth to get the desired amount of glitter. Gently tap your finger to get rid of the excess glitter, and if you feel the need, press the glitter on your nails so that it sticks better.
- There is one more way of applying loose glitter on your nails, so if you don’t like the second step, you can skip it and pass to this one instead. While your base coat or nail polish is still wet, sprinkle a pinch of loose glitter on your nails using your other hand.
- Tap off the excess glitter, and gently press the glitter against the nails to get an even distribution. If you choose this technique, you should make sure your hands are completely dry as you take a pinch of glitter to avoid a messy look.
- Once you have wiped off all the glitter from the cuticles and your fingers, apply a top coat to create a cohesive look that will endure the whirlwind days and nights of the holiday season.
Glitter Nail Polish Tips & Tricks to Keep in Mind
- Shake your glitter nail polish bottle prior to application to ensure that the glitter fragments are evenly distributed throughout the bottle. We don’t want all of our shiny, sparkly fragments sinking to the bottom out of our reach.
- To prevent the glitter from migrating to the rest of your fingers and cuticles, apply liquid glue, liquid latex, or eyelash glue to the cuticle area. After application the glue will have dried, and you can simply peel it off with the liquid fragments!
- Add complexity to your glitter nails with varying shapes of glitter flakes. Mix up the colors and textures of your glitter nail polish for a dynamic and eye-catching appeal. You can add the various glitters with a manicure stick for a more controlled and even application.
- Create a gradient or ombre glitter nail for an unexpected and playful look. You can use two tones of monochromatic polish followed by a thick coat of glitter along your tips for a creative look or rock an ombre nail with a monochromatic base and a helping of glitter nail polish in a half moon shape along the base of your nail.
- To get a shattered, edgy nail look, apply your glitter nail polish as a base and cover with a slightly translucent monochromatic shade. This will allow the glitter to peak out in a distorted way for an extra dose of edge and eclecticism.
- Glitter nail polishes are not reserved for the bold. By incorporating neutral base colors like grey and beige into your nail polish look, you can play with the glitter nail trend without committing to a radical new nail style. Glitters come in shades of cloud white and baby pink, too, which allow you to indulge your glitter craving in an unassuming way.