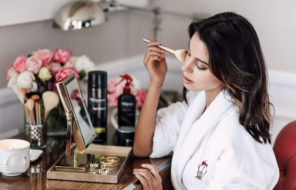
There are a few different types of foundation brushes, with each one offering a slightly different kind of application thickness and finish. Below, we explain the differences between the different types of foundation brushes, as well as how to use each one. We’ll help you decide between a foundation brush and a sponge, and maybe even convince you to get both. To make sure your foundation brushes stay in tip-top shape, we’ve also included our brush cleaning and maintenance guide, as well. Enjoy!
In this article:
Foundation Brush Types
Read our explanations to figure out which foundation brushes will work best for you.
Dense Flat-Topped Foundation Brushes
Dense, flat-topped foundation brushes are sometimes also referred to as kabuki brushes or buffing brushes, and these days they are the most common type of foundation brush on the market. They are made with a dense set of bristles that are cut to have a uniformly flat top or sometimes a very slightly domed top that is still mostly flat. They can be angled, as well, which allows the user to get into the crevices of the face.
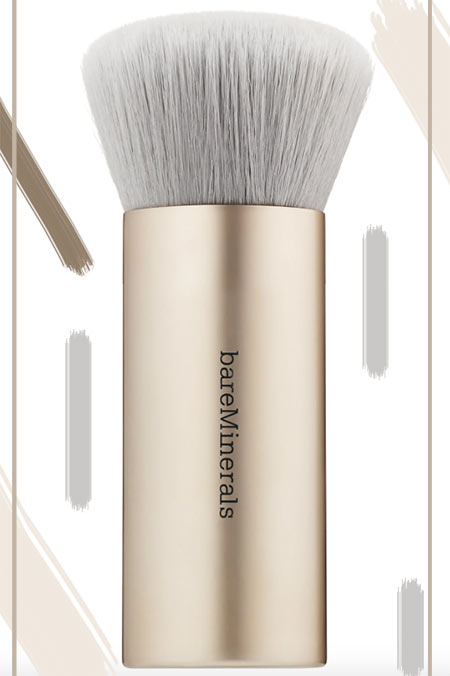
Because these foundation brushes are so dense, they don’t move around too much over the skin, allowing for a very controlled application that gives maximum coverage. They tend to work particularly well with thick foundations that are usually harder to blend.
They give a very seamless and streak-free coverage. This kind of brush can irritate the skin if its bristles are not sufficiently soft or if it’s not well-maintained. They are almost always vegan since they are made of synthetic Taklon fibers, but there are some exceptions that are made of animal hair.
To use:
- You can either dot the foundation over your skin first or apply a tiny amount of it to the brush. Then, using a circular motion, buff it into your skin.
- It is best to start from the center of the face and work your way outwards.
- The more pressure you use, the thinner your application will be, while less pressure will dispense product more thickly.
- Don’t be tempted to apply more product unless it really seems like your brush isn’t moving foundation around anymore.
- Use the edge of the brush to get into the crevices of the face.
- After you’ve finished applying the first thin layer of foundation, you can go back in with a little more product to build up coverage on specific parts of the face.
- This time, use a combination of circular and stippling motions in order to dispense a high yet controlled amount of product.
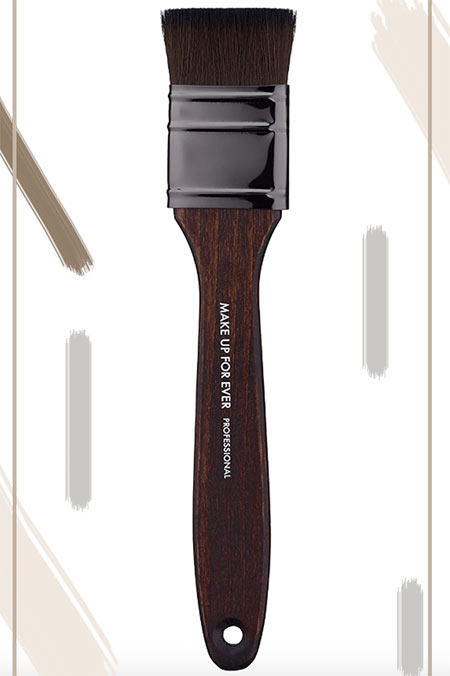
Flat, Tapered Old-School Foundation Brushes
Flat foundation brushes were the main kind of foundation brushes on the market back when I was in makeup school, but they’ve become less popular over the years. These brushes look a lot like regular, large paint brushes, and they work in a similar way, with their flat side used to smooth a cream foundation over the skin.
The reason they have become less popular is that they often leave behind streaks in the foundation that must be blended out with a sponge. They are almost always made of synthetic fibers.
To use:
- Using a flat foundation brush is a little like using a paint brush.
- You dispense a small drop of foundation on the side of the brush and then use short, downward strokes to apply it to your skin.
- You can then use the top of the brush to diffuse any streaks or edges, although that won’t always work.
- Also, use the tip of the brush to apply foundation to hard-to-reach crevices of the face like the sides of the nose or under the eyes.
- If you’re still left with a bit of streaking, use a makeup sponge to blend the edges and achieve a more seamless complexion.
- You can also use the flat foundation brush to apply contour cream, by using its tip to draw lines of contour on the face, which you can then blend out with a sponge.
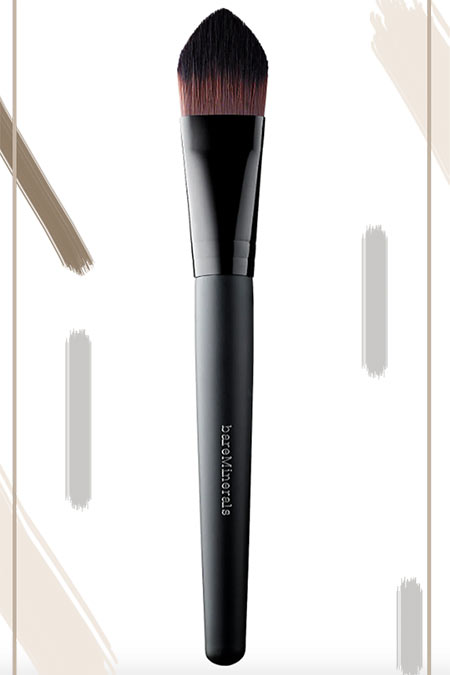
Medium Flat-Topped Foundation Brushes
The word medium here refers to density. These foundation brushes are shaped similarly to the dense flat-topped brushes, but their bristles have more give, either because they are packed in less tightly or because they are longer.
These foundation brushes give an extremely seamless makeup application, and they tend to apply foundation more lightly, thanks to their softness. They are best used with liquid foundation formulas that don’t dry down too quickly, and are ideal for those who like a very natural-looking makeup application. They also tend to work beautifully with mineral foundation powder.
To use:
- Once again, you can either dot your foundation on the skin first or put a very small amount on the brush and then brush it on the skin.
- If your foundation tends to set quickly, then it is better to apply it directly with the brush.
- Use circular, buffing motions to spread the foundation all over your skin, starting from the center of the face and working your way out to its perimeter.
- Try to avoid adding more foundation throughout the application, and instead aim to start out with a very sheer layer all over the face.
- To apply foundation in hard-to-reach areas like around the nostrils or under the eyes, you can change your hold over the brush so that you pinch the bristles to make them thinner and to get into the crevices.
- If necessary, add more foundation only where you would like a bit more coverage.
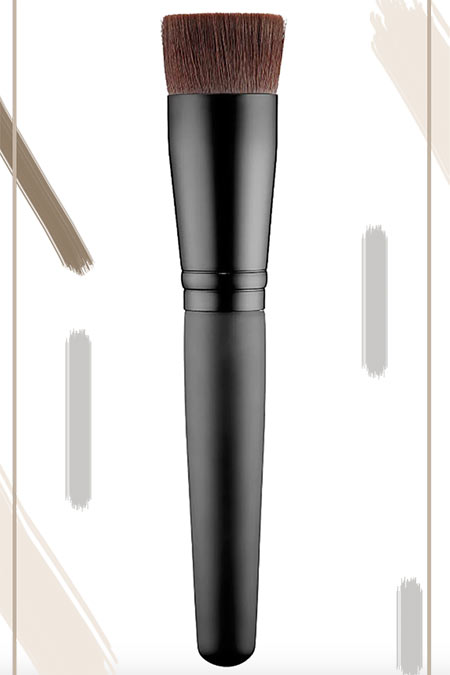
Stippling Foundation Brush
With the rise of flat-topped foundation brushes, stippling brushes have fallen by the wayside. These brushes, often referred to as dual-fiber brushes, are shaped similarly to flat-topped brushes but with one main difference. They have a bunch of fibers packed tightly together, with some of the fibers longer and others shorter. This allows for a mixture of buffing and blending that gives a natural, skin-like finish.

However, with an overly light touch the foundation you apply with this brush ends up looking streaky, which is probably why it has been abandoned in favor of a brush with a uniform surface of super-soft bristles.
To use:
- Just like with a buffing brush, opt for a circular buffing motion.
Uniquely-Shaped Foundation Brushes
Brands like Kevyn Aucoin and Kat Von D have been playing around with shapes, making one-of-a-kind foundation brushes that don’t really fit into any particular category. The shape of a brush will influence the way it comes into contact with the face, making certain things easier and other things harder. In other instances, a unique shape is just a gimmick that allows the brush to stand out from the rest.
In other instances, an odd shape like an angle or contour means that depending on how the brush is held it might distribute product more or less heavily, or it might be able to cover a lot of space and then turned around to get into the facial crevices.
When you’re examining an oddly shaped foundation brush it’s good to look up videos and read reviews to truly understand if it’ll be more comfortable than a traditionally shaped brush.
To use:
- Most oddly shaped foundation brushes are best used in the same way as a typical flat-topped foundation brush.
- You apply your foundation either directly on the skin, or on the brush, and then use a circular buffing motion to blend it into the skin.
- You will want to play around with the angles and sides of the brush to figure out how to optimize the application to your own face shape.
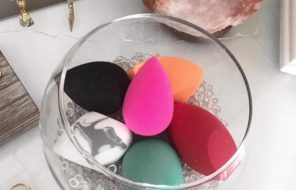
Foundation Brush vs. Sponge
The beauty community is split between the die-hard makeup sponge fans and the foundation brush aficionados. I like having both in my arsenal because I find that they work very differently. Once you understand the differences, perhaps you will find that you like one over the other or you might find yourself wanting to own both.
Both sponges and most modern foundation brushes apply and blend foundation in a very seamless manner, without streaking. The main difference, however, is that foundation brushes absorb less product so they tend to apply more directly on the skin, and as a result, they usually provide fuller coverage.
Makeup sponges, on the other hand, will absorb a bit of product so they tend to apply foundation in a sheerer manner. A foundation application looks softer and more natural with a makeup sponge, while with a makeup brush it will look fuller.
Additionally, most multi-use makeup sponges are meant to be used damp, so they infuse the foundation with a bit of moisture and tend to give dewier coverage. With a foundation brush, you can expect a more matte application.
Another difference is that makeup sponges offer a lot of different surface sizes to work with. They are usually shaped sort of like eggs, with one flatter end and another pointier end. You can use the flat side of the sponge when you need to cover a lot of space or the pointy end when you need to get into the side of the nose or under the eyes. If you need to cover a ton of space quickly you can even use the length of the sponge.
With foundation brushes, you’re really only working with the top or sides of the brush, so you are restricted to their size. Most foundation brushes have a circumference that is just a little smaller than the flat end of the sponge but larger than the point one, which allows for a more precise application of foundation that still covers a reasonable amount of space.
Personally, if I’m in a rush I find that a damp makeup sponge is perfect because it blends and sheers things out quickly, and I can end up with a natural-looking application of foundation in no time.
If I need my skin to look perfect, however, I prefer to use foundation brushes. I find that with a foundation brush I can really control the level of coverage and easily target all parts of my skin.
I sometimes like to use the damp makeup sponge afterward to lightly blend out areas where I feel like the foundation is looking too heavy or matte. Having both gives me the ability to get versatile with my makeup application and to have the most control.
How to Clean Foundation Brushes?
Cream products are much likelier to hold bacteria when compared to dry powder products. Because foundation brushes hold a cream product, they must be cleaned regularly even if they have synthetic bristles. I recommend you sanitize your foundation brush at least once a week and give it a thorough wash around once a month.
Sanitizing Foundation Brushes
To sanitize your foundation brush, you need either an anti-bacterial, no-rinse makeup brush cleaner or alcohol spray. It is easier if your brush cleanser comes with a spray nozzle, but it is not mandatory.
- If it comes in a spray nozzle, spray it on a paper towel or regular towel so it is lightly saturated.
- Then wipe your foundation brush over the towel repeatedly until it no longer leaves behind any foundation streaks.
- Lay it down flat to dry.
- If it comes without a spray nozzle, decant a bit of the brush cleanser into the lid or into a shallow bowl.
- Dip your foundation brush into the brush cleanser for a few seconds.
- Wipe the brush off on towel or paper towel, going back and forth, until it no longer leaves behind foundation streaks.
- Lay it down flat so it can dry.
Washing Your Foundation Brush
- You will want to give your foundation brush this thorough cleaning with soap or shampoo at least once a month.
- To start, dampen only the bristles of your brush either by dunking it in a bowl of water or place it under the faucet.
- Next, massage a small drop of shampoo or soap into the bristles, and massage gently against the palm of your hand to work it in, create a lather, and break down the makeup that is trapped deep in the bristles.
- Once the brush has been thoroughly lathered, dunk the bristles back under the water, and rinse thoroughly to get rid of the shampoo.
- Much like you would with your hair, dry off your brush gently by squeezing it with a towel to get the moisture out. Avoid rubbing or tugging as it will damage the bristles.
- Once you’ve extracted most of the moisture out, leave your brush either flat or hanging upside down in a flat, clean place. Leave it overnight to dry.
Proper Foundation Brush Storage
- When your brushes are dry, the best way to store them is either sitting upright in a cup or nestled safely in a dedicated makeup brush pouch that holds each brush individually.
- Immediately after a foundation brush has been cleaned, however, it is important to allow it to dry properly.
- Avoid letting it sit upright, or moisture can get into the ferrule and damage it.
- The best way to store a foundation brush while it is dry is to have it lying flat on top of a towel.
- Alternatively, there are a variety of contraptions that you can purchase or make that can hold the foundation brushes upside down to really ensure that all water drips out of them.
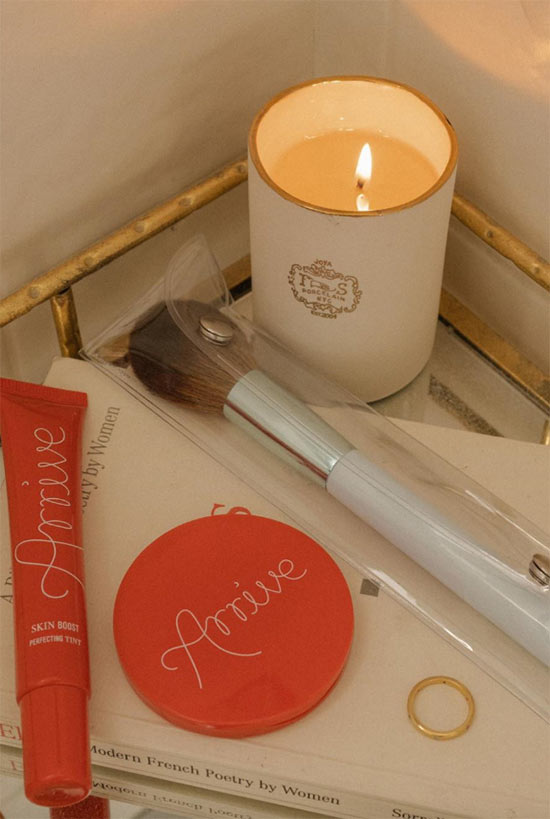
Photos via @christina.kassi, Sephora