You can use different mascara application techniques to achieve different effects or to fit your own eye shape. I’ve written out the ultimate step-by-step guide to applying mascara flawlessly, along with some additional advice based on eye shape. Below, we discuss all the possible mascara application methods for you to follow.
The Basic Mascara Application How-To
This is the best way to apply mascara for that flawless look day and night. Before you proceed, make sure to check out our ultimate list of the best mascaras for every lash type to pick your favorite.
Step 1: Prep
- Start with clean, well moisturized eyes. Apply eye cream or an eye-safe moisturizer to the area around your eyes with your ring finger. After all, what’s the point of going through all that effort of wearing eye makeup if the skin around your eyes is dry and itchy? Allow a few minutes for your skin to thoroughly absorb the product.
- Apply your eye makeup as you normally would – this could be a full eyeshadow and eyeliner look, or even just a swipe of face powder to even out the color of your lids. If you’re in a rush you could probably skip this altogether!
- If you intend to apply concealer to the under-eye area, I usually recommend doing it after you’d applied your eyeshadow but before applying mascara.
Step 2: Curl the Lashes
- If you feel the need, curl your eyelashes. The Kevyn Aucoin eyelash curler from Nordstrom is a great choice if you don’t already own one. To curl your lashes, start off by holding the open curler as you would a pair of scissors in front of your eyes.
- Tilt your head slightly forward so you can see the top of your lashes in the mirror, and position the curler so that your top lashes are between its top and bottom parts.
- Line the top part of the eyelash curler with your lash line, making sure that it doesn’t touch your lid.
- Once you are happy with how it is positioned, you can slowly clamp it shut while moving your hand slightly upwards. Squeeze the curler in a pulsing motion for a few seconds, and then open it up just slightly and move it upwards.
- Repeat the pulsing squeeze a few times for each section of the lashes, to give them a thorough curl all throughout their length.
Step 3: Apply the Mascara
- Now it’s finally time to get that mascara out! Open your tube of mascara. If you’re using a brand-new mascara chances are the brush will be loaded up with more product than you actually need, so wipe off the excess on a tissue. Otherwise you are likely to end up with clumpy-looking lashes.
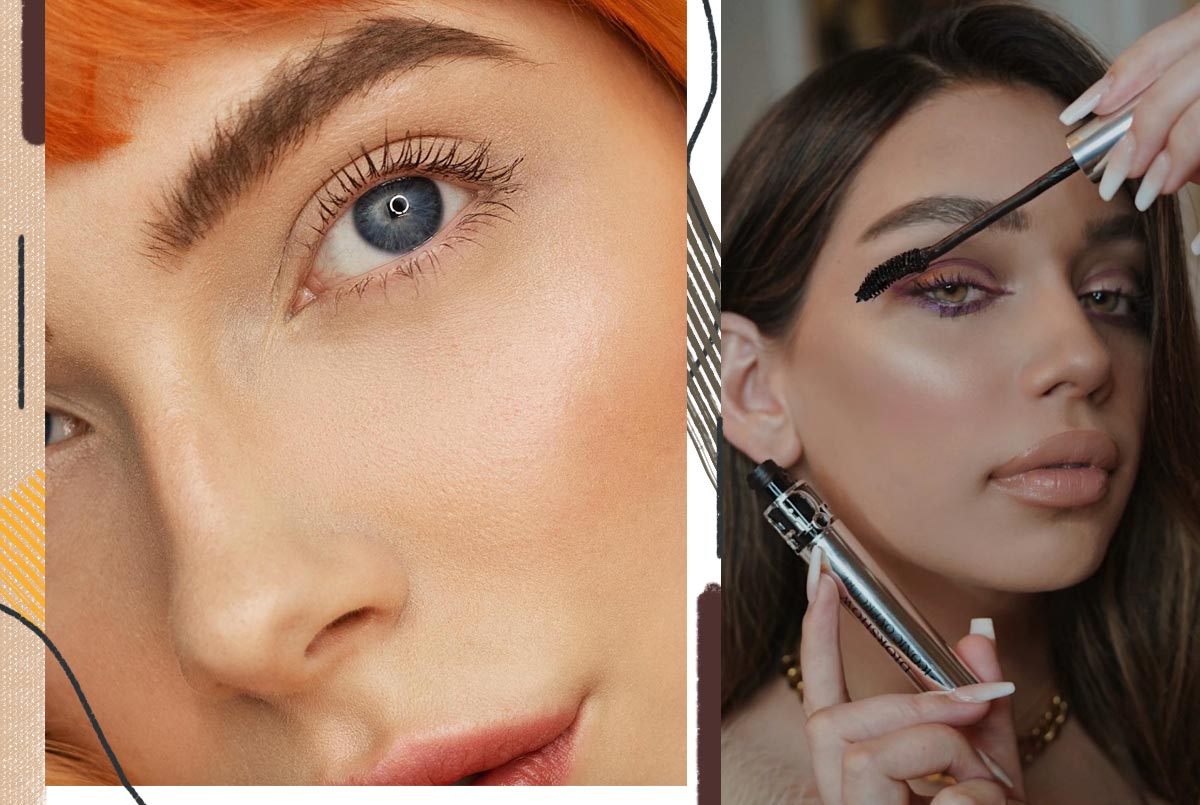
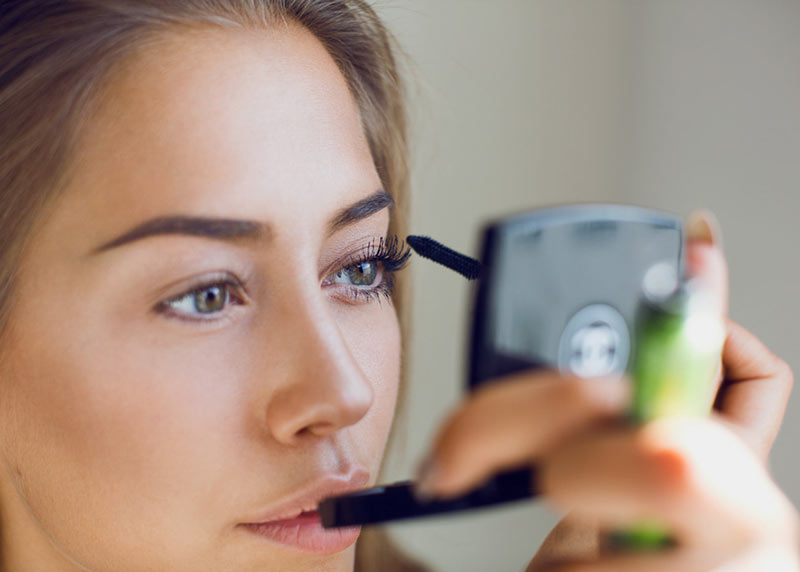
- With your head tilted upward (and your mouth open for that universal mascara application face), bring the mascara wand to the lower side of your top lashes and wiggle it in between the lashes as close to the lash line as you can get.
- While gently moving it from side to side, pull the mascara wand up towards the tips of your lashes. The gentle sideways motion will help to thoroughly coat each lash while keeping the lashes separated.
- Depending on the shape of your eye and the natural curve of your lashes, you might want to repeat this process along the inner and outer corners of your eye, where you might not have reached with your initial application.
- Tilt your head forward a bit, and examine the top of your lashes – it’s possible you might have to apply a bit more mascara along the top of your lashes, especially close to the roots. You can angle your brush slightly in order to really get in there with the tip of the brush, to deposit color without necessarily volumizing.
- To increase the length and volume of your lashes, dip your mascara back in the tube, wipe off the excess once again if necessary, and apply the mascara once again starting at the roots the same way you did previously. Repeat this process until you are happy with the results. Avoid overdoing it, or you might end up with the dreaded “spider lashes”, which look crunchy and overly thick.
- If you feel like your lashes did clump together despite your best efforts, use an eyelash brush (like the Lift Off Lash Comb from Sephora or just a clean mascara wand) to brush through your lashes and separate them. Make sure to do this while the mascara is still wet.
- Once you’ve perfected one eye, repeat the process on the next one!
- If you’ve smudged a bit of mascara anywhere on your lid, use a cotton bud dipped in a bit of concealer or foundation to wipe off the smudge. It’ll remove it without smudging the rest of your makeup, and it’ll be easier for you to touch things up afterwards.
Applying Mascara to the Lower Lashes
These days many of us want our eyes to look as big as possible, so applying mascara to the lower lashes has become fairly mainstream. A decade ago, however, applying mascara to the lower lashes was not standard practice, and many outdated sources will tell you to avoid doing so altogether.
If you have naturally thick and long lashes, you might not feel the need to ever apply mascara to the lower lashes, and you may also choose to skip it if you’re going for a 1950s-inspired makeup look that focuses on the upper lash line and leaves the lower one bare of both mascara and eyeliner.
Most of the time, however, chances are you will want to go in with mascara, so here’s the best practice!
- With the lower lashes it’s doubly important to wipe most of the product off of your mascara wand, as you are aiming for subtle definition rather than intense lengthening or volumizing effects.
- Starting on the outer half of your lash line, get as close to the roots of the lashes as possible and gently pull the mascara wand down towards the ends. You don’t have to wiggle the brush this time around, as this might over-volumize the lashes.
- Do the same at the inner half of your lash line.
- If necessary, use a clean lash brush or mascara wand to go over the lashes and ensure they are separated.
- If you did happen to over-apply mascara, you can fold a tissue and then gently press your lashes in between while the mascara is still wet. Be careful not to actively wipe or pull on the lashes – this is just a gentle press that will help to blot excess mascara off of your lashes, leaving them looking subtle yet defined.
While these are the basic application methods, you can also slightly alter the way you apply mascara to achieve different effects.
Applying Mascara for Cat Eyes
This mascara application method is best for downturned eyes, eyes that are a little too close together, or for anyone who wants to lengthen their eye.
- Start with an even, thin coat of mascara all along the length of the lashes.
- Then, add additional coats of mascara to the outer corner of the lash line. This will make the outer lashes longer, and give you a cat-eye effect that helps lengthen the eyes and make them seem more upturned.
- When you apply the mascara, especially on the outer corner, pull the lashes slightly diagonally.
- If your eyes slope down a bit at the outer corner then avoid putting mascara on the lower lashes.
- Pair it with some cat-eye style winged liner to seal the deal.
Applying Mascara for Doll Eyes
This kind of mascara application is great for anyone who wants to widen their eyes, and it’s especially good for narrow eyes!
- Start with a thin, even coat of mascara all along the lash line.
- Concentrate the second coat of mascara at the center of the lash line, right above your pupil.
- Do one final coat along both the center of the eye and outer corner.
- As you apply the mascara, make sure to pull the lashes vertically upwards! The final effect will be lashes that are longest at the center, opening the eyes up and making them look doll-like.
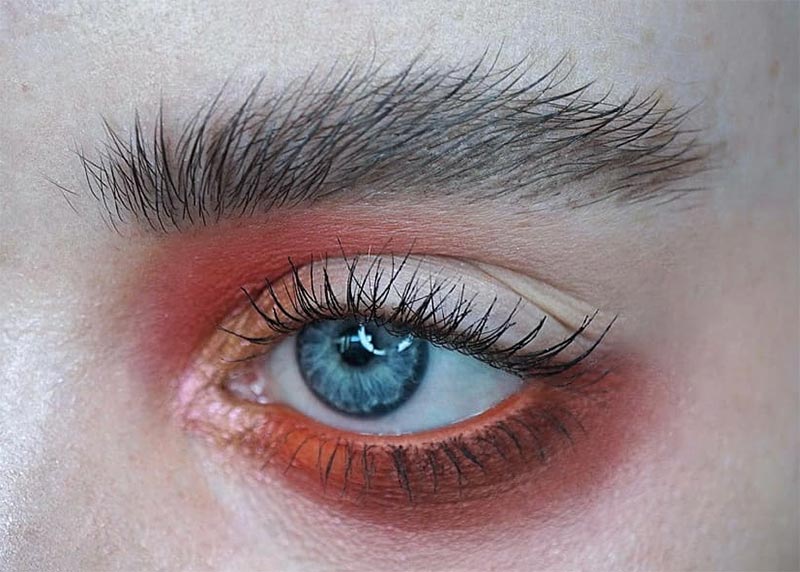
Fanned Out Mascara
This final technique is quite dramatic and can work for all kinds of eye shapes. It’s especially nice for those who have close-set eyes, since it won’t pull them apart any further.
For this technique, you simply want to make sure that all of your lashes are even in length, by applying an equal amount of coats from the inner corner to the outer corner. The lashes will fan out and look super feminine.
Applying Mascara for Grunge Queen Lashes
For all the talk about separating the lashes, we gotta remember that the ‘90s are back. This means that slightly clumpy lashes are not all bad! If your beauty idols are Natasha Lyonne or a young Courtney Love, then feel free to layer on the mascara without bothering to separate it out, and feel free to go heavy on those lower lashes as well!
You should still embrace the wiggle, since it’s important the mascara taper out at the end rather than look solid and thick all the way along, but don’t worry too much about combing out your lashes before and after.
Photos via @leighdickson, @janicejoostemaa, Instagram