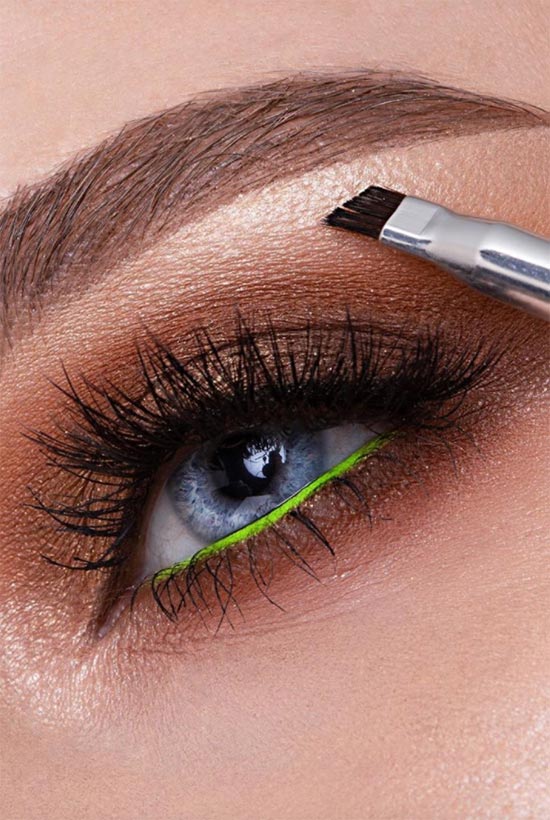
It’s easy to think that using an eyebrow brush is no different than an eyeshadow brush. But the two couldn’t be used more differently. While eyeshadow usually doesn’t require more firm pressure to produce a visual payoff, eyebrow brushes require you to work with intention and precision. So, let’s talk about the dos and don’ts of using an eyebrow brush properly.
Start with Groomed Brows
It’s hard to create precise lines when your brows look like they’ve seen better days. Whether you prefer a thinner or fuller brow, always make sure that errant hairs have been removed.
Pick Your Brow Products
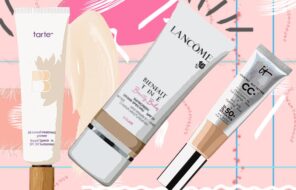
As you can see from many of the eyebrow brushes in our guide, not all brushes are optimized to work with every possible brow product texture on the market. You’ll need to decide whether you prefer working with powder, pomades, creams, waxes, or even gels. Some will give you a bolder payoff than others and may require additional tweaks depending on your overall effect goals (i.e. bold vs. natural).
Assemble Those Tools
Once you’ve settled on your brow products, it’s time to get your brow brushes together. Depending on your goals, it’s not always necessary to use all four of the common eyebrow brush options. And truth be told, for the average makeup fan who isn’t a serious makeup artist or enthusiast, it’s absolutely possible to create a nice clean brow with a simple dual-ended eyebrow brush.
However, you should ensure that the brush you have is designed to work properly with the texture of your brow products. Where possible, we listed when a specific tool was rated for powder versus pomades, gels, etc. Picking the wrong tool for a specific brow product that it’s not rated to support can create splotchy brows and inconsistent results.
Conventional wisdom will have you believe that you need to use multiple brow products to create the right brow – this isn’t true. But as you grow in makeup confidence, you’ll determine which products worked best for you because they were:
- Easiest to use
- Produced the desired effect
- Didn’t transfer or fade throughout the day
With that being said, if you prefer to use powders, pomades, waxes, or gels as opposed to a brow pencil, it’s a good idea to invest in a quality angled brow brush – regardless of whether it’s a single or dual-ended brush. If your brows are very sparse, opt for a longer-bristle angled brush for a complete fill-in. And if you just need to touch up specific areas, a short-bristle angled brush is fine.
Consider Your Brow Shape
Some people have naturally high arches, while others are flatter and longer (think K-Beauty standards). While you can attempt to redefine the shape of your brows dramatically, this is usually not a good idea. The goal should be to make your existing brow shape look full, lush, and natural.
As a general rule, the head (the inner portion of your brow) should line up over your nostrils. And it’s not necessary to force it if you don’t naturally have a pronounced arch.
Consider Your Application Process
Depending on whether you have sparse or full brows, you may need to choose one of two methods for filling in your brows. If your brows are full, you can simply freehand product into the sparse spots. But if you have sparse brows, it’s best to begin by defining lines or boundaries around the perimeter of your brow.
As a general rule, if you want to create the look of thicker or fuller brows, always add width from the bottom of your brows. Trying to add more brow to the top of your natural brows can result in making your forehead look too short. And avoid brow stencils, as it’s easy to create blocky brows that look fake and unrealistic.
- Apply your brow product of choice to the arch.
- Use the brow brush in short strokes to distribute the product, going out towards your nose and upwards towards your forehead.
- Now, using the same strokes move the brush out towards your ear and upwards towards your forehead.
- Avoid drawing straight lines as you are filling in your brows.
- Do the same on the other brow, and you are done.
Pick the Right Color
This is especially true for people with lighter hair colors. Typically, your natural brow color should be somewhere around the same shade as the roots on your head. Picking the wrong brow product color can be too jarring and even give the impression that you’re angry.
Don’t Be Heavy-Handed
You can always add more product if an area on your brow looks too sparse. But if you apply too much product at once, all you can do is clean it off and start over. Instead, use short light strokes with your eyebrow brush and follow up with the spoolie to keep things looking natural.
Remember They’re Sisters, Not Twins…
No matter how much you’re shooting for perfection, your brows aren’t meant to be carbon copies of each other. In today’s Instagram-heavy culture, it’s easy to assume that your brows should be carbon stamp copies of each other. But it’s perfectly normal for one brow to be shaped slightly different than the other.
Blending Is Key
Don’t forget to blend. Whether you use your angled brow brush or the spoolie side of a dual-ended eyebrow brush, it’s important to blend, blend, blend. The goal here is to prevent harsh lines and to make your brows look more natural. Especially if your brows require you to create an outline and then fill in with your preferred product, don’t forget to go back and soften those original lines, so you look less like an Instagram model and more natural.
Consider Concealer
This is an optional final step, but if you’re not comfortable using highlighter under your brows, concealer is a smart alternative. It can brighten your brow area without creating a high-beam effect.
Photos via @kenzas, Instagram