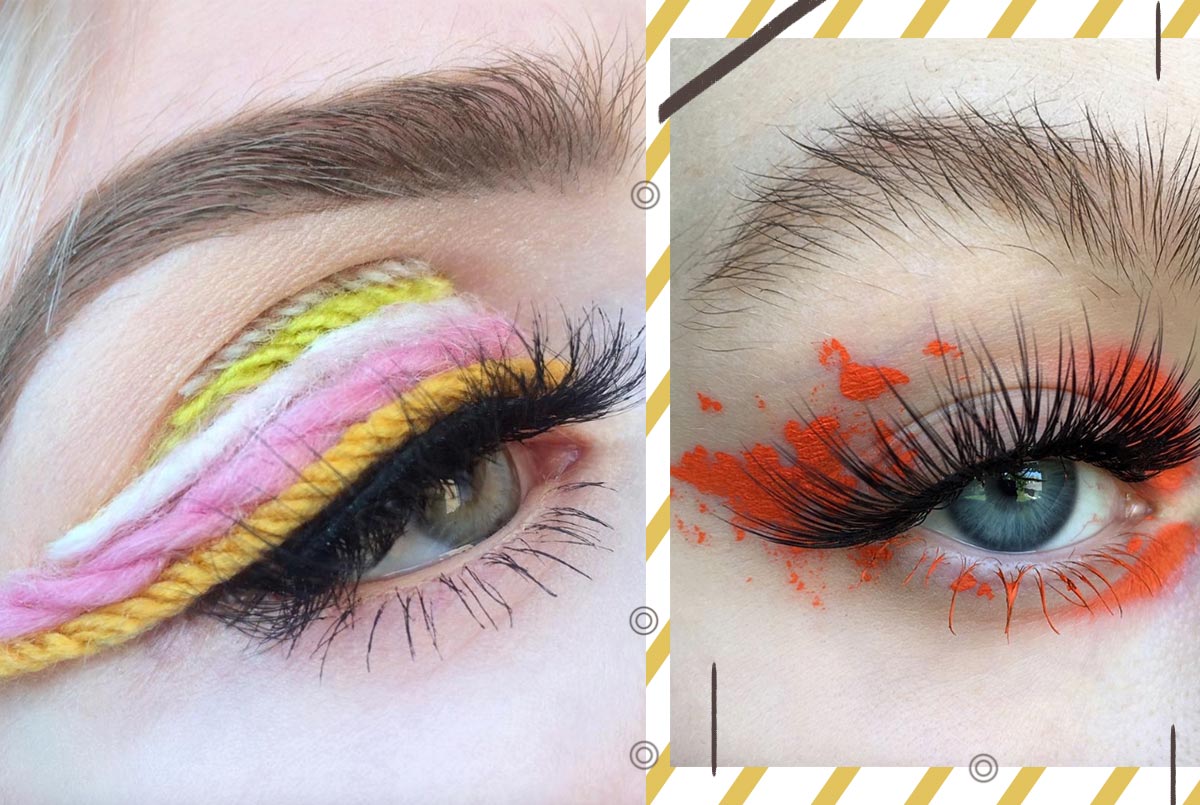
False eyelashes are instant drama. Nothing adds as much glamour to a look as false eyelashes (although red lipstick can come close). In recent years, falsies have really blown up! They used to be reserved for special events or the red carpet, but nowadays, you can see beauty lovers wearing them at the office, at school, or just hanging out.
Whether you’d like to make falsies part of your daily look or you want to keep a pair around for special events, it’s important that you know how to actually apply them. We’ve put together the clearest and most comprehensive guide to applying false eyelashes, breaking down the process step by step. We also prepared our guide with a few false eyelash hacks and pro tips to guarantee a seamless application every time.
What You’ll Need
To apply false lashes, you’ll definitely need a sweet pair of false lashes and some eyelash glue. We highly recommend having some mascara and liquid eyeliner on hand, and you may also want to use tweezers or a special eyelash applicator. If your lashes are brand new, a pair of small grooming scissors can also be helpful in case you’ll need to trim them.
When to Apply False Lashes?
The false eyelash application should come right towards the end of your makeup routine after you’ve applied all of your complexion products and eyeshadows. We also highly recommend applying a thin layer of eyeliner along the upper lash line, especially if you’re new to false lashes. This way, if you can’t get the lashes to sit super close to the base of your natural lashes, the eyeliner will camouflage your skin, and you won’t have a visible gap.
Some falsie-lovers also prefer to apply their mascara before false lashes, while others like to apply it after. In general, we think it’s best to apply a little bit of mascara beforehand, and then if necessary, it’s always possible to apply more afterward, as well.
Read Next: How to Choose the Best False Eyelashes for Your Eye Shape
Which Way Is Which?
When brands package their false eyelashes, they put them in a simple order. Normally, if you hold the box up next to your face and look in the mirror, the lashes will line up with their intended eye.
However, some brands don’t package their lashes side to side, which makes things difficult (looking at you, MAC). In that case, the easiest way to tell which falsie goes on which eye is by looking at the length of the lash fibers. The side that’s meant to rest above the inner corner of the eye almost always has the shortest bristles.

Getting Them out of the Box… Safely
One of the worst makeup-related experiences we’ve ever had was ruining our false eyelashes just as we were trying to get them out of the box. We’d like to save you that awful transition from excitement about a new pair of falsies to total devastation with some advice.
The reason why this is so difficult is that the lashes are normally glued down into the box. You have to coax them out gently to avoid bending them or ripping out lash fibers.
The best way to make this work is to start out by gently scraping at the glue that attaches the outer corner of the lash band to the box. You can use your tweezers or even a nail just to get that outer part to lift from the box.
Once it’s dislodged, grape both that outer part of the band and the base of the lashes, and gently pull the lash off of the box. If a few of the outer lashes bend, that’s usually fine since you will likely have to trim them anyway.
Once the lashes are out of the box, use your fingers to gently peel off any glue that’s still attached to their base.
Read Next: 15 Best False Eyelashes for Every Budget
Measure Your Falsies
For that first-time application, you’ll need to measure your eyelashes against your lash line first to make sure they’ll fit your eye. To do this, just line up their band with your lash line, and see how they sit on your eyes.
The inner part of the falsies should end a few millimeters away from your inner corner, where it doesn’t poke you or feel uncomfortable. The outer end of the false lashes should end exactly where your lash line ends at the outer corner of the eye. If the lashes are any longer than that, you’ll end up with a droopy-eyed look.
Chances are the lashes will extend too far past the outer corner of your eye, so take note of how many clusters of lashes have that overhang since you’ll need to trim them off.
Another thing to consider as you measure your false eyelashes is also how you’d like your lashes to sit over your eye. If you want a more open-eyed look, you’ll want the lashes to sit up so they go straight upwards. If you prefer a sultrier look, you can angle the lashes so they lean forward slightly and shadow the eye just a hint.
Make the Cut
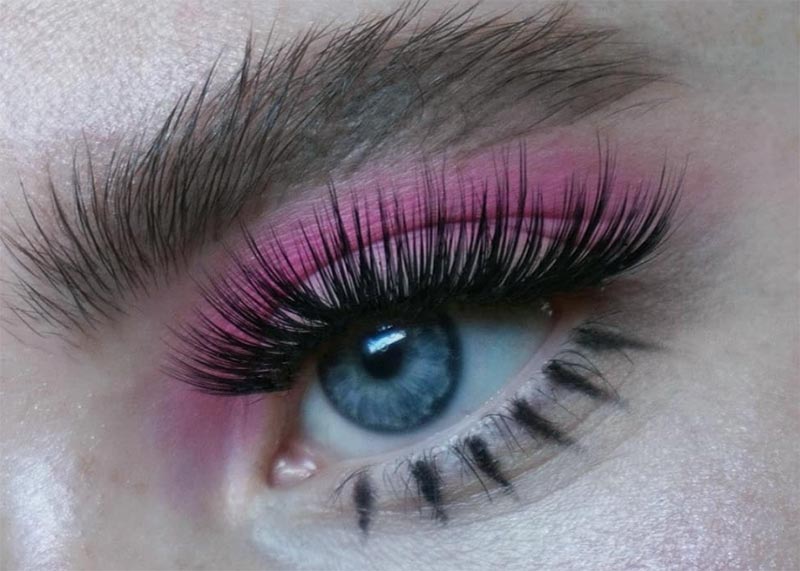
Now that you know exactly how much shorter your lashes need to be, it’s time to give them a trim. The lash fibers are normally attached to the band in clusters, so the best way to trim is between clusters. Simply snip the band, and you can even save the little outer-corner strip you’ve got off and use it as a cluster or as a demi-lash.
Once you’ve made the snip to the band, try the lashes on without glue once again. Check how they fit over your eyes, and make sure you don’t need to do anymore trimming.
It’s worth mentioning that humans are not symmetrical, and you might discover that one of your eyes has a longer lash line than the other. Because of that, you might end up trimming each lash to a slightly different length, and that’s okay.
False Eyelash Hack: If you end up with false lashes you don’t love, you can always clip them to customize them. You can turn one pair into a whole bunch of cluster lashes or into two sets of demi lashes and then use them either just on the outer corner or on the bottom lash line.
Read Next: Types of False Eyelashes: Different Shapes, Sizes & Materials
Give Them a Twist
If your eyes are particularly rounded, or the band of your lashes is a little stiff, you’ll need to loosen them up a bit. The way to do that is by grasping the ends of the lash with both hands and then gently rounding them out, moving each side back and forth. This sort of twisting motion gives the lash band more give, which will allow it to fit along your lash line more snugly.
Applying the Lash Glue
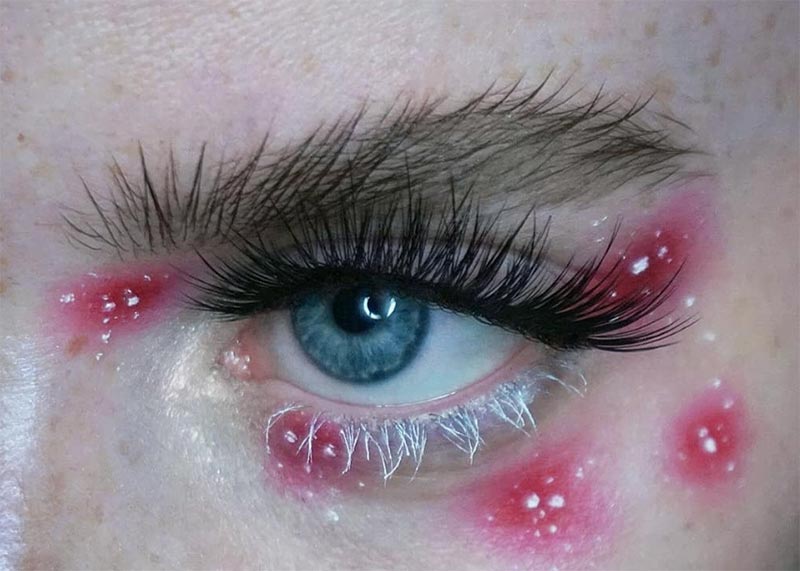
Now that you’re ready to actually apply your false eyelashes, the first step is to apply glue to the base of the band. Some lash glues come with a doe-foot applicator that makes things easy. Others come in a tube, so you’ll have to squeeze some of the lash glue out onto a clean surface and then use the back of your tweezers or a toothpick to swipe it along the lash band.
Try to keep the amount of lash glue you apply evenly from end to end. The amount of glue you apply should have about the same thickness as the end of a small pin. Then apply just a tiny extra dab to each end, which will help guarantee the lashes won’t pop out.
Now you need to wait. Most lash adhesives take around 30 seconds to become sticky and tacky, so don’t be tempted to apply the lashes right away.
False Eyelash Hack: If your lashes aren’t dramatic enough to your taste, try this drag queen trick. They actually stack a few sets of false lashes together, one on top of the other, using lash glue to get the lashes to adhere to one another. The result is dramatic, thick, and massive lashes that look amazing on stage.
Applying the Lashes
Finally, we’ve gotten to the good part! When your glue is finally sticky, you can apply your falsies. The key to getting this right is to start by focusing on the center of the lash line.
- Grasp your lash strip by the lashes, at the center, with either your fingers or your lash applicator. Then, while looking slightly downwards into a mirror, place them over your lash line right at the center.
- Then, focus on connecting the ends. Start by getting the band to adhere to the outer end of your lash line.
- If needed, slightly pull the strip over so it lines up better with the outer end to avoid poking yourself at the inner corner of the eye.
- Grasp the lash fibers and gently push down on them so that the band adheres to the lash line. Then, repeat this process at the inner corner of the eye.
- Finally, press downwards on the lashes again along the center to make sure they fully adhere all along the lash line.

Marrying Your Lashes Together
No, we’re not talking about an eyelash wedding. Once you’re certain your lashes are staying put and not going anywhere, you want to get them to blend in better with your look.
Using your fingers or your tweezers, gently squeeze your natural lashes with your false lashes. This will get them to blend in with one another and prevent any visible difference between your lashes and the falsies. At this point, you can also add more mascara if you wish.
Read Next: How to Remove False Eyelashes Safely & Painlessly
Finish off with Eyeliner
If you’re a real eyelash pro or are using black eyelash glue, then this might not be necessary. However, we’re fans of finishing off our eyelash look with a line of black liquid or gel eyeliner. It helps to camouflage the lash band, and it also adds an additional classy touch to our look (especially if we wing it out).
Just apply the eyeliner along the base of the false lashes, just as you would when you don’t wear falsies. If any of the lash glue is visible or your lashes have a clear band, you can use the eyeliner to hide them by painting them black.
And that’s all there’s to it! It’s a lot to learn at first, but after applying false eyelashes a few times, you’ll become a seasoned pro, and it’ll always be a breeze!
Photos via @beautsoup, @atlantip, Instagram

