There are lots of different methods as well as various tips and tricks for applying gel eyeliner. We’ve also put together a comprehensive guide on how to apply gel eyeliner, and finished off with a few tips and tricks that’ll make your application even easier and more flawless.
In this article:
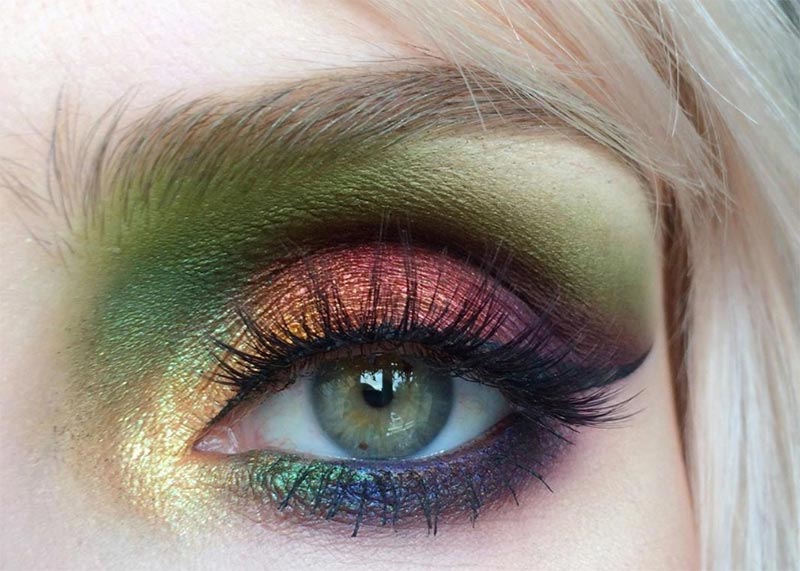
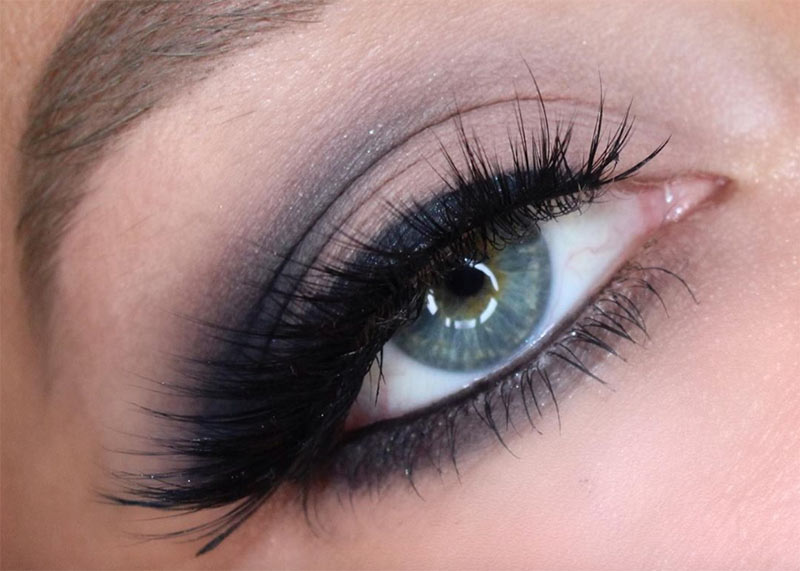
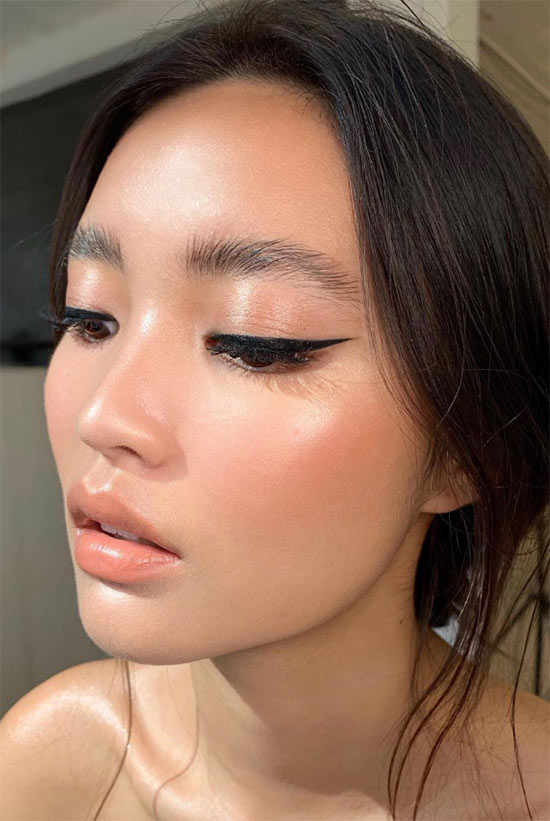
Gel Eyeliner Tutorial
This is my favorite method for the actual eyeliner application, which includes tightlining and applying a full wing, though there are other techniques that you can adapt and combine based on your preferences and eye shapes.
- Start your gel eyeliner application after you’ve finished applying most of your eye makeup, but before applying mascara.
- Get into a comfortable position for applying your eyeliner – the best one is with a small, hands-free makeup mirror that you can look down into.
- If you’re using a pot gel eyeliner, then dip your brush directly into the pot and then wipe off the excess on a tissue or the lid. For gel pencil hybrids, simply make sure that your pencil has a nice, sharp tip.
- It’s best to start by tightlining the eyes. Place your finger above the center of your eye, between the lid and the crease, and pull up very lightly.
- Hold your brush or pencil from below, so you can use it to apply eyeliner to the upper lash line from below rather than above.
- With a very gentle motion, press the liner in between the lashes so that color is deposited in between every lash, and then wiggle back and forth slightly.
- Repeat the press and wiggle motion until you have lined all along the upper lash line.
- You can stop here for a more natural look, or keep going to achieve a gorgeous winged eye.
- Take a few seconds to blink, and then finish lining the area above your lid – you can also start by drawing the wing if you prefer, there are no rules here.
- To line the area above the lid, keep looking downwards while lightly pulling up on your lid. Starting wherever you are comfortable, begin drawing on the eyeliner in short strokes towards your outer corner. Some people like to start at the inner corner, others start in the center and fill in the inner corner at the end, while others opt for a softer, open-eyed look with only the outer two-thirds of the eye lined. It’s up to you.
- If you’re aiming for a smokier look, smudge the edges of your line with a clean brush or smudger tool quickly, before it sets.
- Repeat your efforts on the other eye.
- For adding the wing, follow the curve of your lower lash line when you draw the lower line of your wing, starting from the outer corner outwards – this will help guide you and will make it easier to keep the two eyes looking symmetrical.
- Do the same with the other eye immediately, and then check in a larger mirror for symmetry.
- Finish off the outline of your wing with your eyes open. Starting at your crease, draw a line that connects to the lower line of your wing about half a millimeter from its end. This ensures that your wing will look sharp.
- Then, with your eye still open but looking downwards, connect that upper line to the liner over the lash line. When doing this, your aim is not to continue the angle of the wing, you might even find yourself drawing the line almost straight downwards. This will make for a look that flatters the eyes when they are open, though you might notice a bit of a jump with the eyes closed. This is an especially excellent technique for those with hooded eyes.
- Finally, fill in the inside of the wing. This is also your chance to smudge it a little bit to achieve a smokey wing.
- Once again, repeat these steps on the other eye, and then examine in a larger mirror to check for symmetry.
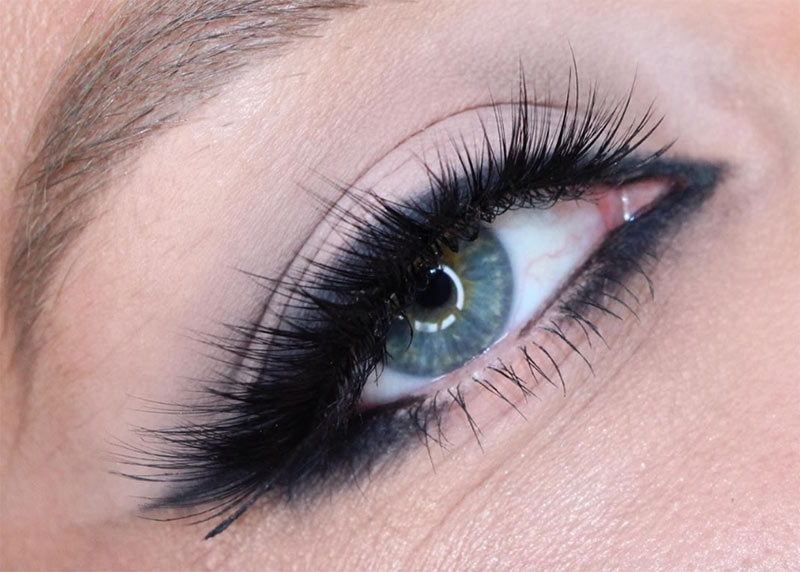
- If you’d like to draw with a gel eyeliner on the lower lash line, now is the time. For the waterline, it is best to use a pencil-gel hybrid. Simply pull down on the under-eye gently, look up, and then fill in the waterline with color.
- To apply liner just below the lash line, look upwards and then fill in color as close to the lash line as you can get, using short strokes. If you like, you can thicken it up or smudge it outwards for a smokier look.
- Once you’re happy with the results, finish off your look by curling your lashes and adding some mascara, then do the rest of your makeup as you like.
Useful Gel Eyeliner Tips & Hacks to Practice
These are the tricks you can try before, after, and during your gel eyeliner application to improve your overall application.
- Gel eyeliner applications rarely look perfect on first swipe. You can clean up minor mistakes and smudges with just a Q-tip and makeup remover. However, a concealer, foundation, or eyelid primer will often work better than a makeup remover, because as they take off the gel eyeliner they will also refine your line and leave behind a bit of product on top of which it is easier to build eyeshadow or liner.
- If you would rather have a bit more security and insurance, first draw your eyeliner wing on with a dark eyeshadow following my instructions, and then go over it with your gel eyeliner.
- Some gel eyeliners take longer to set than others. If you would like to make your liner set quickly, go over it with a bit of dark shadow, which will act just like a translucent powder does over foundation, to absorb moisture and keep things in place all day long. This will also prevent less water-resistant formulas from smudging easily.
- The brush with which you apply your gel eyeliner is just as important as the gel eyeliner itself. If you have a lot of control and prefer fine details, a skinny pencil brush will be best, while if you would rather get an easy line that’s a little thicker, an angle brush will probably work best for you.
- To ensure maximum longevity, apply your gel eyeliner directly on top of a thin line of eyeshadow primer. The gel eyeliner can grab on to the primer better than it would to eyeshadow, so simply apply your eyeshadow first and then add another layer of primer followed by eyeliner.
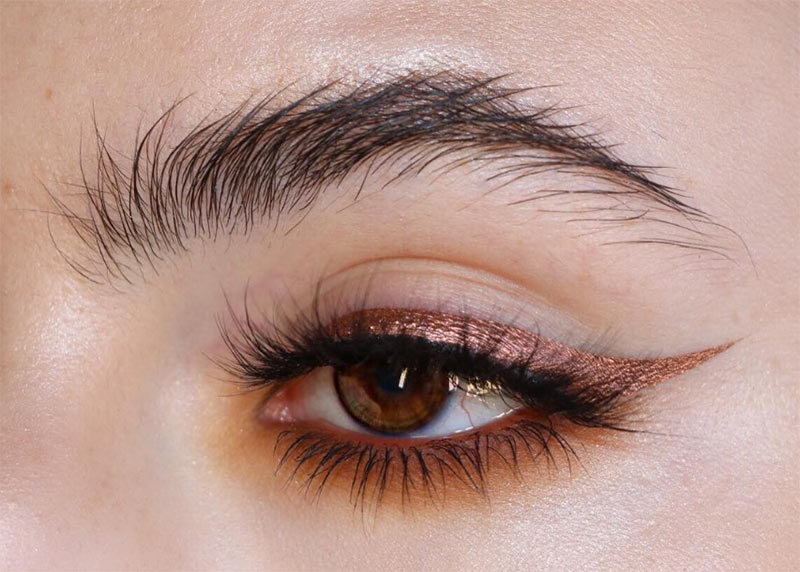
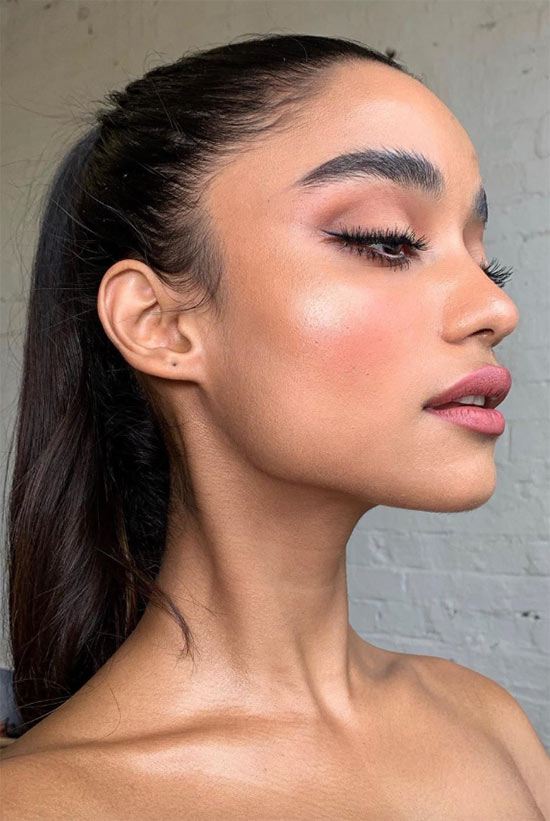
- When choosing winged eyeliner looks, you can play around with length and angle of your wing based on the look you’re going for and what you find most flattering with your features. A downward wing is known as a puppy eye and is very popular in Southeast Asia, a straighter wing can look very sultry, and a wing angled more upwards feels very glamorous and retro. You can also opt for a seductive cat eye, where your sultry wing connects to the line on the lower lash line.
- The thickness of your liner on the lash line will also impact your features. A line that gets thicker towards the outer corner of the eye will often give a sultrier cat eye effect, a line that is thicker in the center can give a doll-eye effect, and a line that is thin all the way around is more natural and softer. If you don’t have a lot of lid space, a thinner line is usually best.
- Gel eyeliner is fantastic for blending in the strip of false eyelashes with the rest of your liner. After applying your lashes, go over the strip and any visible dry glue with your liner, and meld it with the line of eyeliner you have underneath.
- If your gel eyeliner is starting to get dry, scrape up a bit of it from the pot, and mix it with a few eye drops. This will be completely eye-safe and will help to moisten up the gel.
- Some people prefer applying their gel eyeliner after they’ve applied mascara, and that’s perfectly okay! You might find that by doing it this way you don’t gunk up your lashes with gel eyeliner, or you might find that it makes it easier to know when you’ve applied enough since it’ll be part of a more complete look.
Photos via @beautsoup, Instagram