Forget the tired jokes about how scary-looking eyelash curlers can be. Learning to use an eyelash curler might be intimidating initially, but once you get the hang of it, it’s not complicated. More importantly, it can make a huge difference when wearing makeup, especially if your lashes tend to stick out straight or sag downwards.
In this guide, we’ll explain exactly how to curl your lashes. There are a few different ways to go about it, but we focused on the method that’ll give you the most glamorous, curved, and lifted lash look.
How to use an eyelash curler
Before you start, make sure you’ve finished applying most of your eye makeup, with the exception of mascara. The toughest aspect of using an eyelash curler is just going for it that first time, so go slowly and don’t rush to squeeze.
With that out of the way, here’s how to use a clamp-style eyelash curler from start to finish.
Step 1: Choose the right curler
Before you can curl your lashes, you need to have a reliable eyelash curler on hand. You’ll want to pick a curler that aligns with your lashline, so take your eye shape into account when making your purchasing decision. Before using it, make sure it’s clean and that the lash pad is in good condition.
Step 2: Position the curler
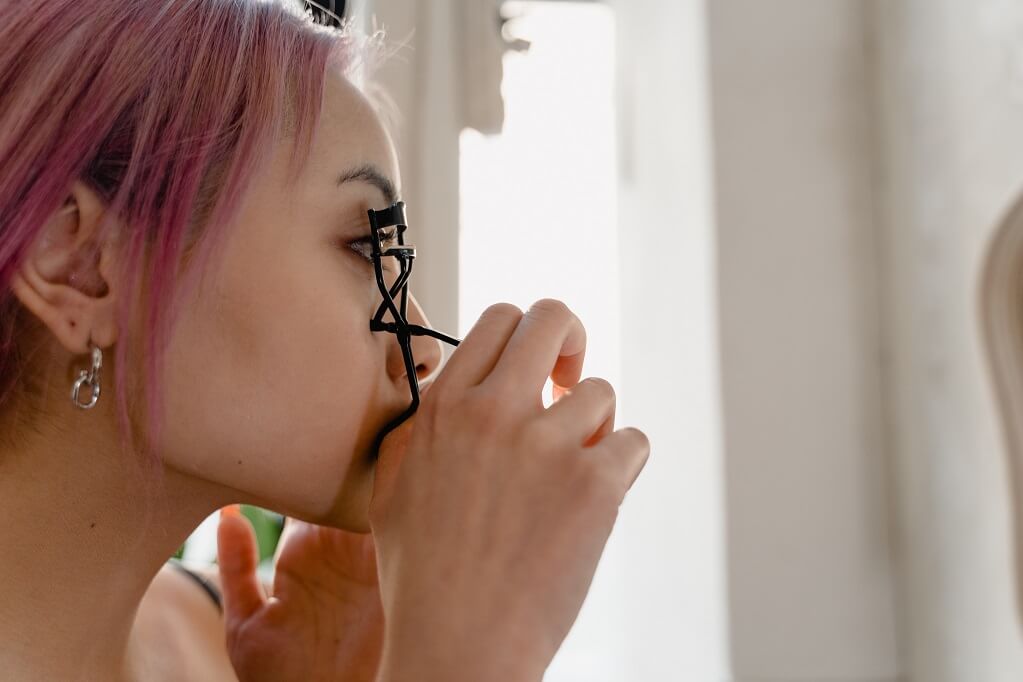
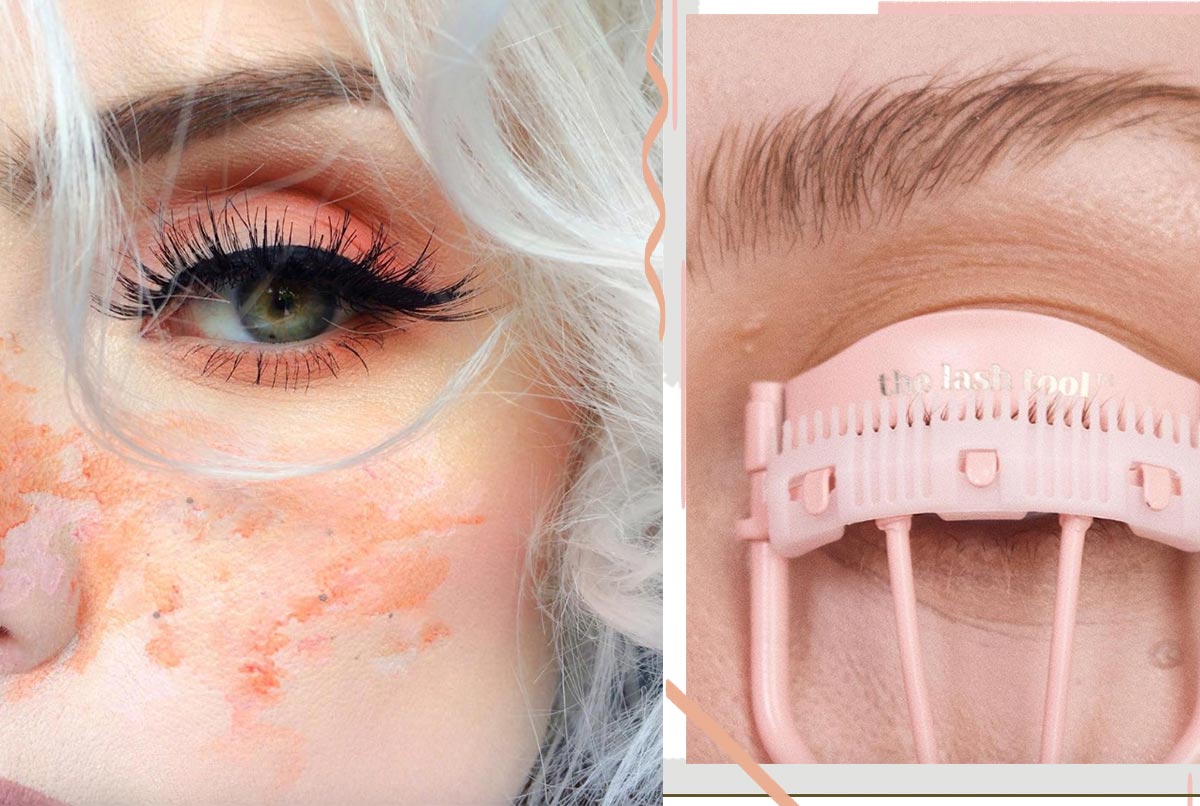
Grab hold of your lash curler much as you would a pair of scissors, and give it a few practice squeezes. Then, open it up, and bring it up to your lash line. With your eye closed, hold the top of the clamp against your eyelid, slightly above your lash line.
Angle it slightly outwards, and open your eye — your lashes will get sandwiched between the top and bottom parts of the clamp. You might need to play with the positioning a little to get most of your lashes situated.
Then, with the clamp still open, pull the curler slightly downwards while adjusting its angle so that the top metal rim of the clamp is as close to the base of your lash line as possible (but without actually touching your lid).
Step 3: Start squeezing
Once you’ve found the perfect position, slowly and carefully squeeze the clamp closed. The goal is to bring the silicone lash pad upwards to meet with the top rim that’s already in position. This prevents you from accidentally pinching your skin.
As you squeeze, angle the curler upwards into a more horizontal position to create a curve in your lashes rather than a bend. Hold the curler shut for a few seconds. You can also pump it a little instead of just holding it shut to prevent a crimped look.
Step 4: Curling from base to tip
Once you’ve finished curling your lashes at the base, you can create an even better curve by curling along the length of the lashes. To do this, squeeze the curler over the lashes from base to tip by pumping it open and closed while carefully curving it upwards.
Step 5: Covering the rest of the lash line
If your curler doesn’t capture all of your lashes, you might need to repeat the curling process near the inner and outer corners of your eye. To actually capture all of those corner lashes, you might need to adjust how you angle the curler. Aside from that, the process is similar to curling the center of the lash line.
Step 6: Evaluate and repeat
Give your lashes a quick glance in the mirror to ensure you like how they look. If you feel like they don’t have enough lift, you can curl the base of the lashes again, this time holding the clamp down for longer.
Step 7: Lock it in with mascara
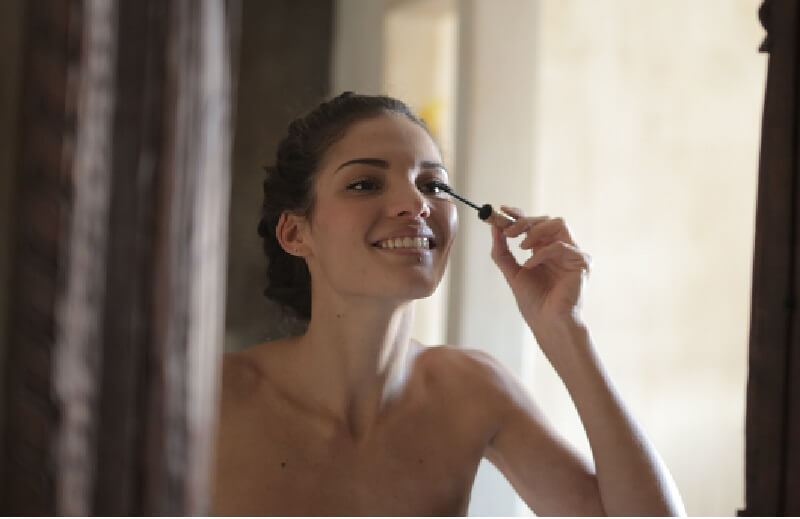
Finally, apply your mascara to lock that curl into place. Waterproof mascaras tend to hold a curl more effectively, while non-waterproof or very runny formulas may cause your lashes to lose their curl.
How to use a heated eyelash curler
Heated eyelash curlers can be an excellent alternative to traditional curlers. They’re perfect if you don’t have the dexterity or grip strength for a clamp curler, if you’re nervous about pulling on your lashes, or if you have lash extensions. They’re shaped like lash combs with a heated component at the base, kind of like a hot hairstyling tool.
To use a heated eyelash curler, follow these steps:
- Make sure it’s fully charged. Turn it on, and check that the heat level is comfortable.
- When it’s ready, place it against your lashes from the underside.
- Use a side-to-side wiggle to your lashes as close to the heated component as possible.
- Gently lift your lashes upwards with the curler, and hold it in place for a few seconds.
- Slowly begin combing your lashes upwards to get that lift from base to tip.
- Once you’re done, apply mascara right away.
Do you use an eyelash curler before or after mascara?
The best time to use an eyelash curler is before mascara. After all, you don’t want to gunk up your curler with makeup. Attempting to curl wet lashes can cause clumping, and if the mascara is dry, you can end up with more of a crimp, which isn’t a great look, either.
That said, on rare special occasions, you can curl your lashes twice — once when they’re clean and again after applying a very light coat of mascara. Then, finish off your look with a few more coats of mascara. Yes, your curler will get a little dirty, but this approach will create a slightly more intense and long-lasting curl.
Things are a little more flexible if you have a heated eyelash curler, which you can use both before and after mascara.
Become a curling master
Ultimately, learning how to use an eyelash curler takes practice. It requires some dexterity, but with time, you’ll develop the muscle memory to curl your lashes quickly and effortlessly. Each person has a slightly different eye shape and lash pattern that’ll impact what works best for them.
As you practice, don’t be afraid to experiment with things like angles, different mascaras, and even curling hacks, like warming up your curler before using it. Soon enough, you’ll find the method that gives you the lifted lashes of your dreams.