Keeping your Beauty Blender clean is a key part of keeping it in good shape for as long as possible. There are a few methods you can follow to clean the Beauty Blender, depending on the kind of cleaning products you prefer to use, but a few principles apply no matter which technique you prefer: clean your Beauty Blender regularly (after every use according to the brand itself), and keep it in a clean place.
The easiest way to know that your Beauty Blender is staying clean and safe throughout the day is to keep it in the Blender Defender case, which is available at Sephora.
Below, I’ll explain how to clean Beauty Blender the right way so you can keep it usable and fresh for as long as possible, and I’ll also let you know how often you should replace it. We’ll start the list off with the Beauty Blender-endorsed methods, and then also let you know about some wackier Beauty Blender cleaning hacks that many people on the Internet absolutely swear by.
In this article:
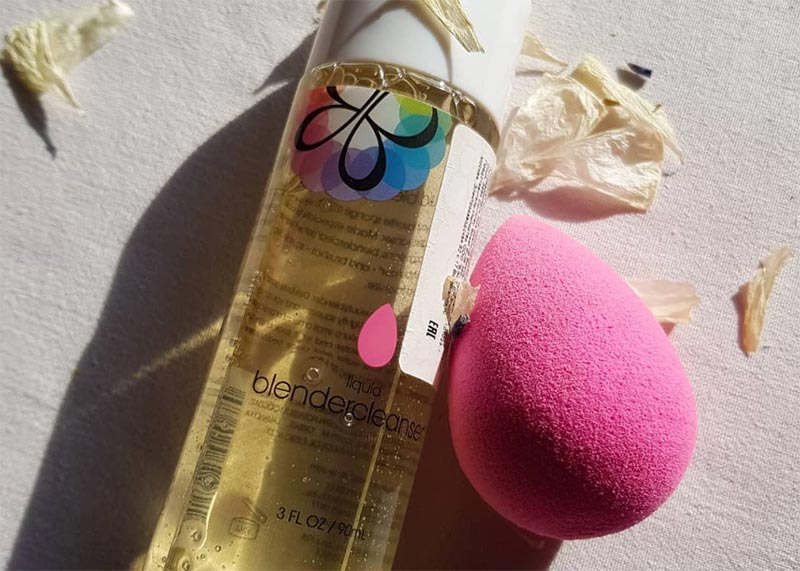
Cleaning Beauty Blender with Liquid Cleanser
This is one of the easiest yet most thorough of the ways to clean your Beauty Blender to get stains and makeup residue out of it. This is the method that requires you to use a liquid blendercleanser, which you can buy at Sephora or Amazon, although baby shampoo or castile soap can also work in a pinch.
Avoid using facial cleansers or liquid soaps that may contain additional ingredients that can break down the foam of your Beauty Blender. Some sources recommend using a mixture of dishwashing liquid and olive oil, but we’re a little hesitant about how it’d make your Beauty Blender hold up in the long term.
- Wet It
To clean start off by dipping your Beauty Blender in some water or running it under the tap. Then squeeze out a couple pumps of cleanser onto it.
- Rub
Gently squeeze and rub your Beauty Blender in order to foam up the cleanser and to get it to penetrate deep into the sponge.
- Rinse
Once you feel like the cleanser has thoroughly saturated the sponge and broken down all the makeup that was sitting inside it, place it back under the running tap, and gently squeeze it while the water runs through it and removes the cleanser and makeup residue. You will know you are finished once the water runs clear.
- Dry
Next, squeeze out as much water as you can out of your makeup sponge, and then roll it over a clean towel. Place it somewhere clean, safe, and dry to allow it to finish drying.
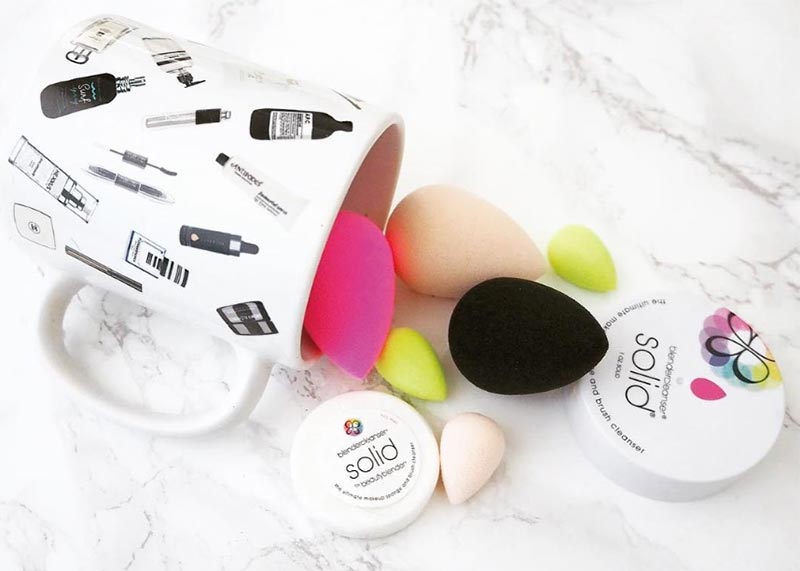
How to Clean Beauty Blender with a Solid Cleanser
If you travel frequently with your Beauty Blender, then carrying a liquid cleanser around will quickly become a hassle. If that’s your situation, you will definitely prefer using the solid blendercleanser, which you can also buy at Sephora. If you’re a heavy user, you will likely prefer the larger quantity of the pro cleanser.
- To start, get your Beauty Blender wet by rinsing it under a tap. Next, swirl it against the solid cleanser in order to load it up with sudsy soap.
- Squeeze your Beauty Blender a little bit in order to get the soap to foam up as well as to get the soap deep into the sponge and to break down the makeup.
- For a deeper clean, bounce the Beauty Blender against the bumpy side of the silicone pad that comes with the solid blendercleanser.
- Once your sponge is totally saturated with the suds, and you think all makeup has gotten thoroughly broken down, you can rinse away the soap from your sponge by placing it under the running tap.
- Once the water runs clean and soap-free, you can remove your Beauty Blender and squeeze as much water as you can out of it.
- Roll it over a clean towel in order to get it a little drier, and then place it in a safe place so it can air-dry completely.
If you don’t have the dedicated blendercleanser accessible and need to clean your Beauty Blender as soon as possible, you can also use a gentle bar of soap.
Cleaning Beauty Blender on the Spot
Occasionally, you might not have the time to thoroughly clean your Beauty Blender. Perhaps you want to use it for a few different products during one makeup application, or maybe you’re just in a rush. If that’s the case, you can definitely use the Instaclean Cleansing Spray from Revolve or Sephora to spot clean your Beauty Blender.
All you have to do it is spray the part of your Beauty Blender that you would like to clean, and then wipe your Beauty Blender over a clean towel or cloth. Within seconds the product will be gone from your sponge, and you’ll be able to jump back into your makeup application!
Heat Sterilizing Beauty Blender
You might already be familiar with this technique if you’ve ever managed to get bad smells out of your dishwashing sponges with the help of a microwave. Microwaving can work just as well for Beauty Blender as it does for dish sponges, but be careful – you can’t just pop your Beauty Blender in the microwave and expect magical results!
- The trick is to place your Beauty Blender in a microwave-safe bowl, and then to submerge it in water.
- Pop the bowl in the microwave for about 30 seconds to 1 minute, and when you remove it all of the bacteria in your Beauty Blender will have gotten zapped away.
- Wait for the water to cool down, and then remove the Beauty Blender from the bowl, and squeeze out the water.
- You can now take the chance to wash it again with proper cleanser to get out stains, or you can combine the two techniques by submerging your Beauty Blender in a bowl of soapy water instead of regular water. If you choose to go that route, make sure to completely wring it out and rinse it once the microwaving process is over, and the water has cooled down.
How to Clean Beauty Blender Using Alcohol
Another option for sterilizing your Beauty Blender involves saturating it in 91% isopropyl alcohol, although you should know that it is only recommended for the white and nude Beauty Blenders, as it will cause the colored ones to bleed dye.
The alcohol is perfect for totally destroying any bacteria that might be sitting deep inside your Beauty Blender, and it doesn’t force you to mess around with water and heat. The key when using alcohol is to fully submerge your Beauty Blender in it, and to let it sit for about 10 minutes – no more and no less.
Once the time passes, take out your Beauty Blender and wring out as much of the alcohol as you can. Then place it in a clean, dry place and allow it to air-dry on its own, as this is actually part of the sterilization process. Once all the alcohol has evaporated, your Beauty Blender will be clean and fresh!
When Should You Replace Your Beauty Blender?
According to the Beauty Blender brand, the makeup sponge should be replaced after 3 months of use. If you haven’t been keeping track of how long you’ve had the teardrop sponge sitting on your vanity, you might want to look for the telltale signs that your Beauty Blender is done for.
- Nicks and tears in the Beauty Blender sponge are a sure sign that it’s the end, since if it doesn’t have a flawless surface, then it cannot give your skin that flawless coverage any more.
- An overly firm or rigid-feeling Beauty Blender is a useless Beauty Blender. Your sponge is supposed to be soft and bouncy – once it gets too hard, using it is no longer a pleasant experience. Hard spots can also be a sign of product built-up, which means your sponge isn’t all that clean any more.
- While some staining will occur with a Beauty Blender, it’s when your whole sponge looks like one giant stain that you know that it’s done for. A couple stains here and there are okay, but if you find it extremely difficult to get your makeup sponge looking clean then you’re better off letting it go.
- Throw away your Beauty Blender at the first signs of bad odor, especially if you’ve tried nuking it and it didn’t do the trick. Generally, regular cleaning should keep your Beauty Blender smelling fresh all the way until the end, but sometimes mistakes happen, and it does get a little moldy and gross smelling, in which case definitely don’t risk it – throw it out!
- Another sign that your Beauty Blender has been growing bacteria is if you suddenly start breaking out. Give your Beauty Blender a deep cleanse, and if the issue still doesn’t resolve then it’s time to replace it.
- The nice thing about the Beauty Blender is that it’s totally recyclable, so you can toss it in the recycling bin and not feel like you’re hurting the planet. You can also find a way to upcycle it with a new use. Rea Ann Silva recommends adding your old Beauty Blender to your manicure kit, and using it to create ombre nails, while YouTuber GlitterForever17 suggests using it to clean your phone screen, along with some other wacky hacks – not all of which do I endorse.
Photos via @beautyblender, Instagram