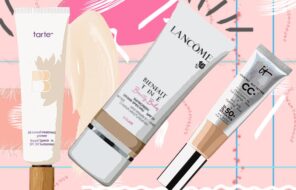
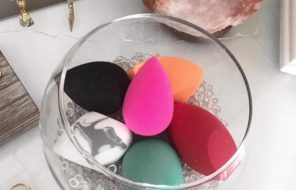
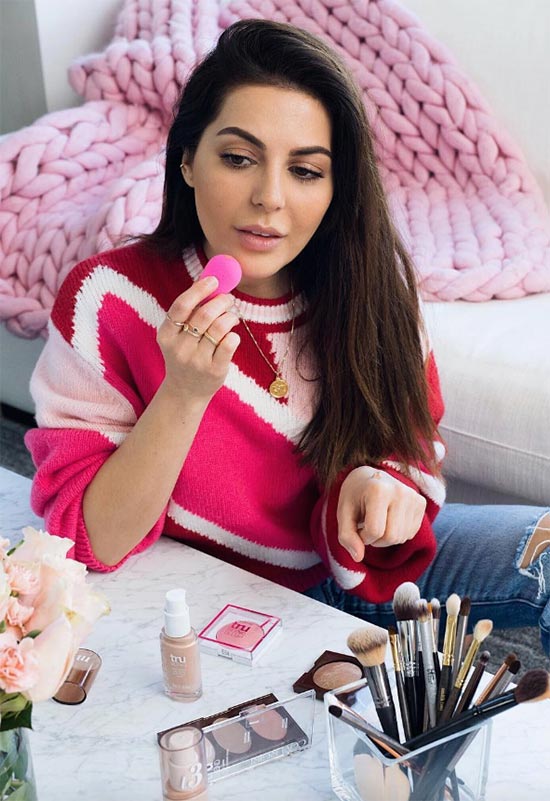
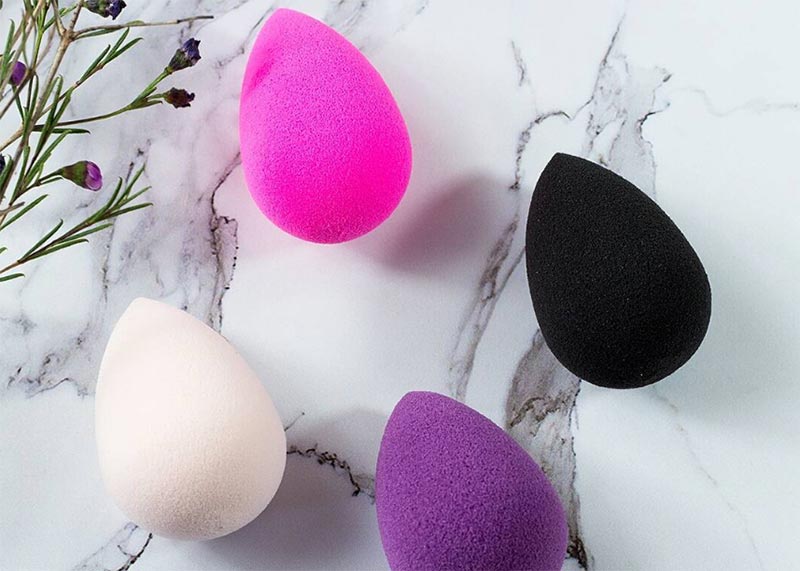
It is undeniable that the Beauty Blender made a lot of makeup brushes obsolete and helped to seriously improve the way our foundation looks. If you haven’t tried it yet, then honestly, you’re way behind.
To get you up to speed, I’ll tell you everything you need to know about this little rounded makeup sponge. I’ll explain how to use Beauty Blender following the brand’s signature wet.squeeze.bounce method, and then will tell you about 14 different uses for the Beauty Blender! To finish things off, I’ll let you know about some common Beauty Blender mistakes people make, and how to avoid them!
In this article:
- The Classic Method
- Lay Down Foundation with Your Beauty Blender
- Get Blending
- Using Beauty Blender to Apply Concealer
- To Powder and Set
- Get Baking with Beauty Blender
- How to Use Beauty Blender to Apply Cream Contour
- Glow with Highlighter Using Your Beauty Blender
- To Get Blushin’
- Clean up Makeup Mistakes with Beauty Blender
- How to Use Beauty Blender to Apply Primer
- To Apply Lid Color
- To Apply Skin Care
- Apply Self-Tanner with Your Beauty Blender
- Using Beauty Blender to Blot Your Lipstick
- Beauty Blender Mistakes to Avoid
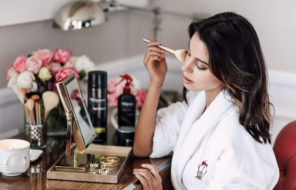
The Classic Method
The Beauty Blender is the workhorse of the makeup world. We’ve identified 14 different uses for the Beauty Blender, but almost all of them rely on the brand’s simple principle of wet, squeeze, and bounce. Let me clarify the slogan and give a few more details:
- Wet
To use a Beauty Blender, you first want to get it thoroughly saturated with water. The water will take up space inside the Beauty Blender, and prevent it from absorbing your expensive makeup products. It will also give your makeup a more hydrated, natural-looking finish. When you run your sponge under the tap you’ll notice it expand to more than double its size.
- Squeeze
Next, you want to squeeze it in order to get the excess water out. This will leave it loaded up with the perfect amount of water.
- Apply Makeup
Then you’ll want to either cover your Beauty Blender in the makeup product you intend to apply, or you’ll want to dot your face with the makeup and then use the Beauty Blender to spread it around and blend it. I prefer the former technique when applying powders and thick creams, and the latter when applying thin cream or liquid products.
- Bounce
Now is when the bouncing comes into play! Especially when it comes to complexion products, you want to bounce the Beauty Blender over the skin, which will stipple the product into it. This leads to a really flawless and seamless application of product, whereas dragging the sponge over the skin will instead remove some of the product and can lead to a streaky, uneven application.
- Blend
You can use a combination of the bouncing and dragging technique if you’re using your Beauty Blender to blend out a very pigmented product (especially contour) since in that case your goal is to sheer out and remove some of the product.
With the basic principles of how to use a Beauty Blender out of the way, let’s get into all of the different ways you can use one!
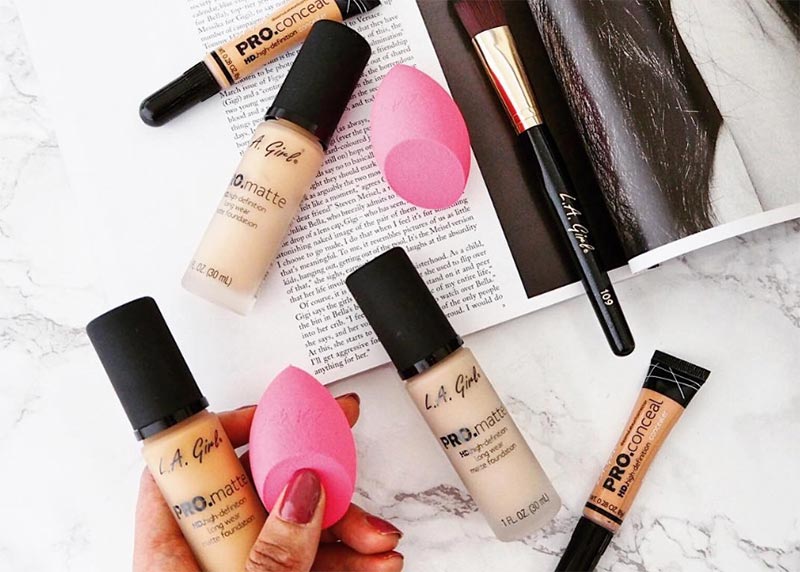
Lay Down Foundation with Your Beauty Blender
This is the signature use of a Beauty Blender, and it is certainly where this innovative makeup sponge really shines.
- As always, start with a clean, damp Beauty Blender.
- As I previously mentioned, you can first put foundation on your Beauty Blender and then apply it, or you can dot your face with foundation and then use the Beauty Blender to spread it around.
- The best way to spread foundation around the face is with the signature bouncing motion. Simply bounce the Beauty Blender against your face and you’ll see how your foundation moves around seamlessly and gives uniform coverage.
- For larger areas of the face like the cheeks and forehead, you want to bounce the larger, round side of your Beauty Blender, while for smaller areas, you can use the same stippling motion with the tapered end.
Get Blending
So personally, I am still married to my stippling brush for smoothing very thin liquid foundations on to my skin, but I find the Beauty Blender indispensable for blending. No matter how you choose to apply your liquid or cream foundations, chances are you’ll still want to do a bit of blending.
- For blending that will not remove or thin out your product, but will simply eliminate harsh edges or streaks, you want to use the Beauty Blender with that signature bouncing motion. It’ll easily leave behind nothing but smooth, blended makeup.
- On the other hand, if you want to sheer out your makeup in addition to blending out harsh edges, then use a combination of tapping and dragging motion, and make sure to pull the product away in the right direction. So, for example, if you’re blending out contour along the forehead, you want to lightly tap-drag the sponge up and out towards your hairline, while if you’ve applied the contour below your cheekbone you want to drag the cream slightly upwards and towards your ear.
Using Beauty Blender to Apply Concealer
Applying concealer with a Beauty Blender is a breeze, especially if you’ve opted for one of the smaller options like the micro.mini or the blusher.
- Much like with foundation, you can choose to load your Beauty Blender up with the concealer, or you can dot or smear your concealer on and then use the Beauty Blender to blend it out and get it looking flawless. This totally depends on the type of concealer you use, and you can experiment with both techniques to see which gives you better results. Always start with a damp Beauty Blender, of course!
- If you’re using the larger two of the Beauty Blenders you will definitely want to use the tapered end for your concealer application, while if you are using the micro.mini you can use both the tapered and the rounded end.
- To get really close to the inner corner of the eye to apply and blend, you might want to squeeze your Beauty Blender a little in order to give it a thinner shape.
- You’ll want to use a combination of the bouncing motion to apply the concealer seamlessly and without creases, and the dragging motion to move the concealer around a little bit and to sheer it out.
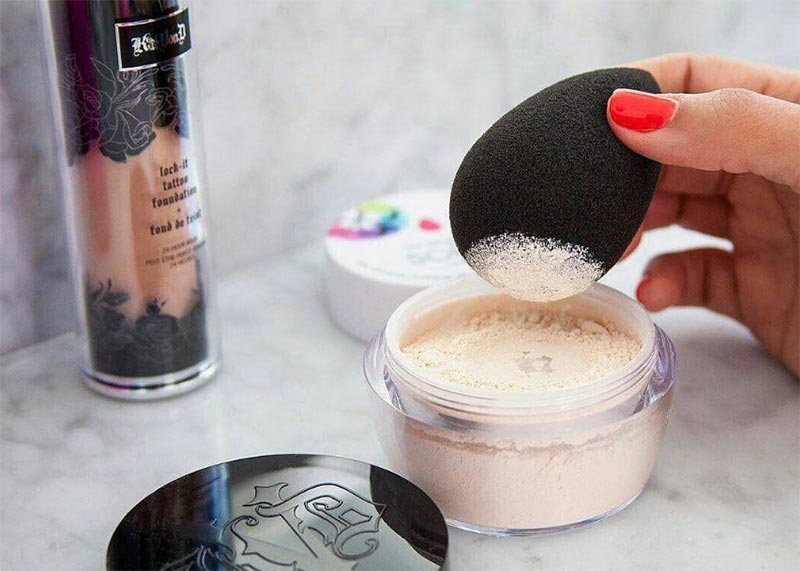
To Powder and Set
You can absolutely use a Beauty Blender with powders, and it is particularly useful for setting foundations, although you can also use this technique to apply mineral powder foundation.
- To set your foundation with your Beauty Blender, swirl the round end of sponge into your setting powder of choice. It is easier if you use a loose powder, but it can also work with a pressed powder.
- Tap off the excess, and then use that good old bouncing motion to apply the powder to your skin.
- Follow the same technique using the tapered end in order to set your makeup in hard-to-reach places like around the nostril or below the eyes. The beautiful thing about this technique is that it pushes the powder into your skin and into your foundation, which leads to extremely smooth and thorough coverage.
- If you feel like you’ve applied a little too much powder, you can shake off your Beauty Blender and then gently roll it over your skin to pick up the extra. You can also use a clean fluffy brush to brush away the excess instead.
Get Baking with Beauty Blender
If you haven’t heard the term ‘baking’ before, it might sound strange, but it is actually a very old foundation and concealer setting technique that was historically particularly popular with drag queens. It locks makeup into place extremely well, and totally prevents makeup gathering in the creases of the face.
Baking is especially great for those with extremely oily skin or overactive sweat glands. You can choose to use the baking technique to set your full face, although I prefer to bake only under my eyes where concealer always seems to crease otherwise.
The technique for baking with a Beauty Blender is nearly identical to the setting technique, but with a few key differences. The first is that once you load up your Beauty Blender you don’t want to tap off the excess product – baking requires a lot more powder than usual foundation setting.
The second difference is that after you’ve stippled the powder into your skin you want to give it time to heat up a little and melt into your foundation – this is when the powder “bakes”. After five minutes or so you can dust off the excess powder with a fluffy brush.
You can also use the baking technique with highlighting powders in order to get a really extreme glow, especially if you do it to set a cream highlighter.
How to Use Beauty Blender to Apply Cream Contour
One of the best uses for the tapered end of your Beauty Blender is to apply cream contour, although, the truth is you can follow the same instructions to apply contour powder.
Whether you apply the cream contour directly with the magical makeup sponge or from the container largely depends on your preference and the type of contour cream you have.
With stick contours I find it easier to first dot on or swipe on a bit of the cream straight from the container, and then use the Beauty Blender to perfect it, while if it comes in a compact or a palette it is definitely easier to apply it directly with the tapered end of the Beauty Blender.
- Apply the contour below the cheekbones in a thin stripe, along the perimeter of the forehead in swipes or dots, down the sides of the nose in two thin lines (this is when a micro.mini might be best). You can even do a thin stripe along the jawline for that separation between the face and the neck.
- To blend out the contour, use the signature bouncing motion with the round side of the Beauty Blender for larger areas like forehead and cheeks, and with the tapered end for smaller areas.
- If you need to sheer out your contour a little bit, then combine the bouncing motion with a slight drag. You can also try rolling the Beauty Blender over the contour, instead, to see if it’ll pick up a bit of that excess cream contour.
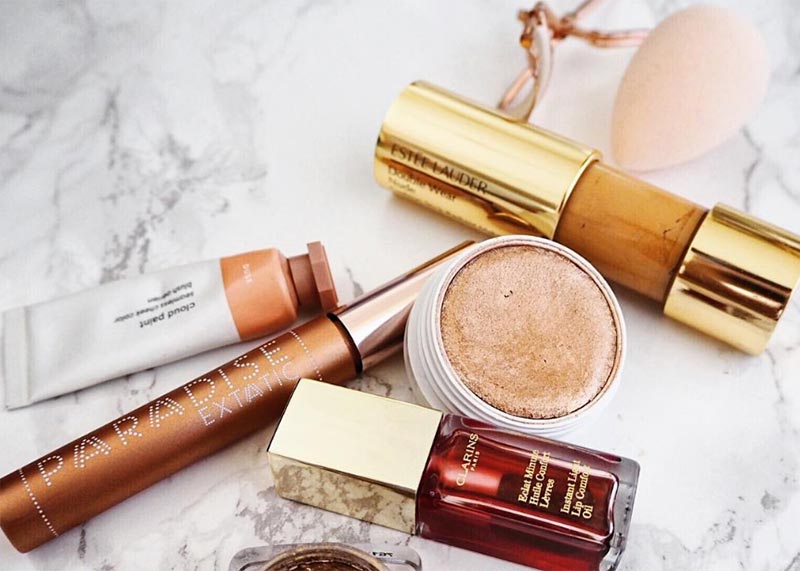
Glow with Highlighter Using Your Beauty Blender
Beauty Blenders are awesome for highlighting, especially if you are using a cream or liquid highlighter.
- Applying highlighter to larger areas of the face where you want the strobe to be a little more diffused (think cheekbones, center of the forehead, and the chin) can be done with the rounded end of the Beauty Blender and with a bouncing motion.
- To highlight smaller areas of the face like the Cupid’s bow and the bridge of your nose, apply the highlighter gently with the tapered end of your Beauty Blender – you will likely find it easier to use a smaller sponge like the blusher or micro.mini.
- To amp up your strobe, follow up your cream highlighter with a layer of powder highlighter, and apply it following the baking technique I explained earlier.
To Get Blushin’
While the Beauty Blender can be used with all kinds of blushes, it really shines as an applicator for cream blushes. Follow the same technique as you would for creamy highlighters, and apply your favorite cream blush by bouncing it along the apples of your cheeks with the rounded end of the Beauty Blender. While we find that the original size works just fine, you might prefer the dedicated blusher.
Clean up Makeup Mistakes with Beauty Blender
Normally you would want to use your Beauty Blender while it is damp, but every once in a while, it also serves some purposes when it is dry.
- When you’ve applied way too much product, a dry Beauty Blender can do wonders to soak up the excess. If you’ve put on way too much foundation, you can roll the dry sponge over your face, and it’ll leave behind just the right amount of foundation.
- Another way in which a Beauty Blender can be used to correct errors is when it is clean and damp, to get rid of a cakey or powdery look once foundation has been set with powder. All you need is to bounce the dampened sponge over the area so it will pick up the excess powder and rehydrate the makeup without disturbing or smudging it.
- The last way in which you can use a Beauty Blender to fix errors also includes a touch of concealer. Load up the tapered end of your blender with some concealer, and then use it like an eraser to fix small mistakes like smudged lipstick or messy eyeliner.
How to Use Beauty Blender to Apply Primer
If you don’t like covering your hands in product, you’ll likely be thrilled to know how to use the Beauty Blender to apply primer.
Much like with foundation (although using a much smaller amount of product), you can just dot the primer on your face and then bounce the round end of the Beauty Blender on your skin to distribute it, or you can put a bit of primer on your Beauty Blender and bounce it on in much the same way. In addition to priming your skin beautifully, it’ll also give your face a dewier look right from the start.
To Apply Lid Color
The tapered end of the Beauty Blender can be very useful for applying and blending cream eyeshadows, especially along the lid. It can also work for powder eyeshadows, although that’s only if you’re really in a bind and don’t have access to brushes.
Some people will tell you can do your full eye makeup with your Beauty Blender, but we think that’s a stretch – the results are never great. The situation when the Beauty Blender is great is when you’re in a rush, and then it can be used for applying a single swipe of eyeshadow to your lid that will not require any finessing or blending.
To Apply Skin Care
Okay, I have to admit that personally I find this suggestion kind of silly. However, if you simply love the way the Beauty Blender feels on your skin, then you might think this is brilliant, in which case, more power to you. You might also appreciate this technique if you hate getting your hands covered in product.
- To apply skin care with your Beauty Blender, you can either dot your serums and moisturizer on your face first, or you can apply them directly with the damp sponge.
- Use the tapered end to get moisturizer into the crevices of the face or to apply eye cream.
Apply Self-Tanner with Your Beauty Blender
Now we’re really getting creative! While the body Beauty Blender has been discontinued, we still recommend applying self-tanner to the face with a regular sized Beauty Blender. It’ll give you precise, streak-free self-tanner application without taking up time or getting your hands dirty.

You can use it much like you would use it to apply foundation for an all-over bronze, or only use it on the areas you would normally contour for that chiseled look.
Read our guide on self-tanners to learn how to properly use self-tanner in general, although the rough and dirty is as follows: apply self-tanner to clean, recently exfoliated skin, let it sit on your skin for about 10 minutes so it can dry completely, and then go about your day. The self-tanner will take 4-8 hours to fully develop, so definitely wait at least that long before washing your face.
Using Beauty Blender to Blot Your Lipstick
If you prefer to avoid creating unnecessary waste while doing your makeup, you might love blotting your lipstick with a Beauty Blender instead of a tissue!
Simply press the clean Beauty Blender against your lips once you’ve finished applying your lipstick, and it will instantly look like a more natural lip stain that will last much longer than unblotted lipstick. This method doesn’t have a better effect than old-school blotting, but it is certainly more sustainable.
Beauty Blender Mistakes to Avoid
If you’ve read our thorough guide on how to use a Beauty Blender, then chances are you won’t be making any of these common Beauty Blender mistakes. Even so, let me reiterate all the common Beauty Blender mistakes that people sometimes make that end up making them wonder what all the fuss was about!
Using Beauty Blender Dry
You always want to remember to dampen your Beauty Blender before using it. When you use it dry there is nothing stopping your Beauty Blender from absorbing your precious products.
When you dampen it, the products will go on your skin, as they should, instead of into the sponge. A damp Beauty Blender also gives the skin a much healthier, more hydrated finish.
The only time when it’s okay to use a Beauty Blender dry is if you’re using it to remove excess product from your skin.
Forgetting to Bounce
Whether you call it bouncing, tapping, or stippling, it is undeniable that this is the best method for applying makeup products to the skin evenly, seamlessly, and opaquely. If you drag your Beauty Blender across your face, don’t be surprised when you end up with a streaky or sheer finish.
Only Using It with Creams
A Beauty Blender is an extremely versatile product, so there is no reason why you should limit yourself! Don’t use Beauty Blender just for cream makeup, but instead experiment with using it to apply powders as well.
Forgetting to Clean
It is so important that you wash your Beauty Blender regularly to prevent it from growing mold and bacteria. If you forget to wash it after every use, don’t be surprised when your Beauty Blender starts giving you acne, smelling bad, and growing gross-looking mold.
Not Letting It Dry Properly
Once you’re done using (and cleaning!) your Beauty Blender, it’s important to put it somewhere safe, clean, and dry. If you simply toss your Beauty Blender in your makeup bag when it’s still damp, it will likely end up breeding bacteria, and it will develop a musty odor.
Using an Old Beauty Blender
If your Beauty Blender has been sitting in your makeup bag for too long, you might not want to use it any more. Using an old Beauty Blender can cause all kinds of issues, from streaky makeup to breakouts. With that being said, you’re also making a mistake if you are…
Throwing Old Beauty Blenders in the Trash
Your Beauty Blender is recyclable, so make sure to put it in the recycling bin once three months have passed, and you’re finished with it. You can also try to use it for other things, like nail art!
Photos via Instagram