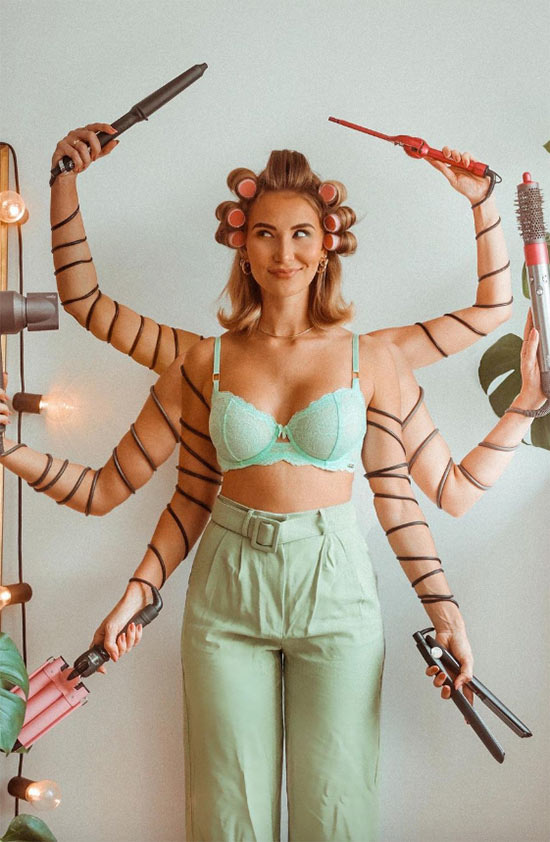
Sure, we all know that curling irons and wands can create gorgeous curls. But the reality is that not all of us want to have a bathroom cabinet that’s cluttered with hot tools. And this is where knowing how to turn your classic hair straightener into a multifunctional hairstyling tool becomes a clutch skill to possess. While not everyone is familiar with the technique, we’re here to teach you how to curl hair with a flat iron, so you can cut down on your bathroom clutter and get out the door faster.
In this article:
- What to Know Before Graduating to Curling with a Flat Iron
- How to Make Any Curly Style with a Straightener
- Get the Most Out of Your Straightener with These Tips
What to Know Before Graduating to Curling with a Flat Iron
Curling your hair with a straightener or flat iron is quite easy. And once you master this skill, there’s no looking back. But to do it well, you need to have properly learned to use a flat iron. Some key basics apply to all hot tools – but especially hair straighteners – which can make or break your ability to elevate this tool to a multipurpose must-have item in your beauty arsenal.
Don’t Forget the Rules
In theory, there are no rules in beauty, and any hairstyle you wish to achieve is just fine. But, there are a few ground rules you need to follow when you use a flat iron to avoid a bad hair day:
- Work on clean hair
- Detangle before you begin using a straightener
- Use a heat protectant
- Work in small sections: trying to straighten or curl large chunks of hair doesn’t work
- Pick the right temperature: too cool and the curl won’t stay, too hot, and you’ll damage your hair
- Don’t grip too tightly: you want to ensure the plates are gliding over your hair – not tugging at it
- Finish your look with a hair serum or light oil to add moisture
Pick the Right Plate Width
Straighteners are versatile if you pick the right plate width. For people with medium to long hair, a one-inch-wide flat iron is ideal. This is the right width to give you the control you need to create flips, ringlets, and waves. Using a wider plate will make curling your hair very difficult. But, if you have shorter hair (think dramatic angled bobs or pixie cuts) a half-inch width plate will work better for you.
Don’t Pause on a Section
Traditional curling irons tend to be more forgiving if you linger on a section of hair for a bit too long. Straighteners not so much. When you spend too long in one space, you get visible crimps. At best, you’ll need to run another pass over that section of hair. But if you do this too much, you risk heat damage. The key to nailing effortless curls when using a flat iron is to keep moving – especially when you’re in the process of turning the barrel to create the shape.
How to Make Any Curly Style with a Straightener
While relaxed waves have definitely been having an extended moment for the past two decades, the reality is that you can almost achieve any curl style with a straightener. However, unlike with curling irons, it’s the technique rather than the barrel width that determines your results.
For Spiral Curls
Classic spiral curls are possible without a curling iron. But for the easiest way to achieve this look, you might want a flat iron that features a circular design with plates set in the middle. This will look closest to a traditional curling iron but offers the versatility to straighten or curl, depending on your goals. Meanwhile, the curved design helps to reinforce the desired curl.
- Apply Heat Protectant Spray
For any heat styling technique, always start by first applying heat protectant through your hair and working it through with either a brush or comb. Either apply it all over your hair, or when creating larger sections, apply protectant to that section. Try to avoid using too much product, as this can make the hair a bit damp, creating a “sizzle” sound when you begin to work through your hair with your straightener.
- Rotate, Twirl & Curl
Start by holding your straightener with your thumb on the top plate. Begin about an inch from the root, and insert your flat iron – holding it vertically. Immediately rotate the flat iron into a 180-degree turn. But, make sure you’re using a smooth motion. After you’ve turned the iron, keep moving down the length of hair. Once you’ve finished the section, you can gently twirl the hair with your finger to reinforce the curl.
- Repeat!
Continue working throughout your hair, using small sections. Try to keep your sections consistent so that the curls are the same size. Similarly, try not to drag the straightener over your hair to avoid creating crimps.
TL;DR to Spiral Curls
The key to spiral curls is to work vertically. This means that as you create one-inch sections of hair, they should be separated vertically rather than horizontally. Additionally, when you begin to use your straightener while holding your hair taut, you’ll insert the flat iron about an inch away from the roots – but vertically.
For Bouncy Curls
If traditional spiral curls aren’t your thing, consider bouncy curls instead. It relies on the same technique as spiral curls – but with a twist. While the vertical sections and flat iron movements are the same, you’re going to do a double twist to create added lift.
- Just like before, be sure that your hair has heat protectant applied and that you’ve brushed/combed it through and removed any tangles.
- As with spiral curls, you’ll begin with one-inch sections. Holding the hair vertically, insert your flat iron roughly one inch from your roots with the straightener also held vertically.
- Begin the 180-degree half turn away from your face. Work down to around the halfway point of your hair’s length and then twist the iron another 180-degrees – again away from your face.
TL; DR to Bouncy Curls
The trick to bouncy curls is to make two 180-degree turns away from the face, first near the roots and then halfway down the length of your hair.
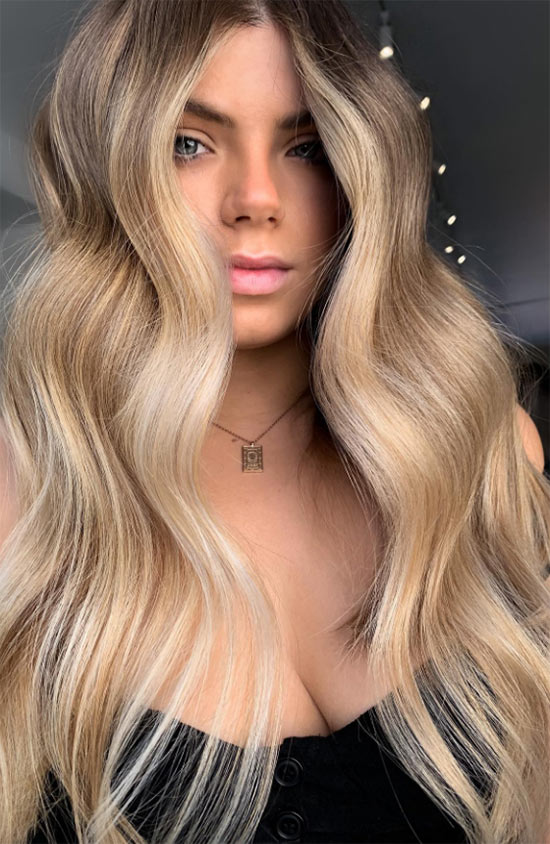
For Sleek Waves
If Old Hollywood S-shaped waves are your latest obsession, you’ll be happy to know that your trusty flat iron can help you achieve them. And this is technically an easier skill to master than the 180-degree turn required for more traditional curl styles.
- Again, start with clean hair that’s been prepped with a heat protectant and is free from tangles.
- Begin with a horizontal section of hair that’s roughly one inch wide. Hold your hair about two inches from the roots, and push the hair so that it’s angled towards your face – creating the first half of the S-shape.
- Instead of gliding the flat iron over your hair, you’re going to gently clamp the plates over your hair from the root to just above your hands. This helps to lock in that S-shape.
- Once you reach the first bend, you’ll shift your hand that’s holding your hair down another two inches, this time angling the hair away from your face to create the other half of the S-shape. Again, follow with your flat iron, gently clamping down to lock the shape in place.
- Repeat this process throughout the length of your hair and on the remaining sections. Unlike with curls, you’ll want to avoid touching recently flat-ironed sections, as you want the style to set, and too much manipulation will cause the waves to drop.
TL; DR to Sleek Waves
This is one of the few straightener styles where clamping the hair is encouraged. Still, be gentle as you work through sections, and be sure to maintain the same S-shape as you work through sections.
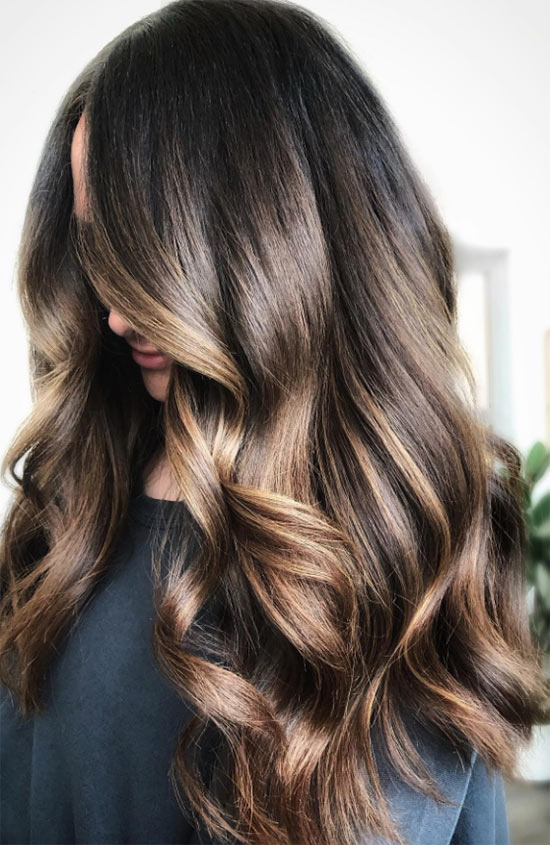
For Relaxed Waves
Making relaxed or beachy waves is very similar to creating spiral curls, but the technique is slightly modified. The 180-degree rotation is the same, but you can start further down the hair shaft. Depending on how long your hair is, you can start two inches from the roots or even halfway down your hair.
Usually, you’ll rotate the flat iron away from your face as you work. So, your rotation motion will be in the opposite direction once you shift to the other side of your hair (i.e. right versus left). For a more structured look, use a wide-tooth comb to create more uniform waves. For a casual effect, once you’ve finished creating waves, use your fingers to tousle your hair to remove the spiral curls and create waves.
TL; DR for Relaxed Waves
Relaxed waves can be made using the same rotation method as spiral curls. But you can start the rotation further down the hair shaft – either two inches below the roots or halfway down your hair length if you have long hair.
Curling Short Hair with a Straightener
When you have short hair, you may need to modify your tools or techniques to still achieve the desired results.
Adjust the Flat Iron
Depending on your hair length, the first thing you might need to swap is your flat iron. While a one-inch flat iron is ideal for most lengths – including neck to shoulder lengths – very short hair may be better off using a straightener with half-inch plates. This way, you can make more pronounced curls, and you’ll have more control.
Start Higher on the Hair
Again, depending on how long your hair is, you may find that waiting to rotate your straightener until you’re halfway down your hair may not be enough space to create the required half turn. If necessary, you may need to work higher up on the hair shaft. For example, with the beachy waves, you could begin an inch from the roots.
TL; DR for Curling Short Hair
Curling short hair isn’t that different from medium to long lengths. But you may need to pick a narrower plate width or begin the straightener rotation higher along your hair’s length to achieve the desired results.
Get the Most Out of Your Straightener with These Tips
Flat irons as curlers are such a no-brainer that once you get the hang of it, you’ll never want to go back to curling irons or wands. But, to make the most out of this versatile tool, consider these expert tips.
1. Pick the Right Flat Iron
Flat irons are not a one-size-fits-all product. Often, your hair type and texture will dictate which model is right for you.
Pick a model that’s not only the right plate size for your hair but also has the right plate material and temperature controls so that you’re not damaging your hair. Not all flat irons come with adjustable temperature controls or a wider range that can accommodate most hair types or textures.
A Compatible Temperature Setting
Especially if you’re new to at-home heat styling, it’s really important to know what temperature range is best for your hair. So, looking for a model with a wider temperature range and more flexible adjustments (i.e. actual temperature readouts instead of simple number settings) can help you pinpoint the right temperature. Ideally, you want to pick a setting that’s just hot enough to help you create a style without exposing your hair to heat damage.
Which Plate Material Is Best?
While ceramic plates are common, they’re not always the best pick for every hair type. Ceramic is known for effectively maintaining consistent heat as well as having a smooth texture that won’t pull at your hair. Ceramic is usually considered safe for most hair types – but is better suited for people with fine hair.
Those with thick or textured hair may find that titanium is better. It heats up faster, which means you can spend less time working on your hair.
But there’s another option – tourmaline. This one is ideal if you’re trying to prevent frizz or flyaways. And of course, there are combination plate options that will feature multiple materials to tackle several issues simultaneously.
2. Heat Protectant Is Your Friend
We all know that you shouldn’t use hot tools for daily styling. But, even if you only use them occasionally, you’ll want to protect your tresses from unnecessary heat exposure. Along with setting your tools to a temperature that provides just enough heat to get the job done, you’ll want to prep your strands with a heat protectant.
This product reduces the amount of heat that enters your hair shaft. Regardless of your hair type, heat damage is real and can appear as dry, brittle hair with split ends in straighter hair or curl patterns that never return for more textured hair types.
3. Take Your Time
Rushing equals mistakes. So, if you’re going to use a flat iron to create curls or waves, take your time. This also means not pulling your straightener through your hair or trying to force massive sections of hair through the plates.
4. A Clean Flat Iron Makes for Happy Hair
Between heat protectants or the occasional styling on dirty hair sessions, dirt build-up can and does happen. Make sure that you routinely clean your flat iron. Wait until you’ve turned it off and it’s cooled to the touch before cleaning it. Use a damp cloth or wipe to gently clean the plates, also working under the edges where dirt can hide. Then dry the plates with a towel to prevent damage.
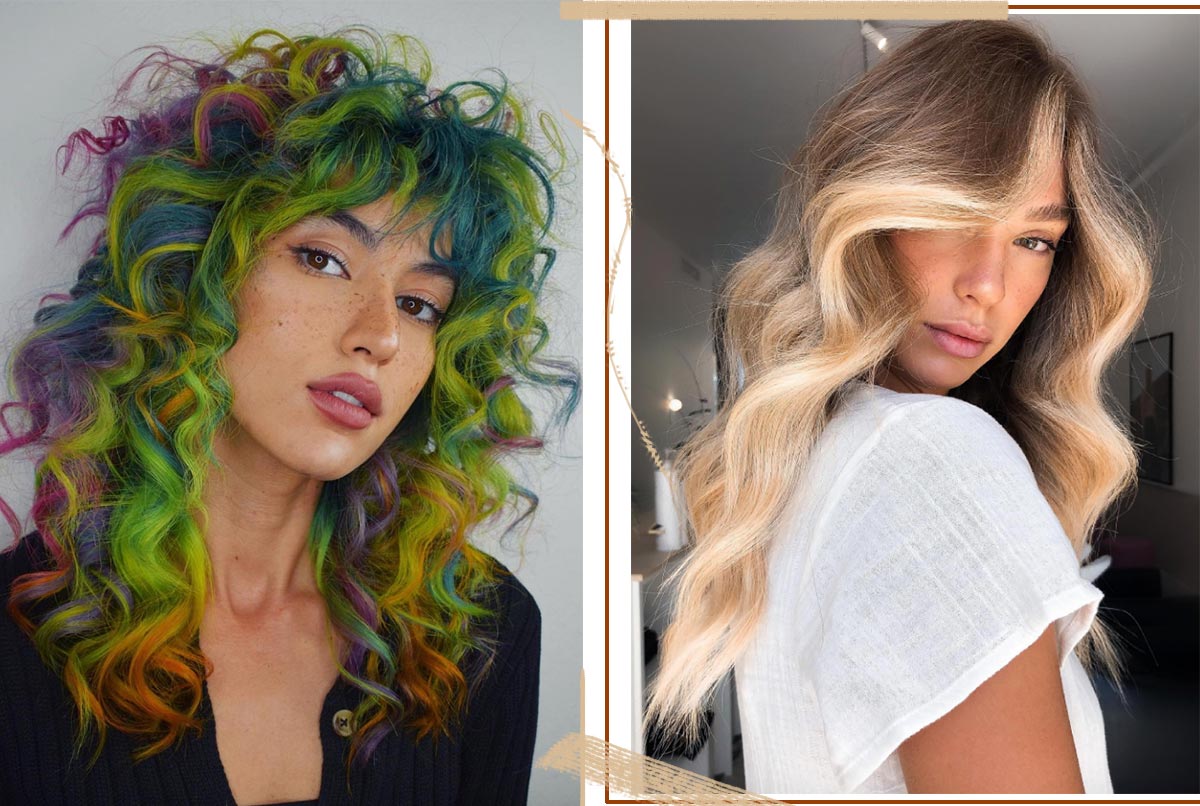
Photos via @rebeccataylorhair, @boho.blonde.australia, Instagram