*The author generated this text in part with ChatGPT, OpenAI’s GPT-3 large language model. The content was reviewed, edited, fact-checked, and revised by our editorial team.
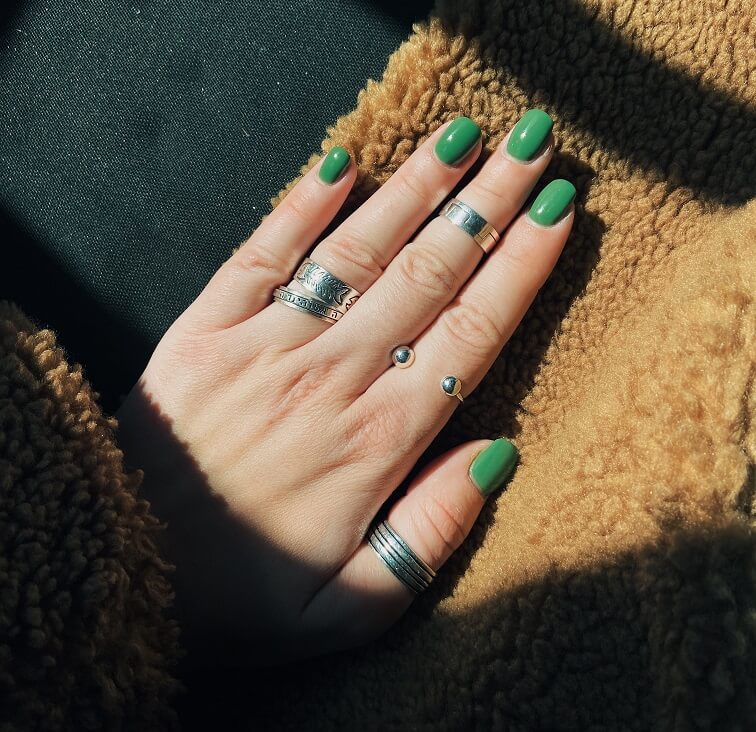
Gel manicures, whether done at home or in the salon, are a popular choice because they last longer than traditional mani-pedis and don’t chip as easily. However, when it comes time to remove them, it can be tough to do so without damaging your nails. But don’t worry — with a few simple steps and the right tools, you can safely remove your gel manicure at home and keep your nails looking healthy and in tip-top shape.
Why is gel more damaging to your nails?
Gel manicures can be more damaging to your nails than traditional polish because they require filing and buffering before application. This can make the nails thinner and weaker. In addition, gel manicures are cured under UV light, which can cause the nails to dry out and become brittle over time.
The gel removal process can also be harsh on the nails because acetone is often used to remove the polish, drying out and weakening the nails. If you don’t remove the polish properly, the nails can rip off or become damaged. Excessive filing and buffing during removal can also further weaken the nails.
Another factor that can be harmful is leaving gel polish on for too long. Even though it’s more durable than traditional polish, it still needs to be removed and replaced every two to three weeks.
Step-by-step guide for at-home gel removal
Removing gel polish, especially at home, isn’t easy. But following the steps below should help you get rid of your gel manicure as seamlessly as possible.
Step 1: Gather your tools
Grab a nail clipper, nail file, cotton balls, a plastic manicure stick, an acetone-based nail polish remover, and moisturizing hand cream. Why acetone, you may ask? It can dissolve the materials used to make the gel, such as the polymer in the polish, and breaks down the molecules for more effortless removal.
Acetone is also a strong degreaser and helps to remove any oil or dirt on your nails. This allows for a smoother surface for the next application. Pure acetone, however, can be extremely drying, so balancing it out with moisturizing ingredients is necessary.
Step 2: Clip, clip, clip
Once you have your tools, begin clipping your nails as short as possible. This will make removing the gel polish easier and prevent your nails from snagging on anything.
Step 3: File away
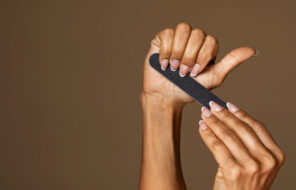
Next, use the nail file to file away the top layer of the gel polish gently, which will break up the surface, making it easier to remove the polish.
Step 4: Soak your nails in acetone
Saturate a cotton ball with the acetone-based nail polish remover and place one on top of each nail. Then, wrap your nails in aluminum foil to make sure the cotton ball stays in place. The foil will help trap the heat and create a warm environment to speed up the removal process.
Let your nails soak in the acetone for about 15-20 minutes, then slowly remove the foil and cotton balls. The plastic manicure stick can help push off the remaining polish. If the gel isn’t coming off easily at this point, you can leave your nails wrapped in the foil for a few more minutes.
Step 5: Smooth it out
Once you’ve managed to take off the polish, use a nail file to smooth out any rough edges and shape your nails how you like. You’ll then want to moisturize your nails with a hand cream or cuticle oil to hydrate them and prevent them from becoming dry and brittle.
Proceed with patience
TL;DR? Removing gel manicures with as little damage as possible requires handling the process gently and with care. You don’t want to spend too much time buffing your nails in step 3, as it can be too aggressive and harsh. It’s also important that you avoid skipping the moisturizing tip, as this can help keep your nails strong, healthy, and hydrated. We also recommend taking breaks between gel manicures to give your nails some time to strengthen and recover.


