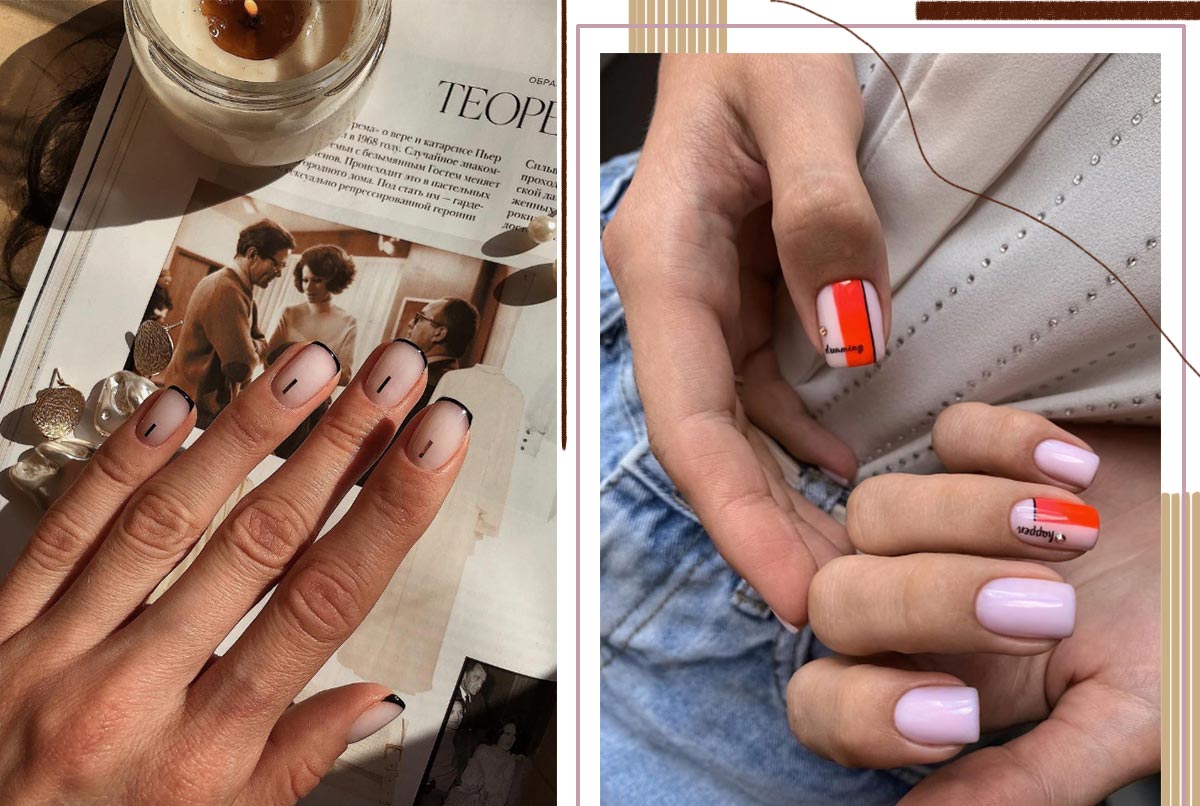
Gel nails and other types of nail extensions are having a renaissance right now. The drama and the glamour of long, fabulously designed nails is hard to resist, especially if, naturally, your nails refuse to grow more than a millimeter beyond your nail bed.
Gel extensions are also the perfect canvas for dramatic nail art, and getting them done can make you feel oh-so-pampered. If you’ve been dying to bring out your inner Cardi B or Kylie Jenner, then you’ll want to know all about them. If you just wish for slightly longer, stronger nails in a natural style, gel nails might still be of interest to you.
But are they good for the nails? And how do they compare to other extensions, like acrylics? We’ll explain all in this thorough guide to gel nails. We cover everything, including the science, the pros and cons, costs, how gel nails measure up to other nail salon services, and more!
In this article:
- What Are Gel Nails?
- Pros and Cons of Gel Nails
- Gel Nails vs. Gel Nail Polish
- How Long Does a Gel Manicure Last?
- Gel Nails vs. Acrylics vs. Other Nail Extensions
- Gel Nails at Home vs. Salon
- How to Do Gel Nails at Home
- How to Remove Gel Nail Polish
- Is Gel Manicure Safe?
- Gel Nail Prices at Beauty Salons
What Are Gel Nails?
Gel nails are a type of nail extension, out of a few different types that you can get done at the salon. The reason why they’re called gel nails is pretty simple: the material used to build the nail is a viscous gel that hardens (i.e. cures) when placed under a UV light.
The gel can be applied only over the natural layer, creating a shiny and smooth layer, and it can also be extended over a “form” (i.e. a type of nail mold) to create a dramatic extension. After curing, the gel nail is filed down to whatever shape the client desires.
Since the gel is applied in layers, it’s possible to create nail art between layers, or it’s possible to apply regular or gel nail polish on top.
As for the science of it, the gel that creates the nail extension is made of acrylic monomers and oligomers. When exposed to UV light, they bond and harden into acrylic polymers. The final result is a somewhat flexible but very strong nail extension.
Pros and Cons of Gel Nails
If you’re considering gel nails, but you’re not totally sure, here is our quick breakdown of their benefits and drawbacks.
Pros
- Can look dramatic or natural
- Flexible, natural-looking feel
- Excellent canvas for nail art
- Can work with very clear nail designs
- Can protect hard, brittle nails
- Very long-lasting
- Little to no odor during application
Cons
- May damage nails if applied or removed incorrectly
- Somewhat pricey at the salon
- Difficult to DIY

Gel Nails vs. Gel Nail Polish
Sometimes, when people talk about gel nails, they’re actually referring to gel nail polish rather than gel nail extensions. Gel nail polish is actually chemically very similar to gel nail extensions, but in practice, it’s a very different service.
Gel nail polish is made of the same acrylic polymers as the gel for extensions, but it has a much runnier, nail polish-like texture. It’s applied to the nails in a thin layer, just like polish, but then it gets cured, so it can harden into an acrylic polymer layer, like the extensions.
Whereas gel nail extensions are hard, thick extensions that sit over your nails, gel nail polish coats the nail a lot more lightly, mostly to give color. It’s basically a very long-lasting, protective manicure, but it won’t make your nails any longer, nor will it change their shape.
How Long Does a Gel Manicure Last?
Most gel manicures will last between 2-3 weeks, assuming you live a normal lifestyle where you do some work with your hands. At the maximum, a very well-done gel manicure on someone who doesn’t do much with their hands can last up to 5 weeks, and that’s referring to both gel nail extensions and gel nail polish.
However, even if your manicure is still intact, you need to remember that your nails are still growing. Chances are that after two weeks, your natural nails will have grown so much that you’ll be wanting either a new coat of gel polish or a gel extension refill. The good news is that refills are cheaper than getting a new set, so it’s easy to get in the habit of regular gel nail appointments.
Gel Nails vs. Acrylics vs. Other Nail Extensions
In most salons, you usually get to pick between a few kinds of nail extensions: gel nails, acrylic nails, and dip powder nails. In reality, all of these nail extensions are made of acrylic polymers, but the application method and science behind each one are a little different.
We’ve already explained the science behind gel nail extensions, so now let’s focus on how it compares to acrylics and dip nails.
Acrylics
Acrylic nails predate gel nails by decades, so they’re the original salon nail extensions. Getting a set of acrylic nails done is almost always $10-$25 cheaper than a full set of gel nails, so it’s the more affordable option.
As far as the application goes, acrylic nails are literally mixed and built right on the nail. The manicurist combines a polymer powder and monomer liquid, which combine into a malleable form that dries and hardens on its own on the nail to become the extension.
Acrylics have a very strong chemical smell that you might already be familiar with if you’ve ever been to a busy nail salon. That’s only one of the reasons why many manicurists prefer gel nails to acrylics. Beyond that, acrylics are harder and less flexible than gel nails, which can be an issue if your nails are naturally brittle, although it can be beneficial if you have weak, overly bendy nails.
Finally, the removal process with acrylics is more intense, requiring a lot of buffing and soaking in acetone, which can be damaging to the nails in the long term.
Dip Nails
Dip powder nails are an even newer trend than gel nail extensions. Like gels and acrylics, dip nails are also made of an acrylic material, except it’s in powder form. The nail technician applies alternate layers of a glue-like base and the acrylic powder, which ends up building a protective layer over the nails, without the need for curing with light or for shaping like with an acrylic.
Dip nails are thought to be healthier or stronger than gel or acrylics, but that’s not really true. However, they can look incredibly pretty, they last long, and they do create a nice protective layer over the nails. The cool thing is that dip can be applied over natural, gel, or acrylic nails.
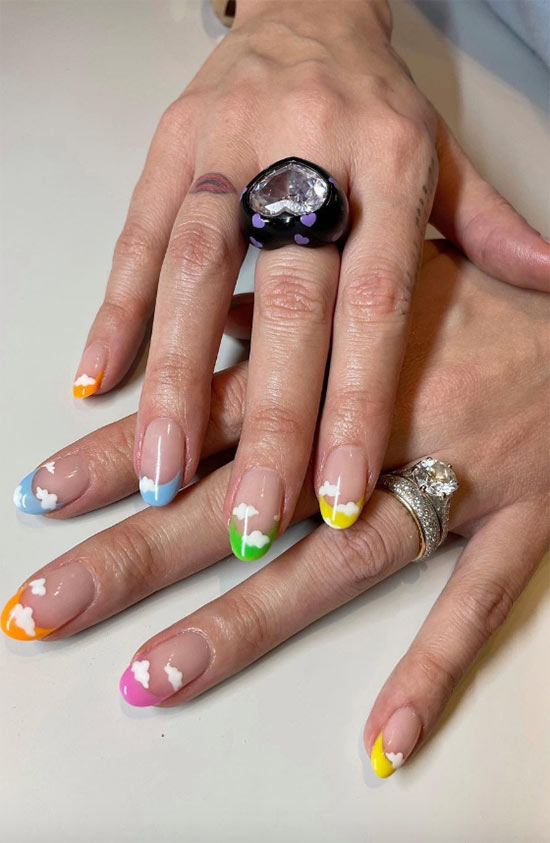
Gel Nails at Home vs. Salon
Doing your own gel nails can save you a lot of money, and it can be super rewarding. However, whether it’s something worth doing by yourself depends on a few factors.
The main drawback to getting gel nail polish or gel nail extensions done at the salon is that it can become a regular, monthly expense that can really add up over the course of a year.
However, doing it at home by yourself is a lot of work, and it requires some serious skills as well as the willingness to go through a lot of trial and error. You’ll have to buy all of your own equipment, and you’ll have to teach yourself how to go through the process.
At the salon, the nail technician already has the training to provide those services, as well as hours of training and constant practice that make them very good at the job. Both gel polish and extensions require a lot of know-how, a steady hand, and artistic flair. If you’re willing to put in the effort, however, you might be able to achieve similar results to what you get at the salon.
Doing your own gel polish will be a lot easier than extensions since it’s not much more complicated than painting your nails. Doing your own gel extensions is a little tougher since you’ll also need to learn to shape and sculpt the extensions, and there’s more room for error. Additionally, it’s harder to find salon-quality products for gel extensions, while high-quality gel polishes are now available widely.
How to Do Gel Nails at Home
If you’ve decided you’d like to do your own gel nails at home, we’ve got some advice! First of all, we suggest you buy either a complete gel nail polish kit with an LED lamp or that you pick up a full Poly Gel kit if you’d like to do your own extensions. In addition to these kits, you’ll also need disposable cotton pads and swabs, isopropyl alcohol, and maybe a few extra manicure tools.
- For either process, you’ll first want to shape your nails, buff them to roughen up the plate, and then use the alcohol or a cleaner to dehydrate the nail plate and remove any excess oils. This is important so that the gel can adhere well.
- Then, apply a base coat to your nails, and cure them under the LED light.
- For polish, apply it in coats, curing it after each coat until finishing up with a top coat.
- For gel nails, apply the gel inside the dual forms (i.e. the nail molds), and use a brush dipped in alcohol to move it around and flatten it.
- Once it’s thin enough in the form, apply it to your nail, and cure from the top and bottom.
- Finally, once cured, trim the gel nails and file them into your desired shape.
- You can finish off the gel nails with a layer of gel polish, gel top coat, or regular nail polish, although you can also just leave them as is.
How to Remove Gel Nail Polish
Removing gel polish and extensions is a little more arduous than removing the average manicure, but it’s important to take your time with it so as to avoid damaging your natural nails.
To remove either polish or extensions, you’ll need to have pure acetone (nail polish remover is usually too diluted), cotton balls or paper towel, a sheet of aluminum foil cut into strips you can wrap around your nails, a cuticle stick, and a nail buffer.
- If you do have extensions, make sure to first clip off their tips with a nail clipper. Then, buff away as much of the gel extension or gel nail polish as you can. It’ll probably take you a little longer with the extensions, while buffing away the top layer of the polish will be pretty easy.
- Then, soak some paper towel or cotton with the acetone, and place it over your nail. Then, wrap a piece of foil over the cotton to prevent the acetone from evaporating. Do this to all of your nails, and then wait for 10 to 15 minutes.
- When you take off the foil, if you’re removing gel polish, it should be a little flaky and start to lift. Then, you can gently scrape off the gel with a cuticle stick, and it should come off easily. If it doesn’t, or if it’s not flaky, add more acetone and wrap the nails back up for another 5 minutes.
- Finally, you can use the smooth side of a nail buffer to get rid of any persistent base coat residue, and you’ll have clean nails!
If you’re dealing with extensions, after the soak, you may notice them lift right off with just a bit of prodding with a cuticle stick. If they don’t, use the nail file to finish buffing away any excess, and thanks to the acetone soak, it’ll come off easily.
Is Gel Manicure Safe?
For the most part, gel manicures are very safe, but there are some common pitfalls that may lead to issues. The difference between having your nails come out damaged or stronger than they were before largely depends on your nail technician and the steps they take to protect your natural nails.
There are two points in the gel nail process where your nails can be damaged. The first is when the nails are first buffed. You need a slightly rough nail surface for the gel to adhere well, which is why your nail tech will buff your nails first. However, over-buffing the nail can thin it out too much, which makes your nails much weaker.
Ask your nail technician what measures they take to avoid over buffing, and if they explain happily and with confidence that they are very careful and avoid using harsh drills, you can let that reassure you.
Then, the next opportunity for damage is during the removal process. Incorrect removal, like peeling off the nails or even just buffing them too much, can do a lot of damage to your natural nails. That’s why it’s important that you take your time and remove them gently.
Finally, there’s the risk of developing an allergy from constant exposure to the gel liquid. If you make sure to wipe the gel from your skin while doing your nails, it won’t be an issue. Problems can arise if the gel polish or extensions don’t cure completely in the LED lamp, in which case they can rub off on the skin. Proper curing can prevent that risk. If this happens again and again, it can lead to skin allergies, so it’s often an issue for manicurists who deal with the materials all day rather than for the clients.
There are also some concerns about the skin cancer risks from the LED or UV lamp, although research shows that the radiation is likely not strong enough to cause issues. If you’re concerned, or if you tend to change your mani more often than twice a week, just make sure to apply sunscreen to your hands before doing your nails.
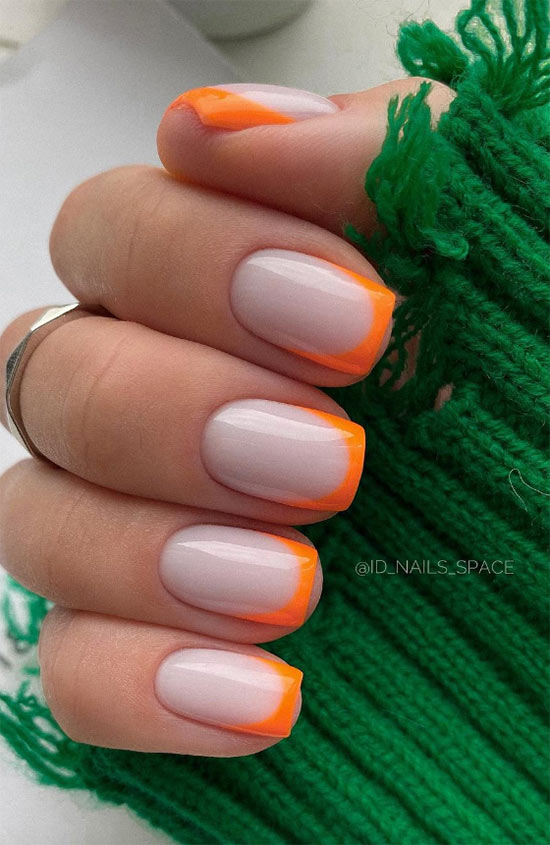
Gel Nail Prices at Beauty Salons
Gel nail prices can be all over the place, depending on the salon you choose. A celebrity manicurist can charge hundreds of dollars, while your local strip mall salon will be a lot cheaper.
In general, you can expect to pay between $20-$40 for a simple gel nail polish manicure, and $50-$100 for a full set of gel nail extensions. Refills can cost around $20-$50. Other factors, like nail art and added treatments, can also influence the price.
Don’t let costs be the only factor that influences whether you decide to get your nails done at a specific place. Still, this means you probably shouldn’t go to the first cheap salon you can find.
On the other hand, a very expensive salon that only does natural-looking French manicures might not be the best place for a dramatic set of gel extensions, compared to an affordable salon that does extensions all day every day.
In addition to looking at prices, take your time to look at the reviews the salon gets as well as their photo gallery or Instagram page to see whether you like the kind of work they do.
Photos via @marta.frankov, @gordienko.nails, Instagram

