A gorgeous set of nails can elevate your look and make you feel more put together. Unfortunately, maintaining your manicure often requires frequent trimming, shaping, buffing, and polishing, which can quickly feel like a full-time job.
Acrylic nails are a solution. They require a more significant investment at first, but last much longer than traditional manicures. Plus, if you learn how to do acrylic nails at home, you can skip trips to the salon, saving both time and money. Refer to our step-by-step guide to doing your own acrylic nails at home.
What exactly are acrylic nails?
Acrylic nails are artificial nails (also known as nail tips) that enhance the appearance and strength of your natural nails. They’re applied to your natural nails with glue and filled in with an acrylic formulation.
The formulation is made of two ingredients: a liquid monomer (known as acrylic liquid) and a powder polymer (known as acrylic powder). The liquid and powder form a paste, which bonds to your natural nails to help the acrylic nail stick. It also blurs the edge of the acrylic nail, so your manicure looks natural.
What you’ll need
There are several items you’ll need for an at-home acrylic nail application. Many DIY acrylic nail kits include everything required but double-check before starting your manicure.
Below are the essentials:
- Non-acetone nail polish remover
- Nail buffer
- Emery board or nail file
- Nail scissors or clippers
- Cuticle pusher
- Primer
- Artificial nails or tips
- Acrylic brush
- Acrylic liquid
- Acrylic powder
- Nail glue
- Two acrylic dishes
- Paper towels
How to do acrylic nails step-by-step
Once you’ve gathered your manicure supplies, follow these step-by-step instructions to do your own acrylic nails.
Step 1: Prepare your natural nails
The preparation process below will get your nails ready for acrylics:
- Remove old nail polish with non-acetone nail polish remover.
- Wash your hands with soap and water.
- Dry your hands thoroughly.
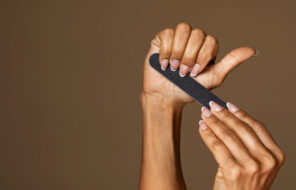
- Trim and buff your nails if necessary.
- Gently push your cuticles back using the cuticle pusher.
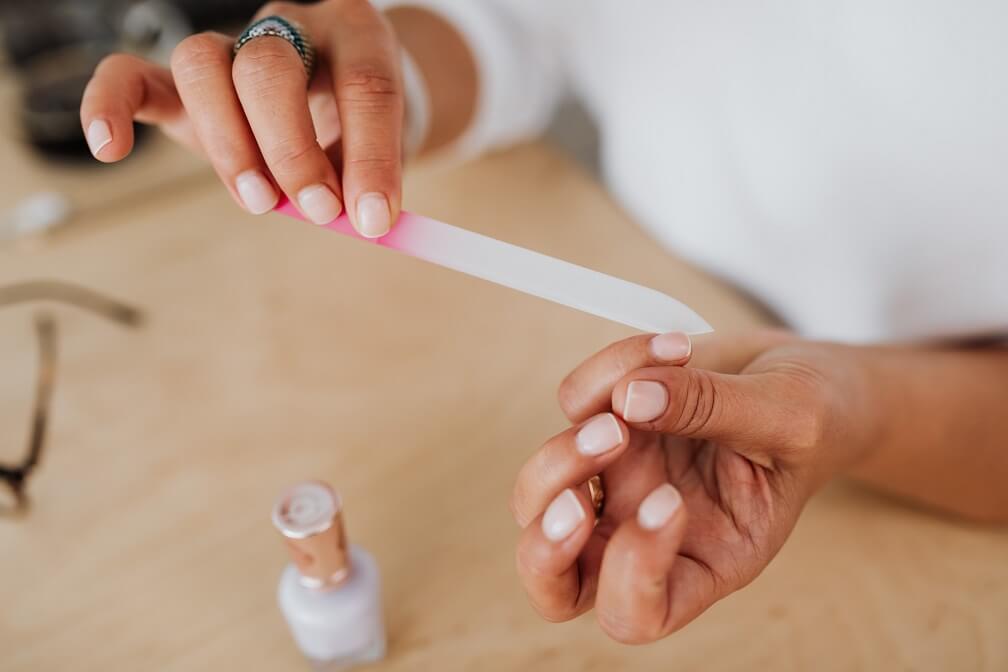
- Shape your nails as desired with the nail file or emery board.
- Apply two to three coats of nail primer to your nails.
Step 2: Choose your nail tips
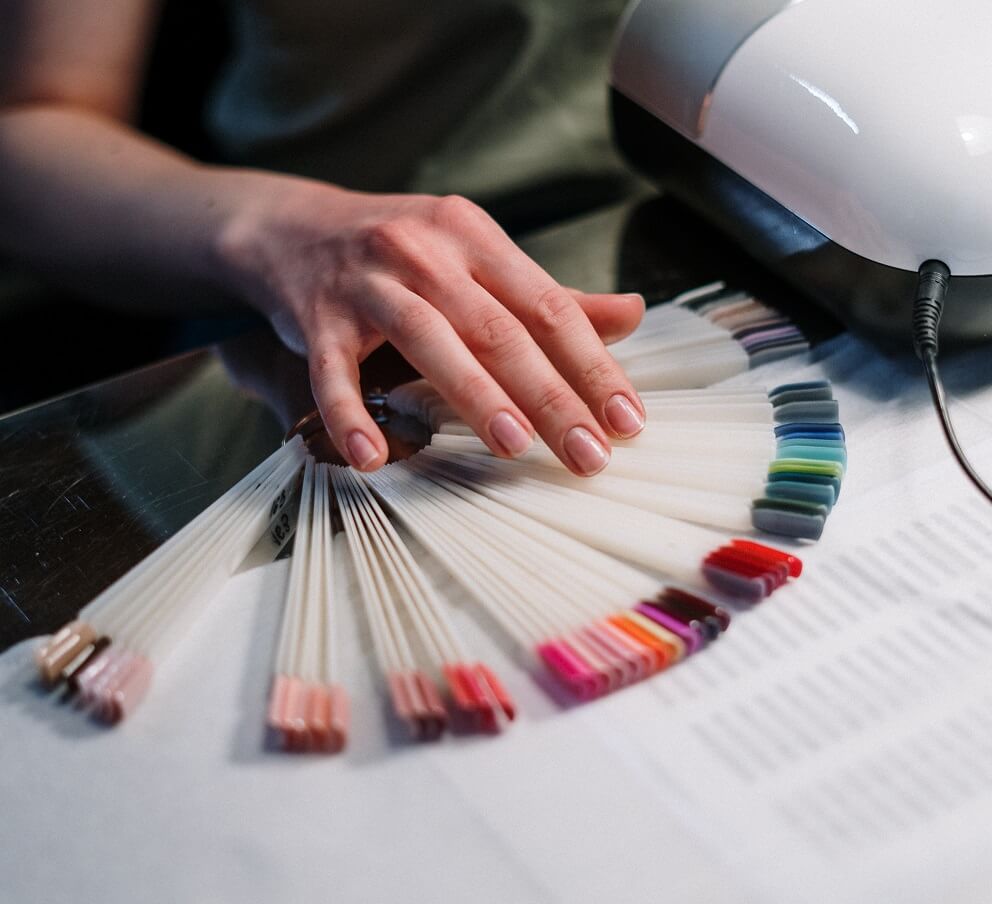
Match the nail tips to your natural fingernails to ensure each one is the right size. If needed, file down the sides of the nail tips until the fit is right.
Step 3: Attach the artificial nails
Use this process to attach the artificial nails to your own nails:
- Apply a dot of nail glue to the back of a nail tip and spread it from side to side.
- Carefully apply the artificial nail to your natural nail.
- Ensure the artificial nail is placed correctly before pressing it down gently for five seconds.
- Once the artificial nail is secure, trim the tip to your preferred length.
- Repeat until you’ve attached every artificial nail.
Step 4: Apply the acrylic formulation
Make sure to do this part of the process in a well-ventilated area. Here are the steps to follow:
- Place the liquid acrylic into an acrylic dish.
- Put the acrylic powder in a separate acrylic dish.
- Set up a few folded paper towels nearby.
- Dip the acrylic brush into the liquid acrylic and press the brush all the way down. Wait until the bubbles dissipate, then brush off any excess against the side of the bowl.
- Sweep the brush through the acrylic powder to create a small, moist ball of acrylic material on the tip of the brush.
- You’ll know you achieved the right ratio of liquid and powdered acrylic if the mixture remains in a small bead at the end of your brush. If you need to redo the mixture, wipe your brush on a paper towel before repeating the above steps.
- Apply the mixture just a few millimeters away from your cuticle so the acrylic bonds to your nail and not your skin.
- Repeat with each nail, wiping your brush off on a paper towel in between each.
- It will take approximately 10 minutes for the acrylic to dry and set. Test your acrylic nails by tapping the surface with the handle of the acrylic brush. Your nails are set if you hear a clicking sound.
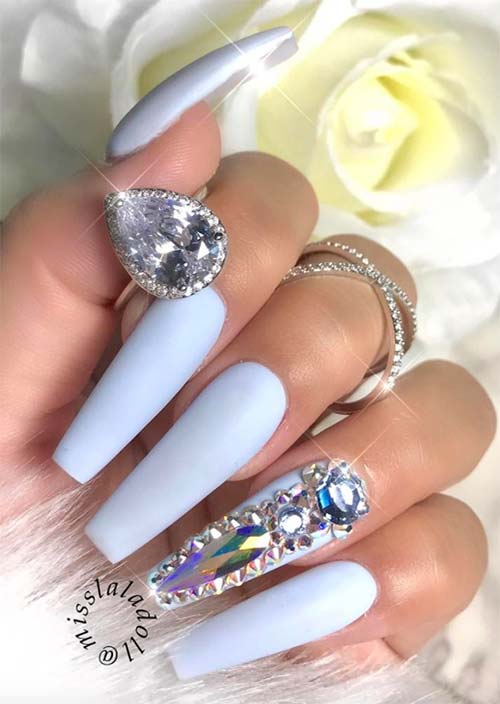
Step 5: Shape and paint
Once your nails are set, use a nail file to shape the tips if desired. If you want to change the look of your acrylic nails, paint them with traditional or gel polish, then seal them with a top coat.
How to fill in acrylic nails
Even if you have acrylic nails, your natural nails will continue growing over time. As your natural nails grow, the gap between the bottom of the acrylic nail and the cuticle will widen.
To keep your manicure looking fresh, you’ll need to fill your nails with more acrylic formulation every two to three weeks. This is about how long it takes for the gap to begin showing.
Gather the same supplies you used to apply your acrylic nails. Then, follow these steps to fill in your nails at home.
Step 1: Prepare your nails
Prep your nails for an acrylic fill using the below process:
- Remove old nail polish with non-acetone nail polish remover.
- Wash your hands with soap and water, and dry them thoroughly.
- Gently buff away any acrylic formulation that lifted as your nail grew. Stop once you’ve buffed away the acrylic, so you don’t damage your nail bed.
- Apply two to three coats of nail primer to the newly grown nail surface. Allow each layer to dry completely before applying the next coat.
Step 2: Apply the acrylic formulation
Don’t forget to do this part of the process in a well-ventilated area.
- Place the liquid acrylic into an acrylic dish.
- Put the acrylic powder in a separate acrylic dish.
- Set up a few folded paper towels nearby.
- Dip the acrylic brush into the liquid acrylic and press the brush all the way down. Wait until the bubbles dissipate, then brush off any excess against the side of the bowl.
- Sweep the brush through the acrylic powder to create a small, moist ball of acrylic material on the tip of the brush.
- You’ll know you achieved the right ratio of liquid and powdered acrylic if the mixture remains in a small bead at the end of your brush. If you need to redo the mixture, wipe your brush on a paper towel before repeating the above steps.
- Apply the mixture just a few millimeters away from your cuticle so the acrylic bonds to your nail and not your skin. Only apply the amount needed to fill in the space between the cuticle and the edge of the acrylic nail smoothly.
- Repeat with each nail, wiping your brush off on a paper towel in between each.
Step 3: Shape and paint
Similar to applying acrylics for the first time, once your nails are set, use a nail file to shape the tips if desired. If you want to change the look of your acrylic nails, paint them with traditional or gel polish, then seal them with a topcoat.
Skip salon visits and learn how to do at-home acrylic nails
Applying acrylic nails at home becomes easy once you get the hang of it. It also helps you maintain your polished manicure without investing significant time or money. Just be prepared to fill in your acrylic nails every two to three weeks. If you want another option for doing your nails at home, you could try dip powder nails.