Whether you’re a makeup aficionado or not, you’ve likely heard of contouring. It’s a widely used technique that aims to enhance your features and bone structure by creating shadows with shades that are darker and lighter than your natural skin tone.
Contouring flawlessly like a pro can range from subtle to transformative, depending on the look you want to achieve. As with any makeup application, sometimes the method requires a little extra guidance, so we’ve compiled a list of easy steps to pick the right contour shade for you.
The key to contouring
The secret to quality contouring is creating realistic shadowing to accentuate your features. It can help create the illusion of higher cheekbones, a slimmer nose, and a more defined jawline. However, choosing the right contour shade for your skin tone isn’t always easy. To get it right, there are two key elements worth considering: your undertone and the product’s depth of color.
- Undertone. This refers to whether your complexion has more pink-blue/cool hues or yellow/warm tones. Knowing what kind of undertones you have will determine which colors work best with your skin tone.
- Depth. This refers to how light or dark the product should be in order for it to blend seamlessly with the rest of your makeup without looking too obvious or unnatural.
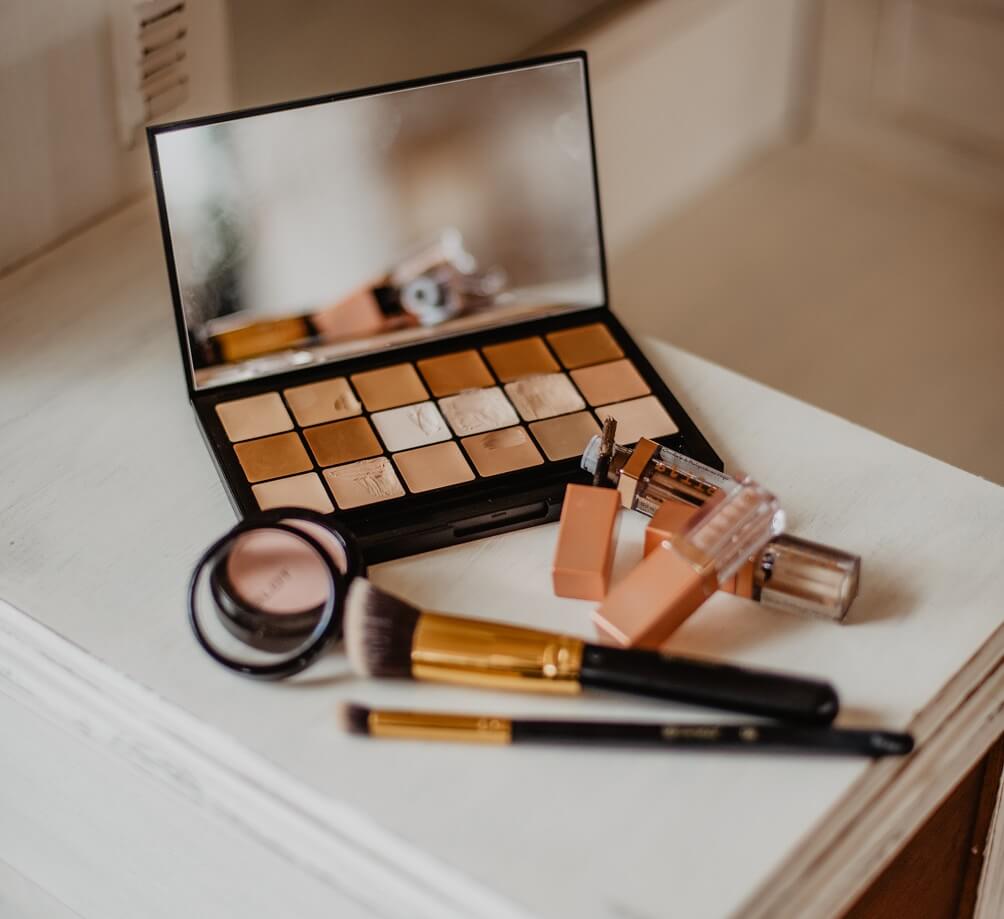
A good rule of thumb when selecting a contour color is to choose two shades darker than your foundation. There are also contouring kits you can buy, so you have everything you need in one place if you aren’t well-versed in makeup applications.
How to determine your undertone
While not a one-size fits all approach, understanding your undertone before selecting any makeup products will help you determine what best works with your skin type and coloration. There are three main undertones: warm (yellow/golden), cool (pink/blue-ish), or neutral (olive).
You can determine your undertone by looking at the veins on the inside of your wrist; if they appear blue, then chances are you have cool undertones. Greener veins indicate a warm tone, and a mixture of the two indicates a neutral tone. Once you know your undertone, shopping for contour shades and other makeup products like blush or bronzer becomes easier.
Cream vs. powder contour
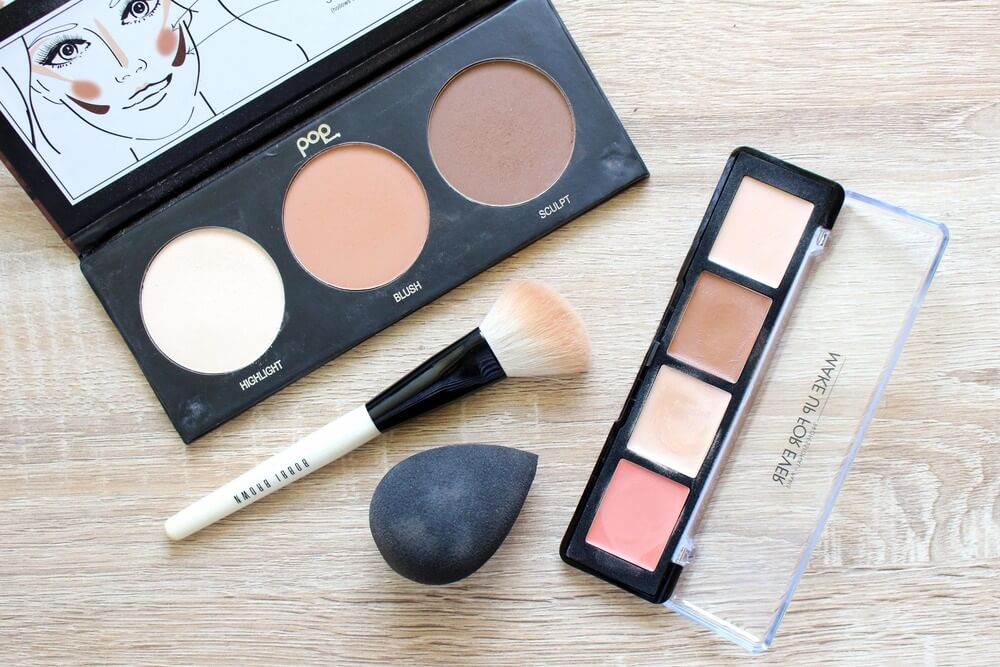
Knowing the difference between cream and powder products will help you decide which one works best for your skin type and desired finish. Powder contours are ideal for oily skin types, as they give a matte finish, while cream-based contours are better suited to drier skin types, offering more luminosity.
Additionally, cream-based formulas tend to provide a more natural finish, whereas powders offer buildability. In most cases, those with oily or dry complexions should opt for creams. Meanwhile, anyone with normal or combination skin may prefer powders due as they can easily blend with the base layer of makeup already applied.
When testing out a new formula, put a small amount of product onto your fingertip or beauty blender, then apply it along your hairline and chin to see if it matches your complexion before investing in a full-size product.
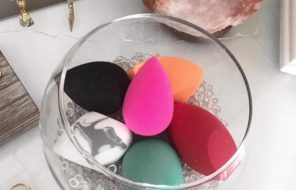
Use the right blending tools
When it comes to applying the contour product itself, blending tools play a big role in achieving flawless results. Brushes and sponges are both ideal options, depending on your desired look. For example, using a brush allows for precision and control over product placement, while a sponge or beauty blender gives a softer, more blended effect.
Start by lightly dusting on your contour where shadows naturally fall on your face (on your cheekbones, along the jawline, on the bridge of your nose, and on the hallows of your cheeks). Use small circular motions with either your fingers or a brush until it blends into the rest of your foundation/base makeup before adding additional layers if necessary. Use lighter shades around the eyes and nose area to avoid harsh lines that may draw attention away from your other features.
Finally, check your finished look in natural light to see if your contour looks natural. This way, you can correct any mistakes you might’ve made during the process before heading out the door.
Contouring isn’t easy at first, but practice makes perfect. After some trial and error, you’ll be contouring like a pro with stunningly sculpted facial features, ready to slay the day or night, no matter the occasion.