Is the French manicure having a comeback? If you ask us, we don’t think it ever went away, so it’s about time you learn how to do a French manicure all by yourself!
The simple style is a staple, with a pink base and white tips that make the nails look like the healthiest version of themselves… but only if you’re in the mood to keep things simple.
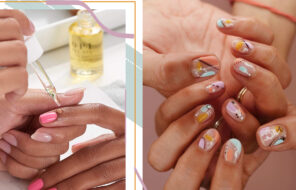
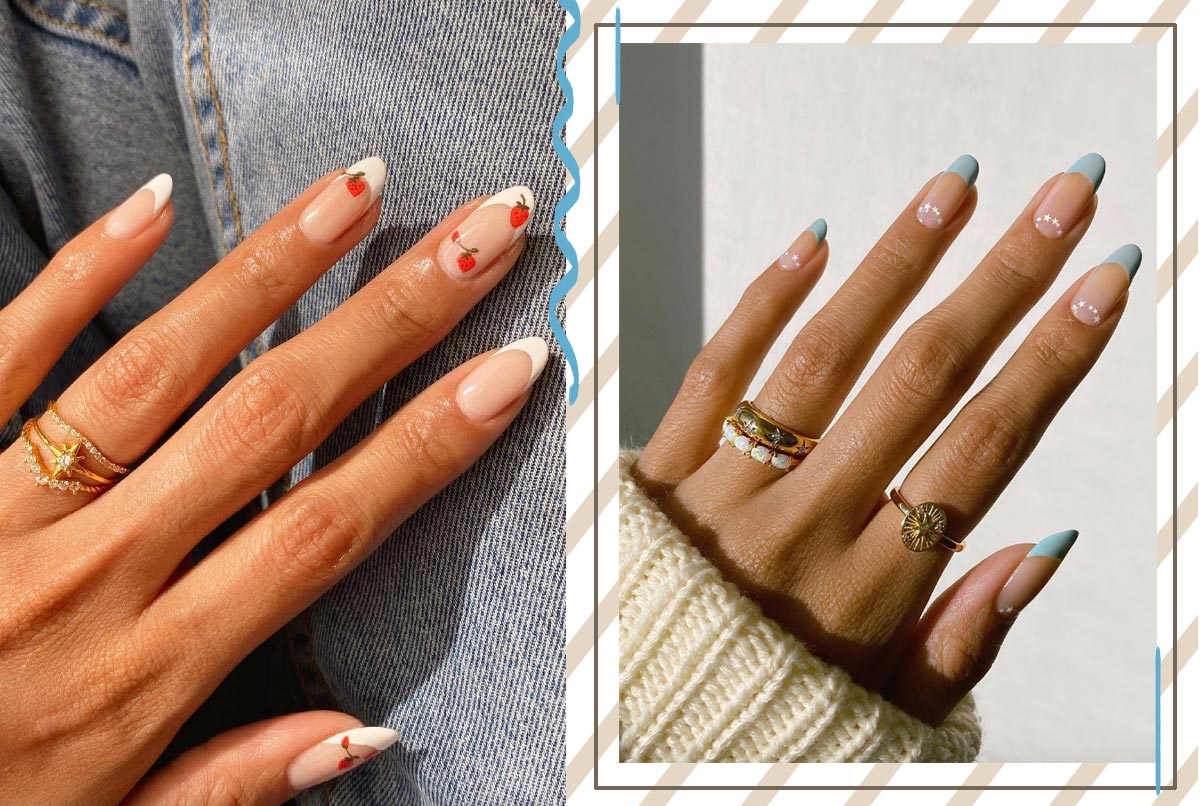
French tips are actually a versatile nail art element that can be adapted as you wish, with all kinds of colors, altered shapes, and even as an accent nail. Once you master the French manicure, you can let it inspire you to create all other kinds of nail designs!
If you’re ready to learn how to do your own French manicure, keep reading. First, we talk about the French mani, its history, and how it compares to the American manicure design.
Then, we’ll explain the steps of how to do it free-hand, which is how the pros do it. If you worry that your hands aren’t steady enough, we also added a few hacks that’ll help you get the tips looking perfect.
In this article:
- What Is a French Manicure?
- Where Did the French Manicure Come from?
- How Is French Manicure Different from an American Manicure?
- How to Do French Nails
- DIY French Tip Hacks
What Is a French Manicure?
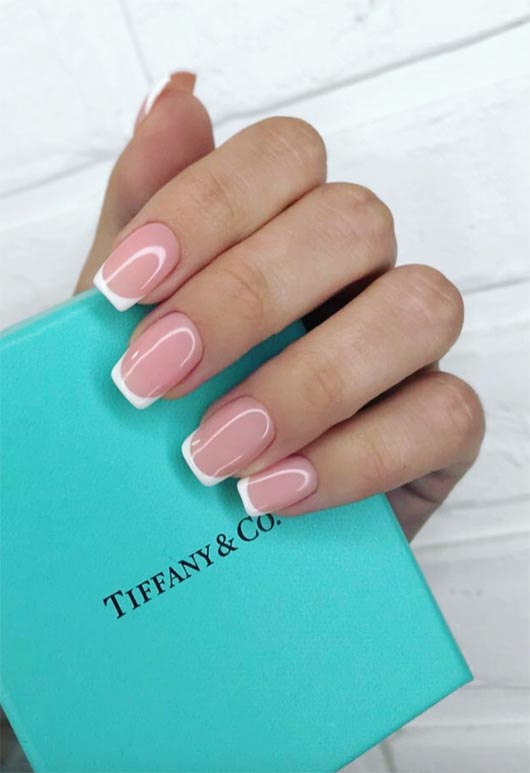
French manicure, simply put, is a manicure where the base of the nail is painted one color, while the tips (also known as the free edge, which is the part of the nail that extends past the nail bed) are painted another. The classic color combination is a nude pink over the bulk of the nail plate and white at the tips. It can be very dramatic (and to some, a little tacky) when the color choice is bolder, with a cool pink base and stark white tips.
However, it can also be a subtle and natural-looking manicure when it’s done in nude and off-white shades that closely mimic the natural color of healthy nails. Because it can look so natural, we would argue it will never go entirely out of style – it’s like the “no makeup” look for nails.
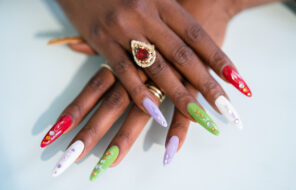
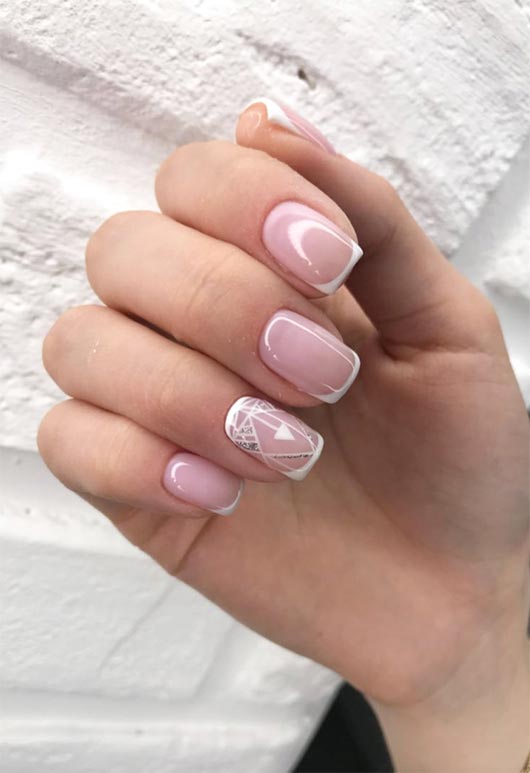
At the same time, a French manicure can also be extremely artistic since there are no strict rules about the colors. It’s possible to create every color combination you wish, and you can even combine it with other nail art techniques. A French manicure can be done on short natural nails, on the toenails, or on the longest stiletto extensions. It’s art, so there are no rules.
Where Did the French Manicure Come from?
The French manicure was created in 1975 (or 1976, depending on which source you trust), and it wasn’t in France. It was actually invented for Hollywood!
It was designed by Jeff Pink, the founder of the nail polish brand Orly to solve a problem for film directors. Indeed, he designed the French manicure specifically because it could look so natural.
He took his inspiration from what was a common “nail hack” – to paint the underside of the nail with a white pencil or chalky liquid to make them look healthier. This nail hack is often attributed to Max Factor, but there’s no compelling evidence to back the claim. That said, if he did, the argument could be made that he was the real originator of the French manicure.
At the time, nail polish was matched to the color of one’s outfit. On a movie set, where actresses change in and out of clothes constantly, the constant nail polish changes eat up a lot of time, which, on a film set, also means money. Pink decided to find a way to use nail polish to create a more pronounced and long-lasting version of the white pencil trick.
Directors loved it, and when he took the design to Paris for a fashion show, it seemed to work there as well. Once he returned to the US, he dubbed the design “the French Manicure,” and it quickly became a timeless classic.
How Is French Manicure Different from an American Manicure?
The distinction between a French manicure and an American manicure isn’t a strong one. American manicures are a fairly new design that was created as a response to a very stark French manicure. We think there’s a strong case to be made that an American manicure is a version of the French rather than an alternative.
The American manicure relies on a subtler, almost ombré-like transition between the tips and the rest of the nail. The tips are usually painted a subtler ivory rather than a bright white, while the nails themselves are painted a very nude pink.
The final layer of the manicure is a coat of that same nude pink over the ivory tips, which helps marry the entire look together, and makes it truly reminiscent of natural nails. We’ve written a full guide to achieving an American manicure, but you could just as easily adapt the steps here to achieve the look.
How to Do French Nails
If we’ve managed to convince you that a French mani can still be a fun, classy choice, it’s time to try it yourself! You don’t have to go to the salon because as long as you have a few handy tools and polishes, you can do your French manicure by yourself.
What You’ll Need
- Nail buffer
- Cotton pads
- Cotton swabs
- Base coat
- Main nail polish color (traditionally, pink)
- Nail polish for the tips (traditionally, white)
- Nail polish remover
- Topcoat
- Cuticle pusher or remover
- Hand cream or cuticle oil

Step 1: Prepping Your Nails
When doing your own manicure at home, the level of prep is totally up to you. In a salon, your nails and hands can get totally pampered with a hot water soak, a nice scrub, and even a hand massage. You can recreate that experience at home or just focus on the essential steps.
- First of all, make sure to remove any old polish you have on your nails with a polish remover and cotton pads.
- Next, wash your hands to get rid of any remover residue.
- If you wish, you can trim away any hangnails, apply some cuticle softener or remover, or just gently push the cuticles back.
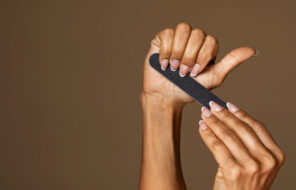
- Finally, with a nail buffer or file, shape your nails into your desired shape. When you do this, be careful to only run the file in one direction rather than going back and forth. Stick to short movements that are on a diagonal against your nail to avoid over-filing specific sides.
- Once you like how your nails are shaped, wipe off the dust from the filing, and move on to the fun part – actually painting them!
Step 2: Painting Your Nails
This part requires a bit of patience and concentration, especially if you don’t paint your nails often. Put on a fun TV show in the background, so you don’t get bored while waiting for your nails to dry and get started!
- Your first step when painting your nails should always be some sort of base coat. A lot of nail strengtheners double as base coats, and if you choose a pink-colored one, it can also act as your main nail color.
- Apply your base coat to your nails in a thin layer, trying to bring it as close to your cuticles as you can without actually touching them. Then allow it to dry completely.
- Next, apply your first thin coat of base polish. For a classic French manicure with a soft nude pink shade, one layer is often enough.
- Once that layer is dry, you can apply your French tips! First, make sure to wipe any excess polish off on the lip of the bottle so that you don’t accidentally make a mess of your tips.
- Then, in gentle, short strokes, apply the white polish only to the free edge of your nail, trying to keep it in a straight line. Move the brush sideways over the tip of the nail, using the side of the brush in a nice, clean line separating the tips from the base.
- Finally, once the white tips have dried down completely, you can choose to apply another coat of that pink base shade over the entire nail to create a subtler French manicure (i.e., an American manicure).
- If you’d rather keep things slightly more dramatic, you can simply finish off your look with a coat of topcoat. Once the topcoat is dry, your manicure is nearly done!
- To finish everything off, use a cotton swab dipped in polish remover to remove any polish that has gotten on your fingers or cuticles. Once everything is cleaned up, rub a bit of hand cream on your hands and nails, or use a cuticle oil just to give your cuticles a nice treat.
DIY French Tip Hacks
Does free-handing your French tips seem a little intimidating? It’s definitely not the easiest form of nail art, and it takes some practice to perfect. If you’d rather not risk making a mess, here are some tips that might help you out!
Use Sticky Tape
If you’d like French tips with a nice, straight line, sticky tape can be remarkably helpful! It can act as a barrier, allowing you to be a little messy and still achieve perfect French tips.
To try this hack, tear off a few pieces of sticky tape. You don’t want the tape to be so sticky that it removes the polish underneath it, so get rid of some of its stickiness by tapping it against the back of your hand and then pulling it off.
Wait until the polish on the base of your nails has dried completely, and then apply the sticky tape so that it covers the base of your nails and only leaves the tips sticking out. Then, you can simply paint the tips without any fear of making a mess! Once the tips are completely dry, you can remove the sticky tape and finish off your manicure.
Use a Nail Brush
A small nail brush can be a lot easier to control than the nail polish brush attached to your white nail polish lid. It requires a bit more skill than using sticky tape, but the benefit is that it allows you to experiment with other French tip styles, like a more rounded “smile line” style.
Simply dip the tiny brush in your white polish, and use it to draw on your tips, almost like you would a liquid eyeliner! If you’d like a very rounded smile line instead of a straight line, start by first applying the polish on one side of the nail and then on the other. Connect the two stripes of white together at the top, and use the small brush to fill in, refine, and round out the shape.
Pick up Some Guide Strips
Another way of achieving more rounded French tips is with special, rounded guides made exactly for the job. They combine the convenience of sticky tape with the rounded shape you can achieve with a small brush. Use them just as you would sticky tape, and they can also help if you want to create a half-moon design at the base of the nail.
Use a Remover to Clean up
Another popular technique is to use nail polish remover to clean up the tips. It won’t necessarily work if you already have a colorful coat over the base of your nails, but it’s a convenient method if you’ll be keeping the base mostly bare.
For this method, paint your tips first. Then, using a small brush dipped in nail polish remover, you can clean up the bottom edge to get a neat straight or rounded line. Finally, you can top the tip with a topcoat or with a layer of pale pink polish for a subtler look.
This method is actually extremely convenient if you’re doing a French gel manicure, although you’ll want to use alcohol instead of polish remover. Simply clean up your French tips before curing them, and they’ll be easy to clean up without removing any of the already cured base layers.
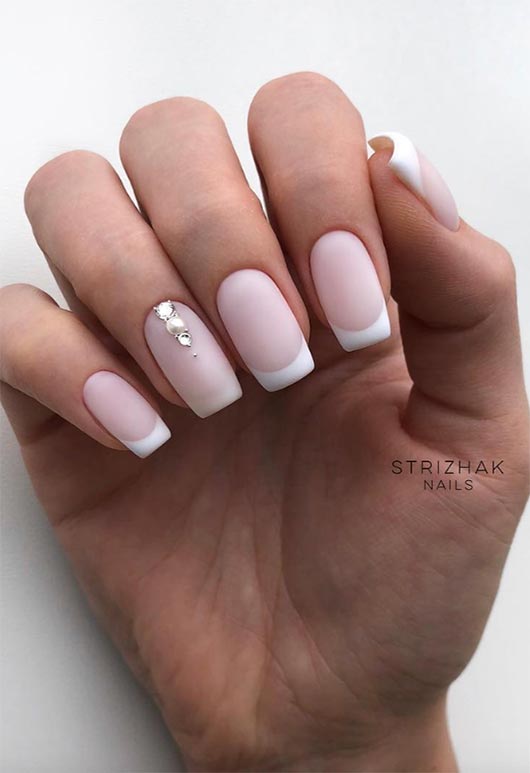
Once you master doing your own French manicure, start experimenting. Try drawing your tips on a diagonal or creating a wavy pattern, add half-moon designs, attach some jewels to your French tips, and definitely try all of the color combinations!
Photos via @overglowedit, Instagram