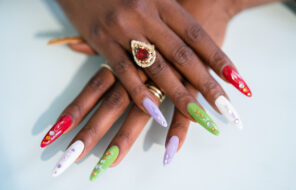
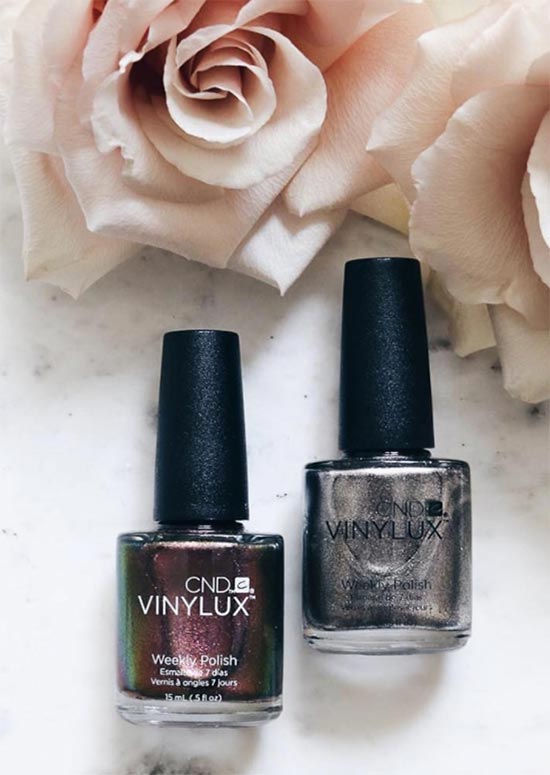
Shellac nails are taking over as the new, preferred manicure trend, and it’s easy to see why. A shellac manicure lasts a minimum of two weeks, does not lose shine and does not require extra drying time. For women who just love a good nail polish and are not interested in nail extensions, shellac nails require less work and maintain beautifully for a longer period of time.
This is the next level option for women who want to wear beautifully colored nail polish without worrying about a chip or faded color. Shellac nail polish lasts longer and holds up until you want to take it off. Want to learn more? Keep reading!
In this article:
- What Is Shellac Nail Polish?
- How Long Does Shellac Manicure Last?
- Pros & Cons of Shellac Nail Polish
- Differences Between Acrylic, Gel, SNS, and Shellac Nails
- How to Do Shellac Nails at Home?
- How to Remove Shellac Nail Polish
- Is Shellac Manicure Safe?
- Shellac Manicure Tips to Know
- Shellac Nail Prices at Beauty Salons
What Is Shellac Nail Polish?
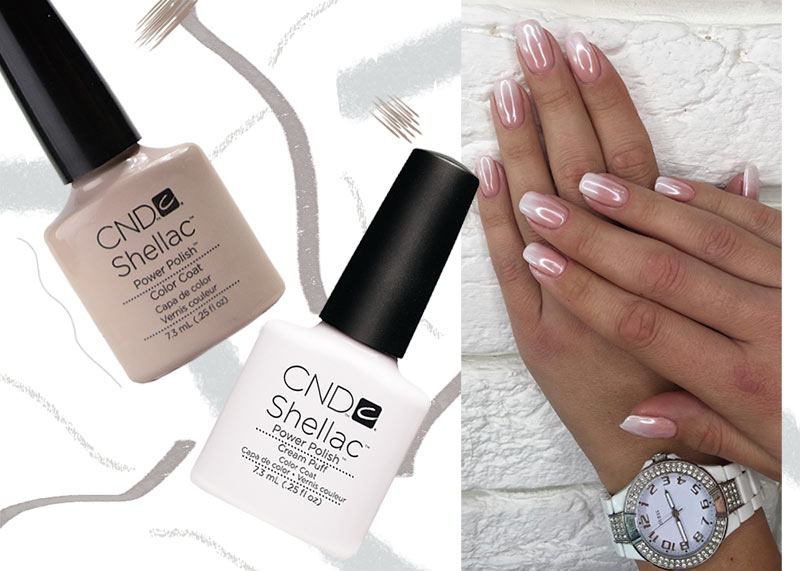
Shellac nail polish is a hybrid look that sits between regular nail polish and gel nails. This fusion allows for a deeply pigmented color that has a protective coat built in. This protective coat is the addition of the “gel” to protect the color and the nails for a longer-lasting and more beautiful manicure.
Part of the way that a shellac manicure lasts so long and looks so good is that most formulas are self-levelling so there are no lumps or unevenness in the polish. The top coat is a durable gel top coat and it will dry instantly, though it does have to be cured.
The shellac manicure is cured using a UV light in the same process that a gel manicure uses. A shellac manicure is a four-step process that produces a long-lasting, shiny and chip-free manicure.
How Long Does Shellac Manicure Last?
A good shellac manicure will last you a minimum of two weeks without chipping, peeling, cracking or fading. The absolute shortest amount of time a shellac manicure will last is a week.
Shellac nails stand up to everyday things like gardening and the chemicals involved with most chores. Normal everyday life will not affect shellac nails; shellac nail polish is designed to stand up to normal wear and tear and be removed only with intention.
Pros & Cons of Shellac Nail Polish
As with everything, there are pros and cons to wearing shellac nail polish. There are plenty of good and bad things about every option, but the choice at the end of the day is based on what works for the individual. Someone with healthy nail beds and a penchant for shiny, stunning color would find a great step up from ordinary manicure in shellac nail polish.
Below is a list of the pros and cons of shellac nails to help you make the choice!
Pros
- They last!
- The application process is shorter.
- Less damaging than other options.
- Shellac is more budget friendly.
- Can be removed at home.
- Since they are cured under a UV light, they are longer-lasting.
- Shellac nails are safe to get during pregnancy.
- Shellac nail polish is also odorless.
Cons
The cons regarding wearing shellac nail polish are really just due to the damage the removal process causes.
- The UV lamp exposure can be harmful.
- Shellac manicure is damaging to weak nail beds.
- Acetone wrap removal is harsh on your nails.
- Shellac nail polish comes in fewer colors.
- When shellac nails grow out, it is obvious.
- Shellac nails do not last as long as gel or acrylic nails.
Differences Between Acrylic, Gel, SNS, and Shellac Nails
With so many innovative nail extension and nail color application methods available, sometimes it’s really hard to make the best choice. Are shellac nails really for you or should you instead consider acrylic nails, for instance? Below, we discuss all the differences between four of the most popular manicure trends of the moment – acrylic, gel, SNS, and shellac nails.
Acrylic Nails
Acrylic nails are built by combining liquid acrylic and a special powder that has been around since the 1970s. Acrylic nails have a significant look that is well known, as well as a high level of durability and a can be cured without a UV lamp. They are not ideal for pregnant women, as the acrylic combination can be toxic.
Gel Nails
Gel nails are another option that will allow the nails to be built up and protected. Gel nails are more flexible than acrylics, which makes them better for people who want nail extensions but may have damaged or brittle nail beds.
Gel nails are safe to use during pregnancy and are applied by spreading a liquid gel across the artificial tip and natural nail. The gel is then cured using an LED or UV lamp to harden it.
Shellac Nails
Unlike acrylic and gel nails, shellac nails cannot be used to extend the length of your nails. Shellac and gel nails do get mixed up together more often than acrylic nails and shellac nails. With acrylic and gel nails the nail is built up and extended. Shellac nails on the other hand (pun intended) are designed to provide color and the finishing touch.
Shellac nail polish is the next level of nail polish. A shellac nail manicure will not thicken the appearance of your nails as significantly as gel or acrylics.

SNS Nails
Known also as dip powder nails, SNS nails feature a gel base and a powder consistency. The idea is dipping your nails into the powder and getting a natural color without harming your nail beds. This is the most innovative nail polish application method of the moment, giving you the benefits of using odorless, trendy nail colors, which don’t require any curing.
How to Do Shellac Nails at Home?
Love your shellac nails? Want to be able to do them at home? You can!
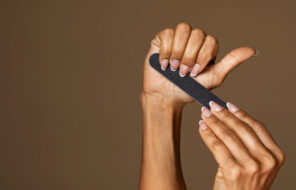
- Shape Your Nails
First, shape your nails with a file. Once you have the shape you want, clean your hands to remove the dust.
- Cuticle Time
Push back your cuticles gently.
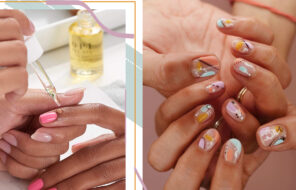
- Apply the Base Coat
If your kit has a base coat, apply the base coat starting at the cuticle. Coat the tip of the nail and leave a breadth of space between the skin and the base coat.
- Cure Your Nails
Whatever apparatus you are using should be set up. Put your hands under the light for 30 seconds to cure. Your nails will be a bit sticky, but that is intentional to create a sealed edge.
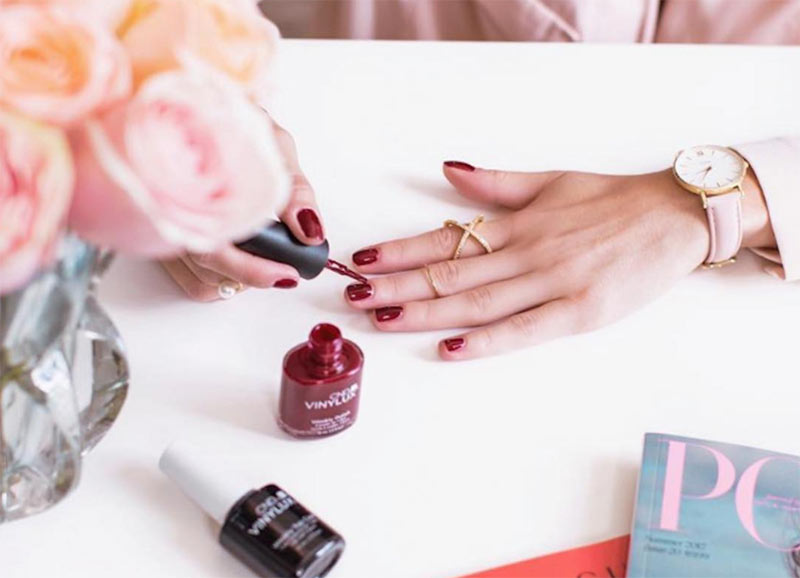
- Apply the Shellac Polish
Apply the first of your two layers of shellac nail color. Use broad, easy strokes because the color will self-level. Keep the layer as thin as possible and do not paint beyond the base coat.
- Cure Again
Once all the nails are painted, put them back under the light to cure! Make certain you follow the allotted time requirements for your device.
- Apply the Second Layer
Apply the second layer of shellac nail color, following the same directions.
- Cure Again
Cure your nails again.
- Apply the Top Coat
Apply the top coat on each nail but cover the nail completely, from cuticle to tip, end to end.
- Cure One Last Time
Cure your shellac nails one more time.
- Get Rid of the Residue
Finally wipe the sticky residue remaining on your fingers with an alcohol wipe. Admire your handiwork!
How to Remove Shellac Nail Polish
Shellac nail polish removal is very easy and clean. You have to soak it off with acetone! There are two different options to do so, and here’s how you do it!
Wrapping Method
The foil will help hold in the heat from your hands, allowing the acetone to work better.
- Cut five cotton pads in half and cut 10 large tinfoil squares. You will also need a nail file and acetone nail polish remover.
- Gently buff over the shellac nail polish with your nail file, and then soak a half cotton pad in acetone.
- Place the acetone-soaked cotton pad on the nail and wrap it in place with a foil square to hold it in place.
- Let the acetone soak for 15 minutes to allow the gel polish to lift from the nail bed.
- Use a round cotton pad to wipe off any remaining, sticky polish. If it appears to be more than the round cotton pad can handle, use a manicure or orange stick to scrape the residue off the nails carefully. You can likely also peel the remaining shellac polish off.
Soaking Method
The soaking method uses a bowl of acetone and just dipping your fingernails in it for the most part. As far as difficulty, the most concerning part is not tipping over the bowl of acetone!
- Pour acetone nail polish remover into a shallow bowl that is wide enough to put your nails in all at once (one hand at a time or both, whatever you prefer, of course.).
- Put cuticle oil around all of your cuticles and wipe off the excess. This will help protect your cuticles from drying out.
- Put your nails in the acetone and let them soak for approximately 10 minutes.
- Remove your nails from the acetone and scrape off the shellac nail polish using the flat edge of the orange stick. If you want to start scraping it off while it is soaking, do so at the 8-minute mark while your nails are still soaking.
Regardless of which shellac nail polish removal method you use, wash your hands with warm water and soap to remove the rest of the polish. Make certain to recondition your skin afterwards with lotion and cuticle oil to replenish the moisture that the acetone will strip from the skin.
Is Shellac Manicure Safe?
Shellac manicures are safe, but they are not for everyone. The primary concerns are allergy related, UV related and chemical related. Those people who are suffering or have suffered from UV damage or skin cancer may not be so keen to put their hands under a UV light. If the apparatus is not set up correctly, the light can cause eye or skin damage similar to that of a tanning bed.
As long as you are not allergic to any of the ingredients or opposed to the UV light you should be good to go. Just watch out for the time beneath the UV light. You should not be beneath the light longer than a set time period. Most lights for at-home and for salon use have a timer set in them as a safety measure.
The allergy issues are typically related to plasticizers included in the gel mixed in the shellac nail polish. Many of the people who have an issue can get answers from their manicurist about the ingredients. Some will have no fragrances, and many others have reformulated to take out the harsher chemicals.
The chemical composition of the shellac nail polish is a concern for most, and information is power and health. The most important thing to do is ask and check the labels. If you have a reaction to acrylic or gel nails, you are likely to have an issue with shellac nails as well.
Shellac Manicure Tips to Know
Tips and tricks are always welcome if they can improve your manicure and the health of your skin and hands. There are two things to remember – acetone is critical to removing the shellac manicure, and UV light is critical to curing it. Your hands need to be protected and the moisture replaced.
Here are a few quick shellac nail tips to help!
- Wear a lotion with sunblock on your hands. It will prevent some of the damage from the UV light.
- Do not pick at your shellac nail polish. Unlike regular polish you won’t be picking at just the polish but stripping off layers of your nails as well.
- You can use coconut oil or olive oil in place of cuticle oil, and coconut oil is a great moisturizer for your whole hand afterwards. Apply your choice of cuticle oil twice a day.
- Be careful picking your at-home kit because many of them will not give you the results that you are looking for.
- A few times a year, let your nails breathe and choose just a simple manicure for a good look and comfortable feel.
Shellac Nail Prices at Beauty Salons
Prices for shellac manicures are set in accordance with the locale. Some people will find that their local salon charges $15 dollars, while others found the prices to be closer to $60.
The shellac nail polish that is applied can be more expensive at salons with a “custom” process, which is typically just a hand massage with a specialty lotion or something similar.
It really depends on the services offered and where they are offered, but for the most part, the general price range is between $15 and $60 for getting shellac nails done.
Photos via @cirulnya_sova